NJ750 Training Guide
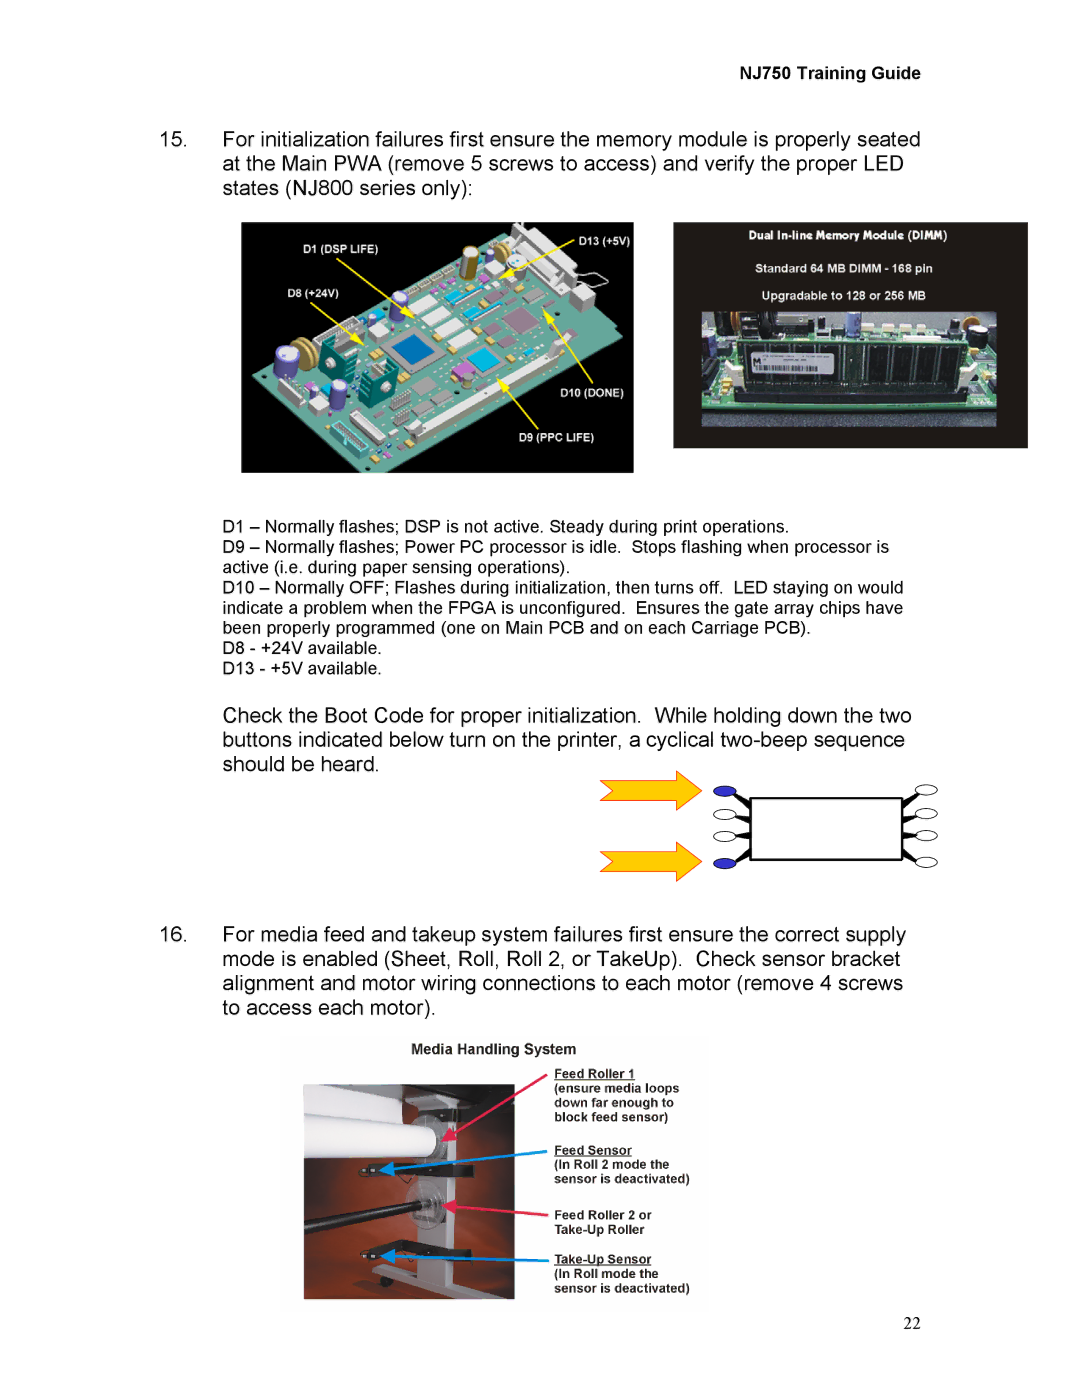
15.For initialization failures first ensure the memory module is properly seated at the Main PWA (remove 5 screws to access) and verify the proper LED states (NJ800 series only):
D1 – Normally flashes; DSP is not active. Steady during print operations.
D9 – Normally flashes; Power PC processor is idle. Stops flashing when processor is active (i.e. during paper sensing operations).
D10 – Normally OFF; Flashes during initialization, then turns off. LED staying on would indicate a problem when the FPGA is unconfigured. Ensures the gate array chips have been properly programmed (one on Main PCB and on each Carriage PCB).
D8 - +24V available.
D13 - +5V available.
Check the Boot Code for proper initialization. While holding down the two buttons indicated below turn on the printer, a cyclical
16.For media feed and takeup system failures first ensure the correct supply mode is enabled (Sheet, Roll, Roll 2, or TakeUp). Check sensor bracket alignment and motor wiring connections to each motor (remove 4 screws to access each motor).
22
