NJ750 Training Guide
B. Printer Calibrations
A.Paper Axis Test
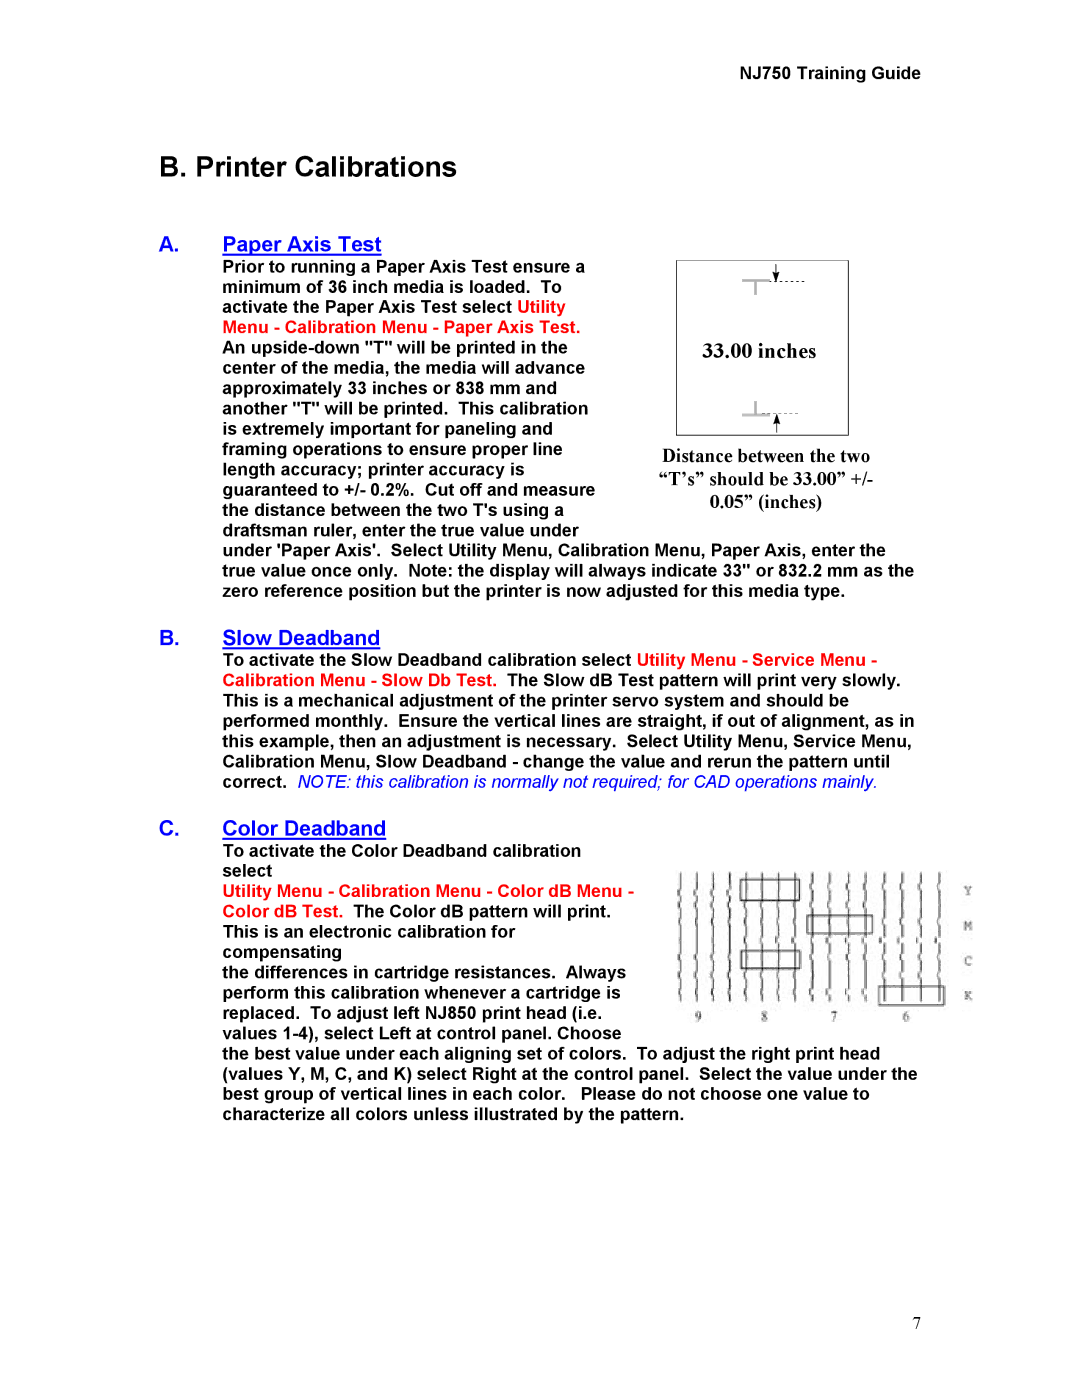
Prior to running a Paper Axis Test ensure a minimum of 36 inch media is loaded. To activate the Paper Axis Test select Utility
Menu - Calibration Menu - Paper Axis Test. An
another "T" will be printed. This calibration is extremely important for paneling and framing operations to ensure proper line
length accuracy; printer accuracy is guaranteed to +/- 0.2%. Cut off and measure the distance between the two T's using a draftsman ruler, enter the true value under
under 'Paper Axis'. Select Utility Menu, Calibration Menu, Paper Axis, enter the true value once only. Note: the display will always indicate 33" or 832.2 mm as the zero reference position but the printer is now adjusted for this media type.
B.Slow Deadband
To activate the Slow Deadband calibration select Utility Menu - Service Menu - Calibration Menu - Slow Db Test. The Slow dB Test pattern will print very slowly. This is a mechanical adjustment of the printer servo system and should be performed monthly. Ensure the vertical lines are straight, if out of alignment, as in this example, then an adjustment is necessary. Select Utility Menu, Service Menu, Calibration Menu, Slow Deadband - change the value and rerun the pattern until correct. NOTE: this calibration is normally not required; for CAD operations mainly.
C.Color Deadband
To activate the Color Deadband calibration select
Utility Menu - Calibration Menu - Color dB Menu - Color dB Test. The Color dB pattern will print. This is an electronic calibration for compensating
the differences in cartridge resistances. Always perform this calibration whenever a cartridge is replaced. To adjust left NJ850 print head (i.e. values
the best value under each aligning set of colors. To adjust the right print head (values Y, M, C, and K) select Right at the control panel. Select the value under the best group of vertical lines in each color. Please do not choose one value to characterize all colors unless illustrated by the pattern.
7