NJ750 Training Guide
3.Close the
3. WINDOWS PRINTER PORT SETUP
NOTE: If RIP software has been previously loaded then a hot folder with an assigned port will have ‘normally’ already been loaded – this step may not be necessary unless the Windows printer port is to be used for printing purposes. This step will be required if the EFPU print utility is to be used for downloading firmware or test files however.
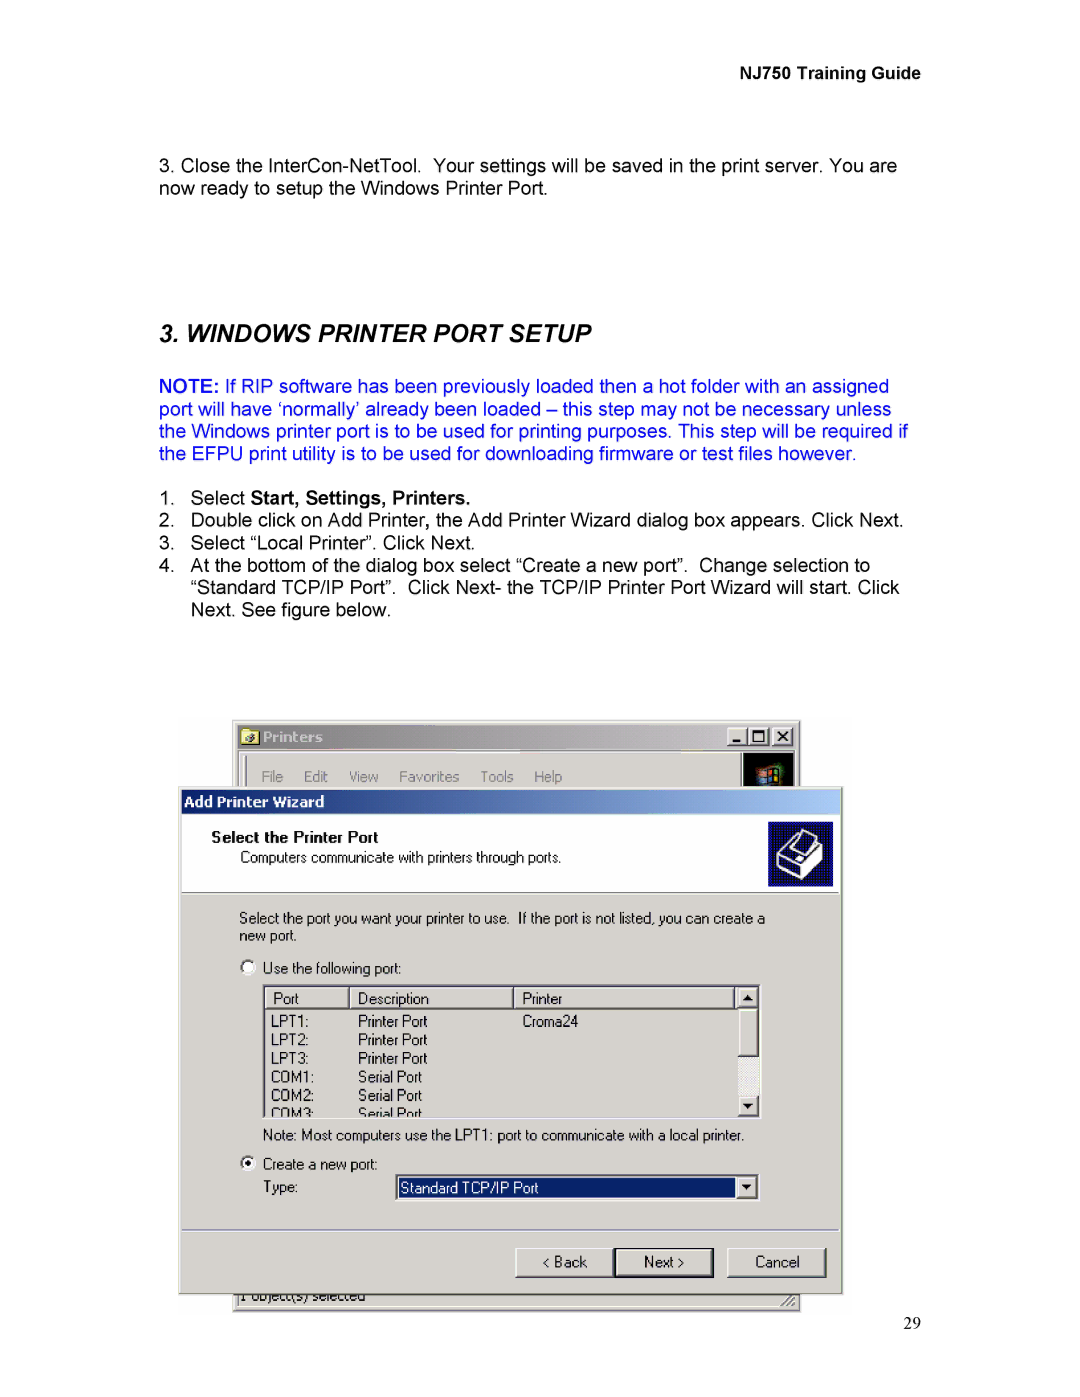
1.Select Start, Settings, Printers.
2.Double click on Add Printer, the Add Printer Wizard dialog box appears. Click Next.
3.Select “Local Printer”. Click Next.
4.At the bottom of the dialog box select “Create a new port”. Change selection to “Standard TCP/IP Port”. Click Next- the TCP/IP Printer Port Wizard will start. Click Next. See figure below.
29