Expansion Memory Installation
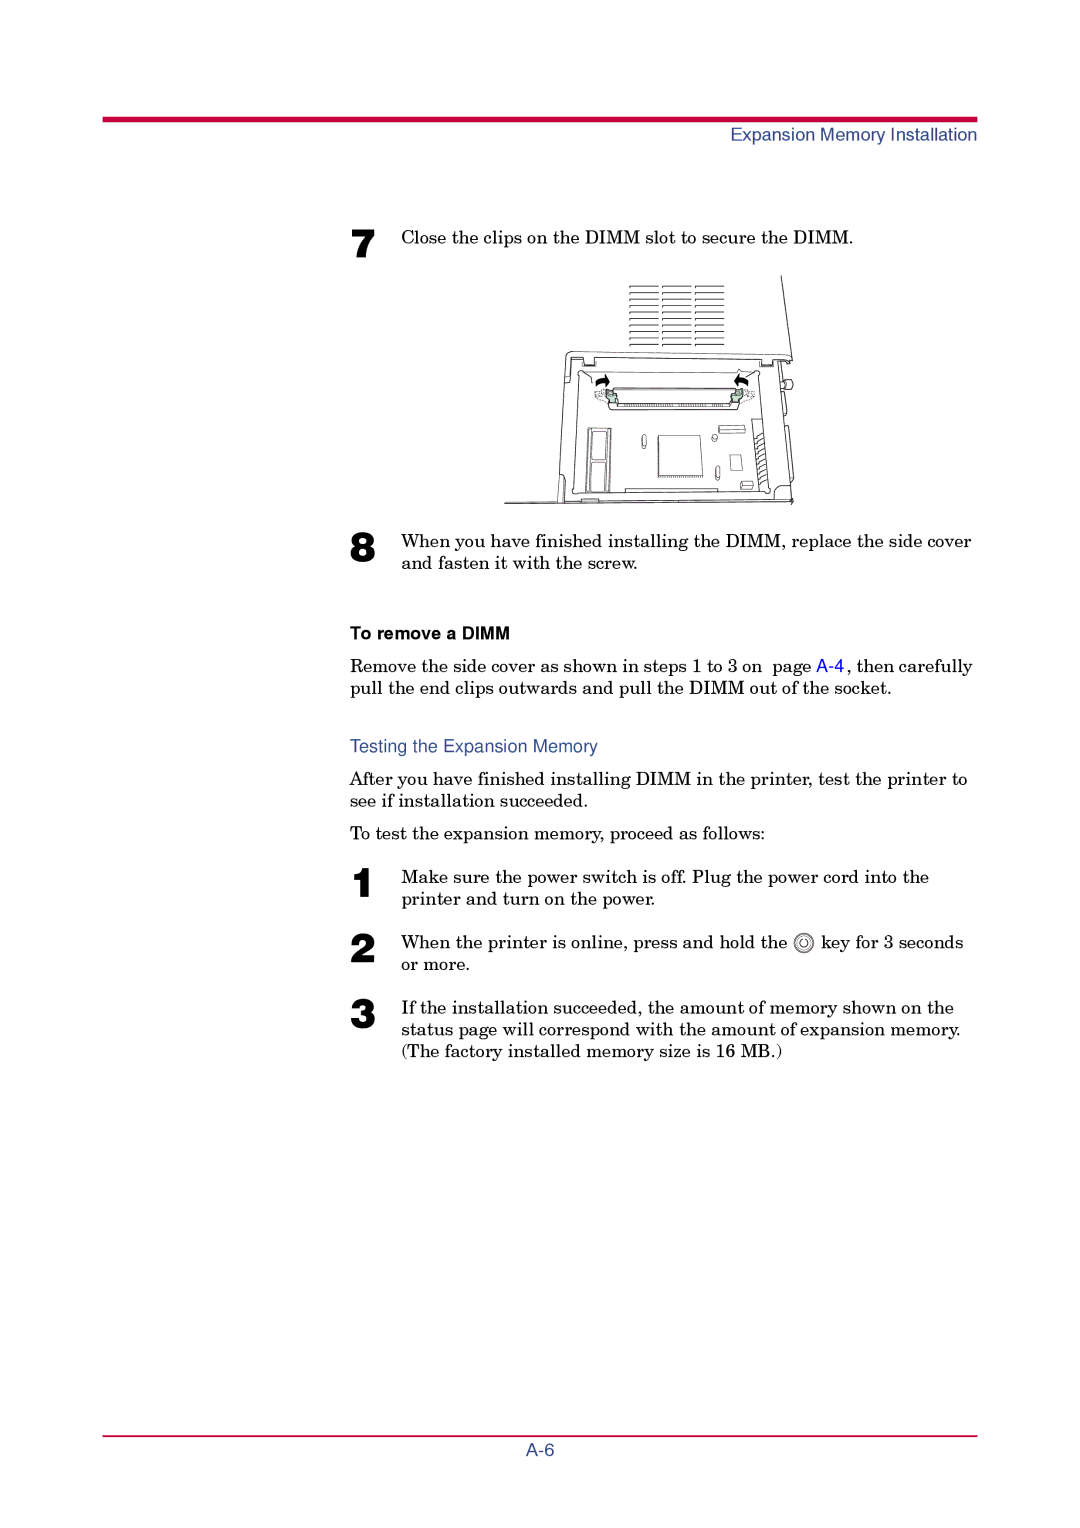
7 Close the clips on the DIMM slot to secure the DIMM.
8 | When you have finished installing the DIMM, replace the side cover |
and fasten it with the screw. |
To remove a DIMM:
Remove the side cover as shown in steps 1 to 3 on page
Testing the Expansion Memory
After you have finished installing DIMM in the printer, test the printer to see if installation succeeded.
To test the expansion memory, proceed as follows:
1 | Make sure the power switch is off. Plug the power cord into the | |
printer and turn on the power. |
| |
2 | When the printer is online, press and hold the | key for 3 seconds |
or more. |
| |
3 | If the installation succeeded, the amount of memory shown on the | |
status page will correspond with the amount of expansion memory. | ||
(The factory installed memory size is 16 MB.)