FS-3920DN specifications
The Kyocera FS-3920DN is a robust and efficient monochrome laser printer designed specifically for small to medium-sized businesses. This multifunctional printer is known for its reliability and high-performance printing capabilities, making it an ideal choice for organizations that require fast, high-quality document output.One of the standout features of the FS-3920DN is its impressive printing speed. It can produce up to 40 pages per minute (ppm), which significantly enhances productivity, especially in busy office environments where time is of the essence. The first printout is delivered in as little as 5.9 seconds, ensuring that users spend minimal time waiting for documents.
The printer is equipped with a dual-side printing option, which not only helps to save paper but also reduces printing costs. This automatic duplex printing feature is an attractive benefit for companies looking to adopt environmentally friendly practices.
In terms of print quality, the FS-3920DN boasts a resolution of 1200 x 1200 dpi, producing sharp and clear text along with detailed graphics. This makes it suitable for a variety of documentation needs, from simple text documents to more complex reports and presentations.
The printer utilizes Kyocera's advanced toner technology, which results in a longer lifespan and lower cost per page. The eco-friendly ECOSYS technology ensures that the printer is not only efficient but also sustainable, thereby contributing to reduced environmental impact through lower waste generation.
Connectivity options are extensive, with USB and Ethernet ports available for seamless integration into existing networks. Additionally, the FS-3920DN is compatible with mobile printing options, allowing users to print directly from their smartphones and tablets. This flexibility is particularly beneficial in modern office settings where mobility is a key factor.
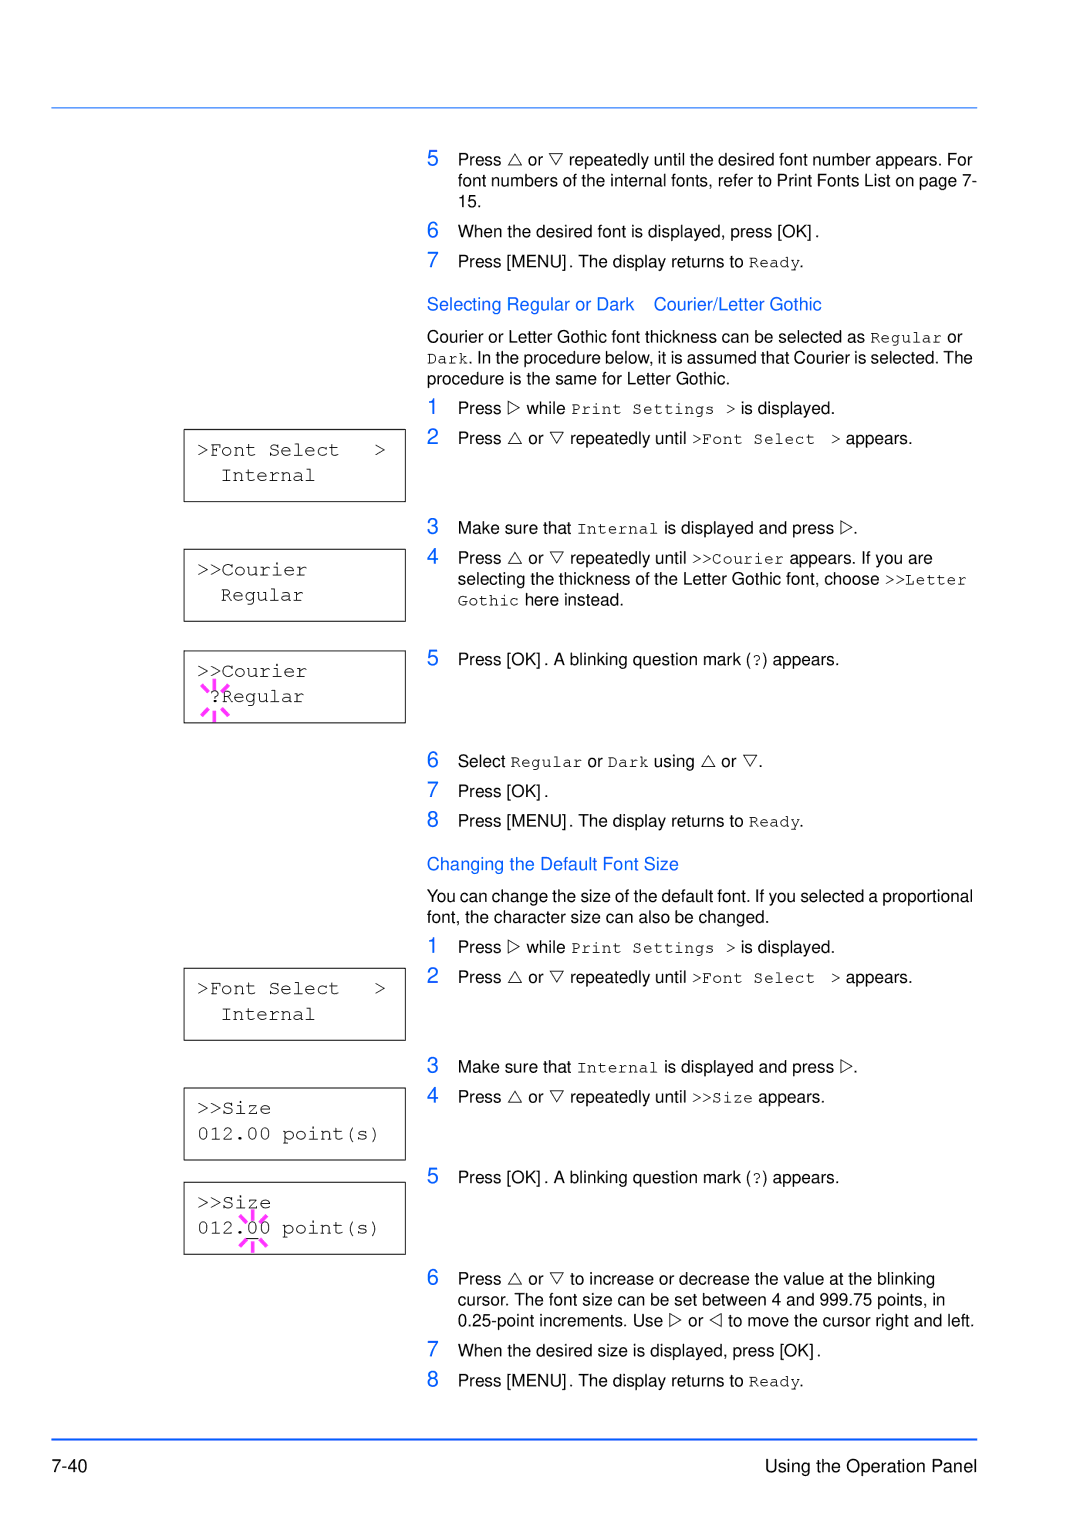
Moreover, the FS-3920DN's compact design enhances its usability in limited spaces without compromising functionality. Its user-friendly control panel simplifies operation, making it accessible even for those with minimal technical skills.
Overall, the Kyocera FS-3920DN stands out in the competitive landscape of office printers with its blend of high-speed performance, quality output, cost-efficiency, and environmental consideration, making it a smart investment for any enterprise focused on enhancing productivity while maintaining a commitment to sustainability.

