Land Pride | Table of Contents |
Section 4 Maintenance and Lubrication
Hour Meter
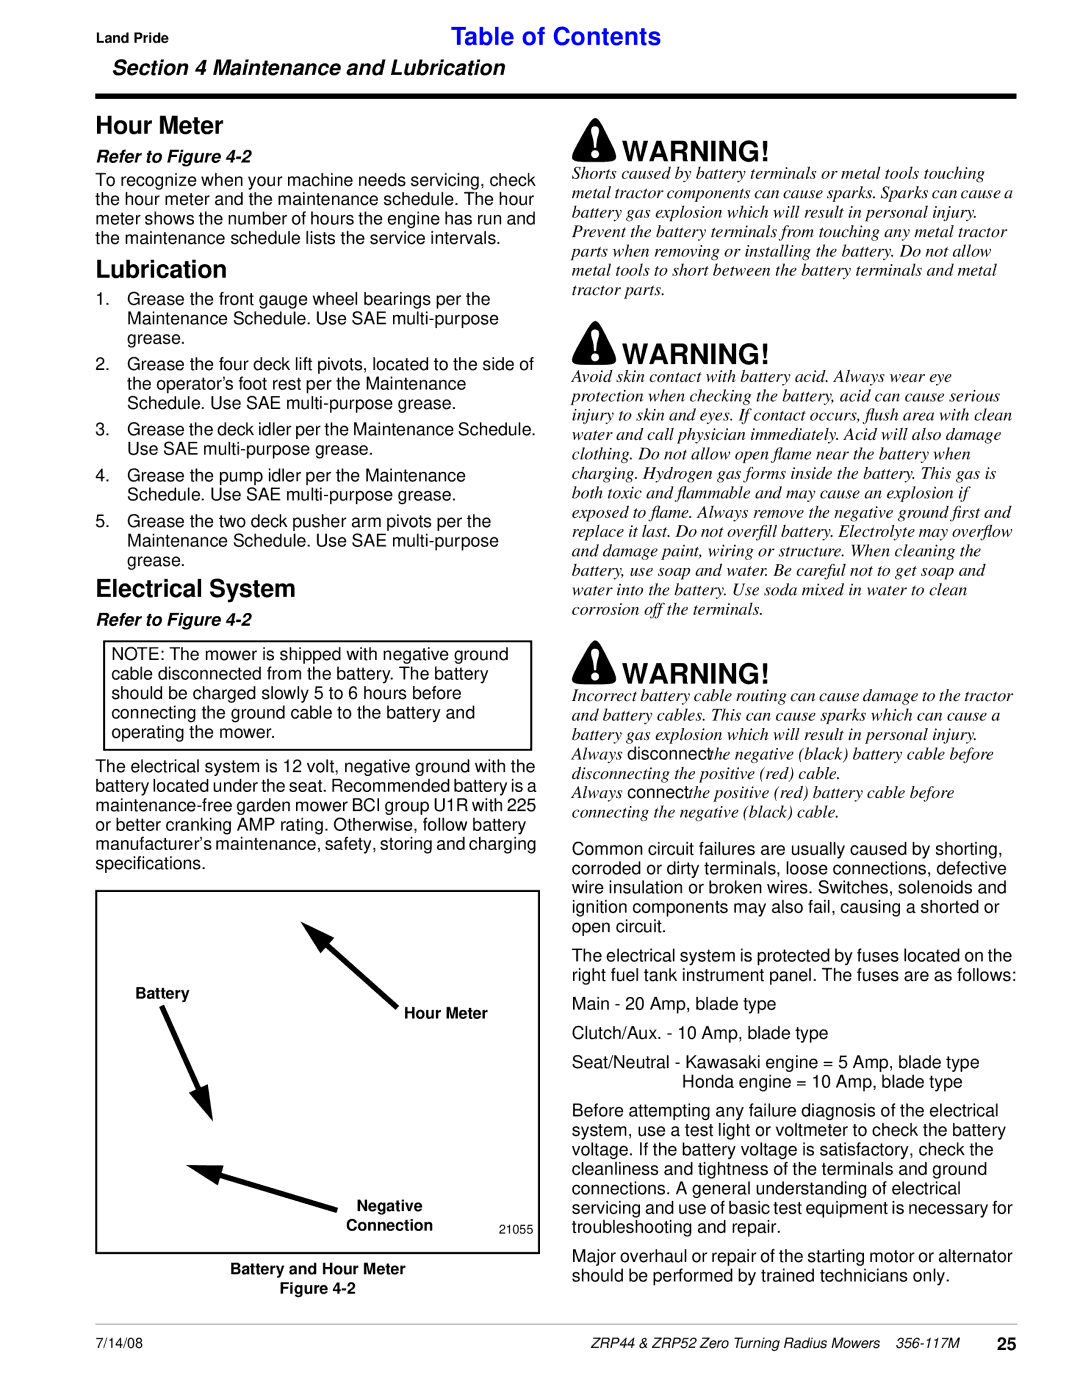
Refer to Figure 4-2
To recognize when your machine needs servicing, check the hour meter and the maintenance schedule. The hour meter shows the number of hours the engine has run and the maintenance schedule lists the service intervals.
Lubrication
1.Grease the front gauge wheel bearings per the Maintenance Schedule. Use SAE
2.Grease the four deck lift pivots, located to the side of the operator’s foot rest per the Maintenance Schedule. Use SAE
3.Grease the deck idler per the Maintenance Schedule. Use SAE
4.Grease the pump idler per the Maintenance Schedule. Use SAE
5.Grease the two deck pusher arm pivots per the Maintenance Schedule. Use SAE
Electrical System
Refer to Figure 4-2
NOTE: The mower is shipped with negative ground cable disconnected from the battery. The battery should be charged slowly 5 to 6 hours before connecting the ground cable to the battery and operating the mower.
The electrical system is 12 volt, negative ground with the battery located under the seat. Recommended battery is a
.
Battery
Hour Meter
Negative
Connection 21055
Battery and Hour Meter
Figure
!WARNING!
Shorts caused by battery terminals or metal tools touching metal tractor components can cause sparks. Sparks can cause a battery gas explosion which will result in personal injury. Prevent the battery terminals from touching any metal tractor parts when removing or installing the battery. Do not allow metal tools to short between the battery terminals and metal tractor parts.
!WARNING!
Avoid skin contact with battery acid. Always wear eye protection when checking the battery, acid can cause serious injury to skin and eyes. If contact occurs, flush area with clean water and call physician immediately. Acid will also damage clothing. Do not allow open flame near the battery when charging. Hydrogen gas forms inside the battery. This gas is both toxic and flammable and may cause an explosion if exposed to flame. Always remove the negative ground first and replace it last. Do not overfill battery. Electrolyte may overflow and damage paint, wiring or structure. When cleaning the battery, use soap and water. Be careful not to get soap and water into the battery. Use soda mixed in water to clean corrosion off the terminals.
!WARNING!
Incorrect battery cable routing can cause damage to the tractor and battery cables. This can cause sparks which can cause a battery gas explosion which will result in personal injury. Always disconnect the negative (black) battery cable before disconnecting the positive (red) cable.
Always connect the positive (red) battery cable before connecting the negative (black) cable.
Common circuit failures are usually caused by shorting, corroded or dirty terminals, loose connections, defective wire insulation or broken wires. Switches, solenoids and ignition components may also fail, causing a shorted or open circuit.
The electrical system is protected by fuses located on the right fuel tank instrument panel. The fuses are as follows:
Main - 20 Amp, blade type
Clutch/Aux. - 10 Amp, blade type
Seat/Neutral - Kawasaki engine = 5 Amp, blade type Honda engine = 10 Amp, blade type
Before attempting any failure diagnosis of the electrical system, use a test light or voltmeter to check the battery voltage. If the battery voltage is satisfactory, check the cleanliness and tightness of the terminals and ground connections. A general understanding of electrical servicing and use of basic test equipment is necessary for troubleshooting and repair.
Major overhaul or repair of the starting motor or alternator should be performed by trained technicians only.
7/14/08 | ZRP44 & ZRP52 Zero Turning Radius Mowers | 25 |
