
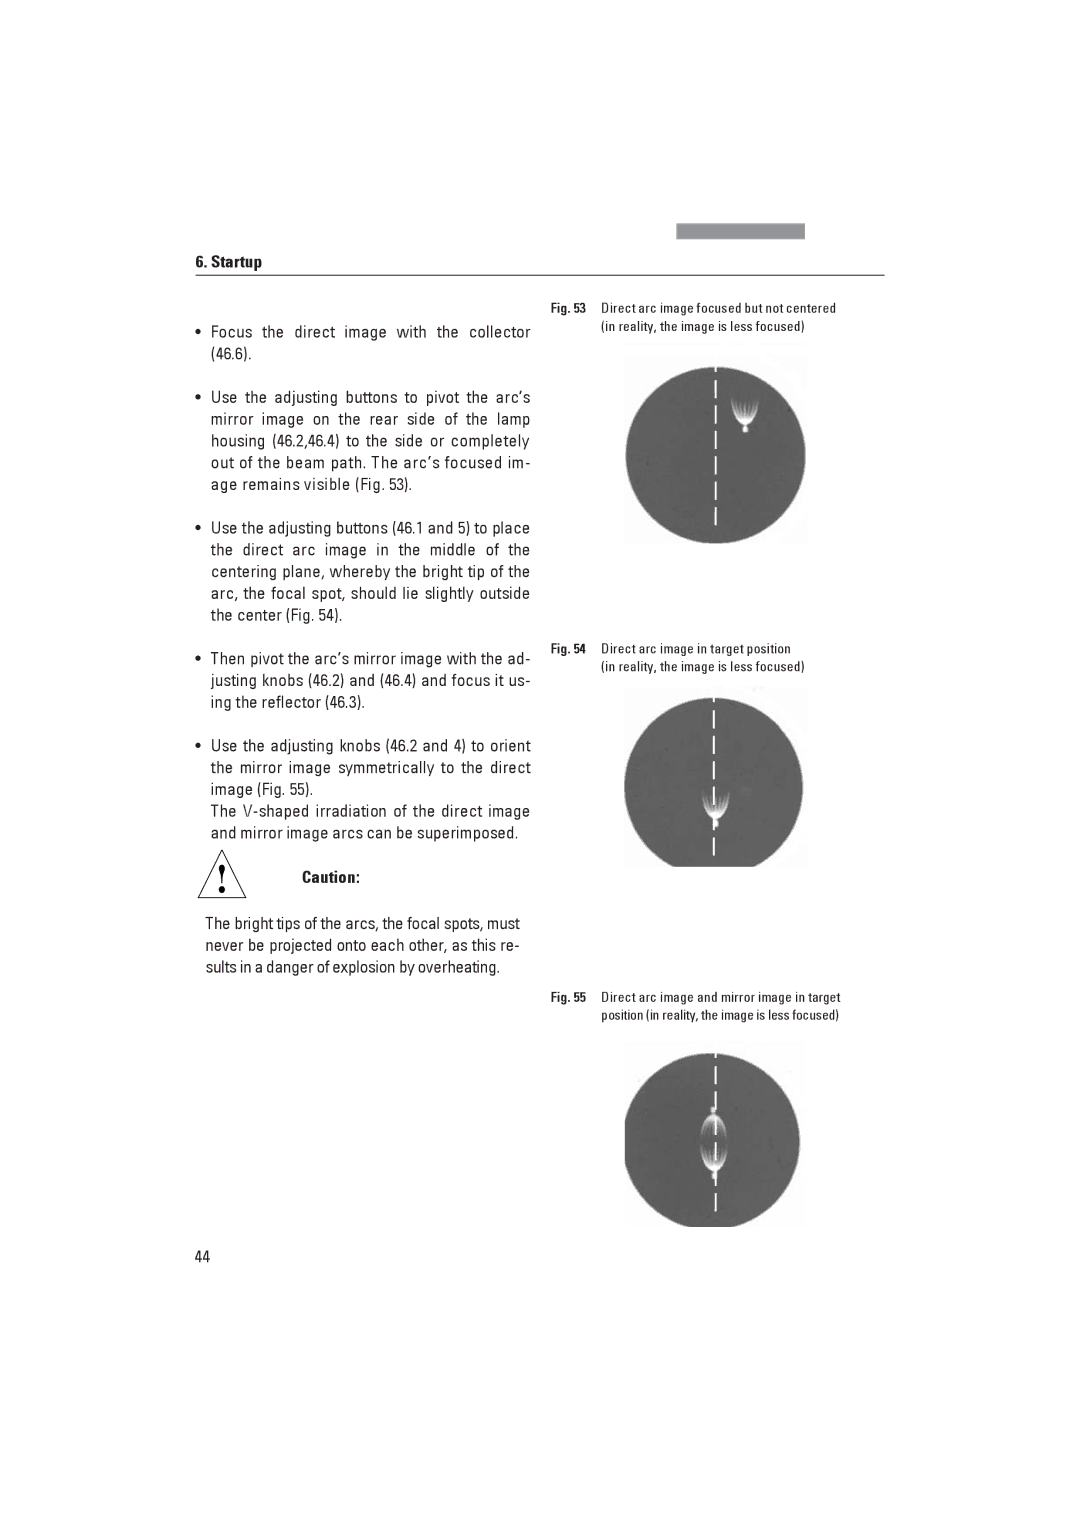
DM4000B, DM4000M specifications
The Leica DM4000M and DM4000B are state-of-the-art microscopes designed for professional use in the fields of biology, materials science, and clinical applications. Renowned for their precision and innovative features, these instruments are perfect for researchers and clinicians needing high-resolution imaging capabilities.One of the standout features of both models is the advanced motorized focusing system, which allows for swift adjustments and precise control. This feature is particularly useful in time-sensitive research environments, where accuracy and speed are paramount. The ergonomically designed focus mechanism promotes user comfort during prolonged observation sessions.
Both the DM4000M and DM4000B incorporate the revolutionary Leica Application Suite (LAS) software. This intuitive platform is designed to maximize the functionality of the microscope, enabling users to capture, analyze, and share images seamlessly. The software’s integrated tools are perfect for documenting findings and enhancing research productivity.
Another notable characteristic of the DM4000 series is the modular design, which allows for easy customization and upgrading. This aspect ensures that users can tailor their microscopes to meet specific research needs, whether it be for fluorescence microscopy, phase contrast, or even special imaging techniques like HSR or IR.
The high-performance optics provide exceptional image contrast and clarity, allowing users to observe minute details in samples. The combination of high numerical aperture objectives and advanced optical coatings enhances the resolution, making the DM4000 series ideal for examining intricate biological specimens as well as materials with complex textures.
The DM4000B model is particularly suited for routine clinical applications, featuring specific tools designed for rapid diagnosis and efficient workflows. Its user-friendly interface and dedicated clinical applications streamline laboratory processes, making it an essential device in any clinical setting.
Additionally, both models are equipped with LED illumination, which offers consistent light intensity and color temperature. This feature improves sample clarity while reducing heat generation, thereby protecting sensitive specimens during prolonged observation periods.
In conclusion, the Leica DM4000M and DM4000B microscopes represent a blend of advanced technology, intuitive design, and high adaptability. Their user-focused features and exceptional optical performance make them indispensable tools for researchers and clinical professionals aiming for excellence in microscopy.