Manuals
/
LG Electronics
/
TV and Video
/
DVR
LG Electronics
LDV-S503, LDV-S504 Before Operating the System, The following HDD has been, HDDs
Models:
LDV-S503
LDV-S504
1
19
71
71
Download
71 pages
43.32 Kb
16
17
18
19
20
21
22
23
Troubleshooting
Specs
Install
Alarm Output
Administrator
Connecting to the DVR
Menu Configuration
To Register Preset Positions
Accessories
Setup for PTZ Cameras
Page 19
Image 19
Page 18
Page 20
Page 19
Image 19
Page 18
Page 20
Contents
MODEL LDV-S504 LDV-S503
OWNER’S MANUAL
LDV-S504W/WIDEENGV1.2MFL30580171
DIGITAL VIDEO RECORDER
Disposal of your old appliance
DO NOT REMOVE COVER OR BACK NO USER-SERVICEABLE PARTS INSIDE
REFER SERVICING TO QUALIFIED SERVICE PERSONNEL
REGULATORY INFORMATION FCC Part
PROGRAM
ADDITIONAL
IMPORTANT SAFETY INSTRUCTIONS
Safety warnings and Cautions
Please beware of the following precautions before installing the DVR
RECORDING
HOOKUP AND SETTINGS
INTRODUCTION
SEARCH AND PLAYBACK
INTRODUCTION
Features
INTRODUCTION
d e f g h
Front Panel
x LDV-S503
Accessories
e f g h i j k l m n o
Rear Panel
x LDV-S504
b c d
Remote Control
Basic Connection Overview
HOOKUP AND SETTINGS
Precautions
Be sure to switch off the camera before installation and connection
RS-422/485 Terminal
Connecting the RS-422/485 Device
Connecting Sensor Input and Alarm Output
HOOKUP AND SETTINGS
Alarm Output
Connecting the USB Device
Connecting the RS-232C Port
Connecting CONSOLE
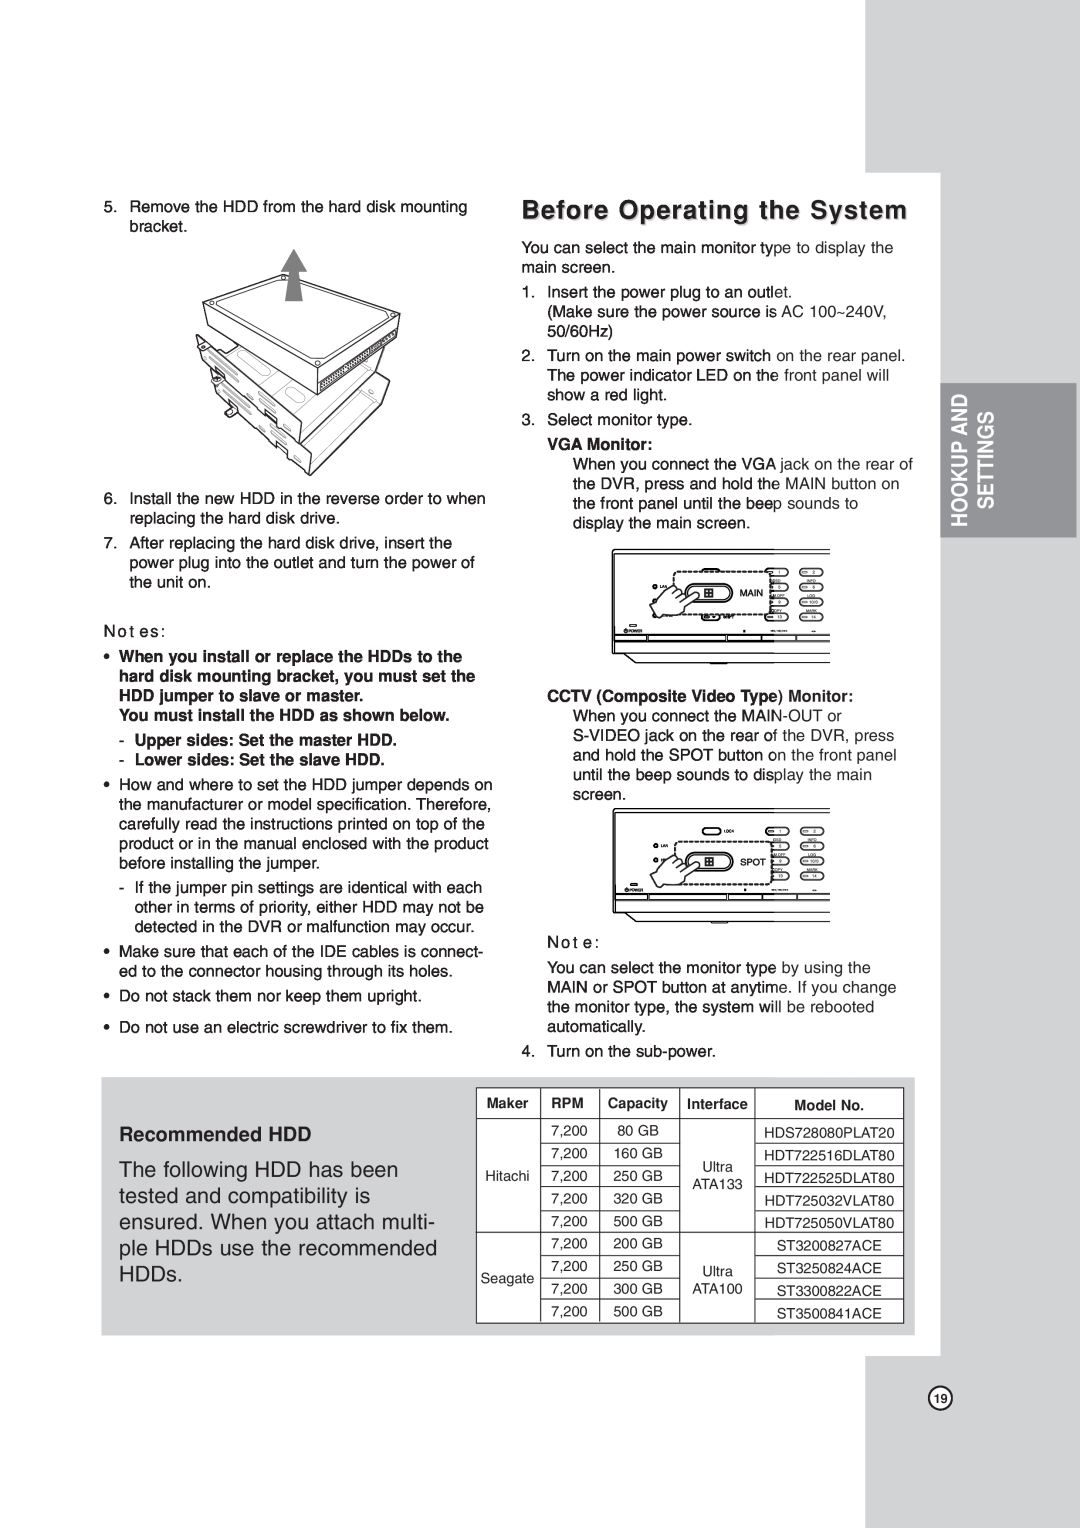
Installing the Hard Disk Drive
Installing or Replacing the Hard Disk Drive
Concerning the Internal Hard Disk Drive
mounting bracket
HOOKUP AND SETTINGS
Power cable for
Replacing the Hard Disk Drive
tested and compatibility is
ensured. When you attach multi
Before Operating the System
The following HDD has been
System Shutdown
System Operation
a Channel Number
General Explanation of the Live Screen on the Main Monitor
Main Monitor Screen
f System Control Bar
Main Monitor
Selecting Live Screen Mode
Spot Monitor
PTZ Camera Control
Preset Settings
To Register Preset Positions
Changing to a Picture in a Preset Position
Viewing System Information
To Clear the Preset Position
To Tour The Preset Positions
Setup for PTZ Cameras
Using a Mouse to Set a Menu
Menu Configuration
Camera
Camera Settings
Video Adj
Video
Recording
To Set a Recording Schedule for a Special Day
Schedule Settings
To Set the Recording Schedule for a Typical Day of the Week
Copying from the Scheduled Data of the Day
Checking the Special Day Schedule List
Copying the Recording Schedule
Copying from the Scheduled Data of the Channel
z Channel Name
Display Settings
z Recording Mode
Sensor
Event Settings
Motion
Notification
Network Settings
TCP/IP
DDNS Dynamic Domain Name System
Emergency
Mail
User
System Settings
Date/Time
Buzzer
z Overwrite
Update
Configuration
Hard Disk
Instant Backup
Backup
Log Out
System ID
Daily/Weekly backup
Instant Recording
RECORDING
Instant Playback in POP Picture over Picture
SEARCH AND PLAYBACK
PLAYBACK
Instant Playback in PIP Picture in Picture
Select Source Device
SEARCH
Date and Time Search
Smart Search
Event Search
SEARCH AND PLAYBACK
Bookmark Search
mm , mmb
Functions Available During Search Playback
Button
Function
EXPORT
Recommended PC Requirements
Client Program Installation
CLIENT PROGRAM
PC Requirements
Register the Site Name
Connecting to the DVR
User Log-In
3. Screen Mode Selection Icons
Main Screen of DVR Client Program
1. Program Menu
2. Mode Selection Icons
Using the live window
Using the Camera View
Live Mode
a b c d e f g h j k
Using the Pan/Tilt/Zoom Function
To Register Preset Positions
Changing to a Picture in a Preset Position
Setup for PTZ camera
Using the Log View Function
To Clear the Preset Position
To Tour the Preset Positions
Using the Event Search function
Using the Date/Time Search function
Search Mode
Selected area within red box
Using the Bookmark Search Function
Using the Smart Search function
Cancel the selected area Select the all area
Camera / Display Setup
Remote Setup Mode
Camera Setting
Recording Frame Rate Settings
Schedule setup
Display Settings
Schedule Copy Settings
Event setup
Special Day Settings
Notification
Network setup
TCP/IP Settings
Mail Settings
Administrator
System setup
Date/Time settings
Update Settings
a b c
Additional Programs
Emergency Agent Program
Main Screen of Emergency Agent
Message Search
Port Setting
Export Viewer Program
Main Screen of Export Viewer
Video Information
Watermark Setting
Playing Data
Control Icons
REFERENCE
Troubleshooting
REFERENCE
Audio data recorded
The DVR does not operate normally
If you observe any of the following symptoms
You can reboot the DVR as follows
Some of the front panel LEDs do not light
Supported CD/DVD Media list
Recommended Devices
Supported USB Memory list
Supported CD/DVD writing device list
Detailed Items
Factory Default Configuration Settings
Default Setting
Classification
2nd level
1st level
3rd level
Detailed Items
VideoNTSC/PAL
Recording Time Table 250GB HDD
Resolution
Quality
This recording time table is for reference only
LDV-S504
Specifications
Model
LDV-S503
0701
P/NO MFL30580171
Top
Page
Image
Contents