L E S 6 0 0 O P E R A T I N G I N S T R U C T I O N S | 7 |
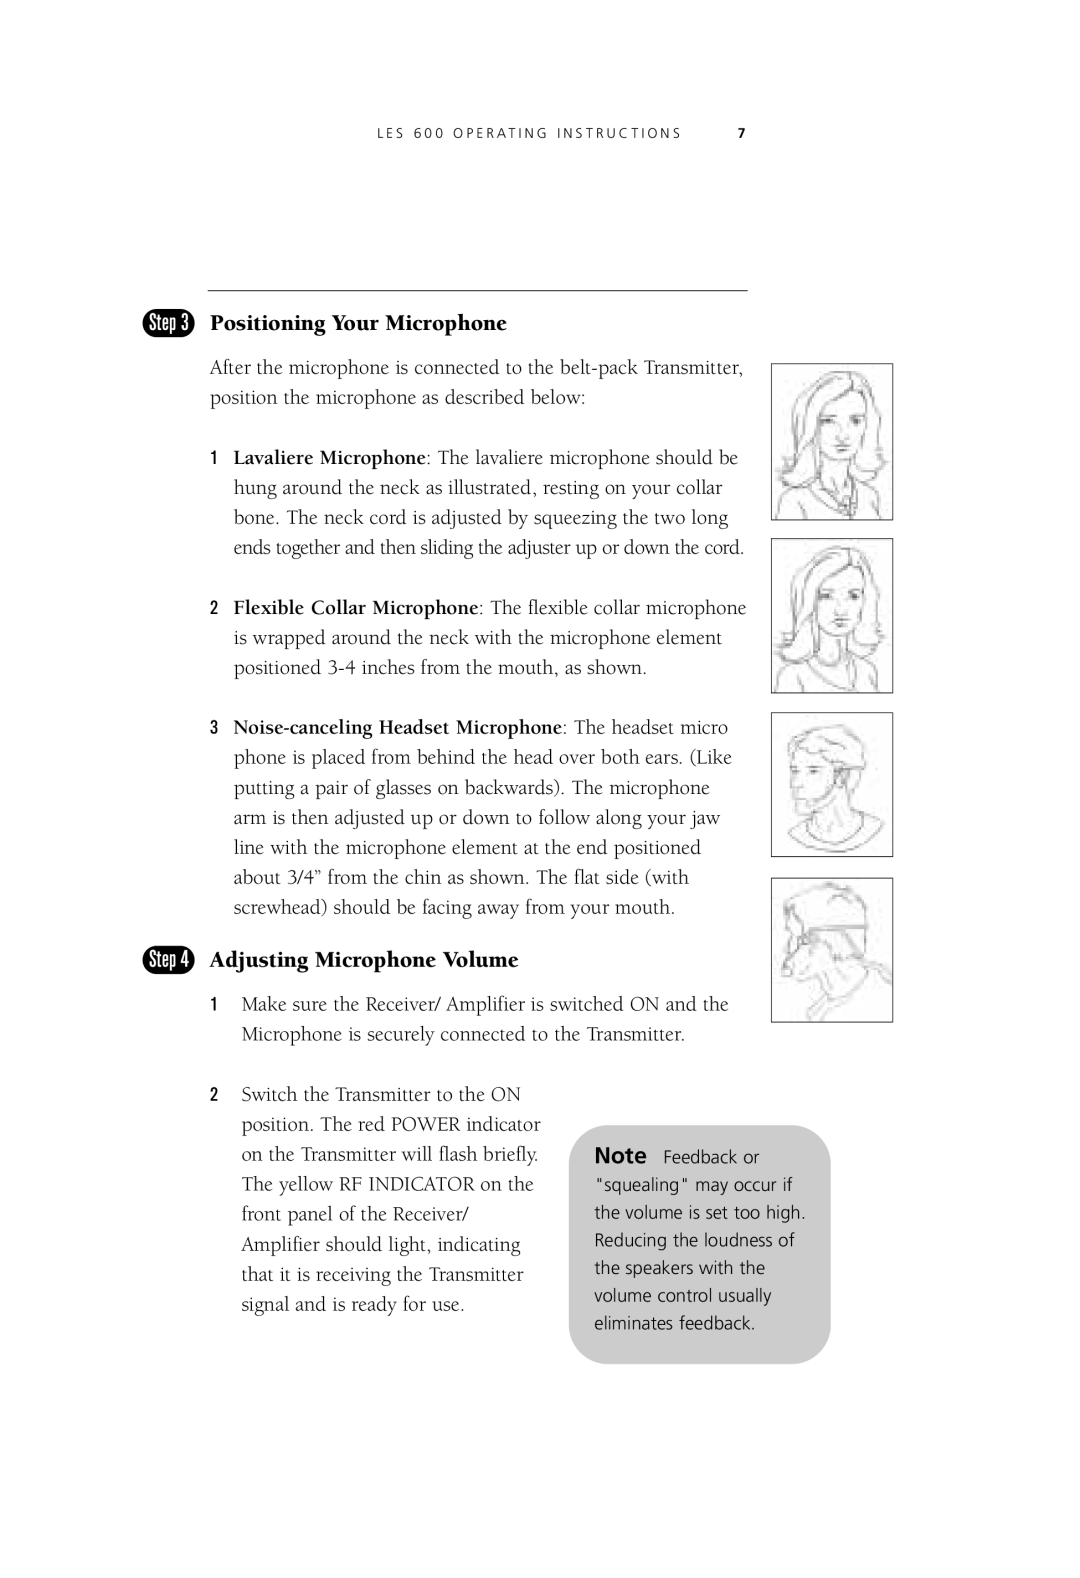
Step 3 Positioning Your Microphone
After the microphone is connected to the
1Lavaliere Microphone: The lavaliere microphone should be hung around the neck as illustrated, resting on your collar bone. The neck cord is adjusted by squeezing the two long ends together and then sliding the adjuster up or down the cord.
2Flexible Collar Microphone: The flexible collar microphone is wrapped around the neck with the microphone element positioned
3
Step 4 Adjusting Microphone Volume
1Make sure the Receiver/ Amplifier is switched ON and the Microphone is securely connected to the Transmitter.
2Switch the Transmitter to the ON position. The red POWER indicator on the Transmitter will flash briefly. The yellow RF INDICATOR on the front panel of the Receiver/ Amplifier should light, indicating that it is receiving the Transmitter signal and is ready for use.
Note Feedback or "squealing" may occur if the volume is set too high. Reducing the loudness of the speakers with the volume control usually eliminates feedback.