Chapter 2
Configuration
Key Life Time In the Key Lifetime field, you may optionally select to have the key expire at the end of a time period of your choosing. Enter the number of seconds you’d like the key to be used until a
Phase 2
Encryption The encryption method selected in Phase 1 will be displayed.
Authentication The authentication method selected in Phase 1 will be displayed.
PFS The status of PFS will be displayed.
Group There are two
Key Life Time In the Key Lifetime field, you may select to have the key expire at the end of a time period of your choosing. Enter the number of seconds you’d like the key to be used until a
Other Setting
NAT Traversal
NetBIOS broadcast Check the box next to this field to enable NetBIOS traffic to pass through the VPN tunnel.
Check this box to block unauthorized IP addresses Enter in the field to specify how many times IKE must fail before blocking that unauthorized IP address. Enter the length of time that you specify (in seconds) in the field.
When finished making your changes to this screen, click Save Settings to save the changes, or click Cancel Changes to undo your changes.
The Access Restrictions Tab > Internet Access
The Internet Access screen allows you to block or allow specific kinds of Internet usage. You can set up Internet access policies for specific computers and set up filters by using network port numbers.
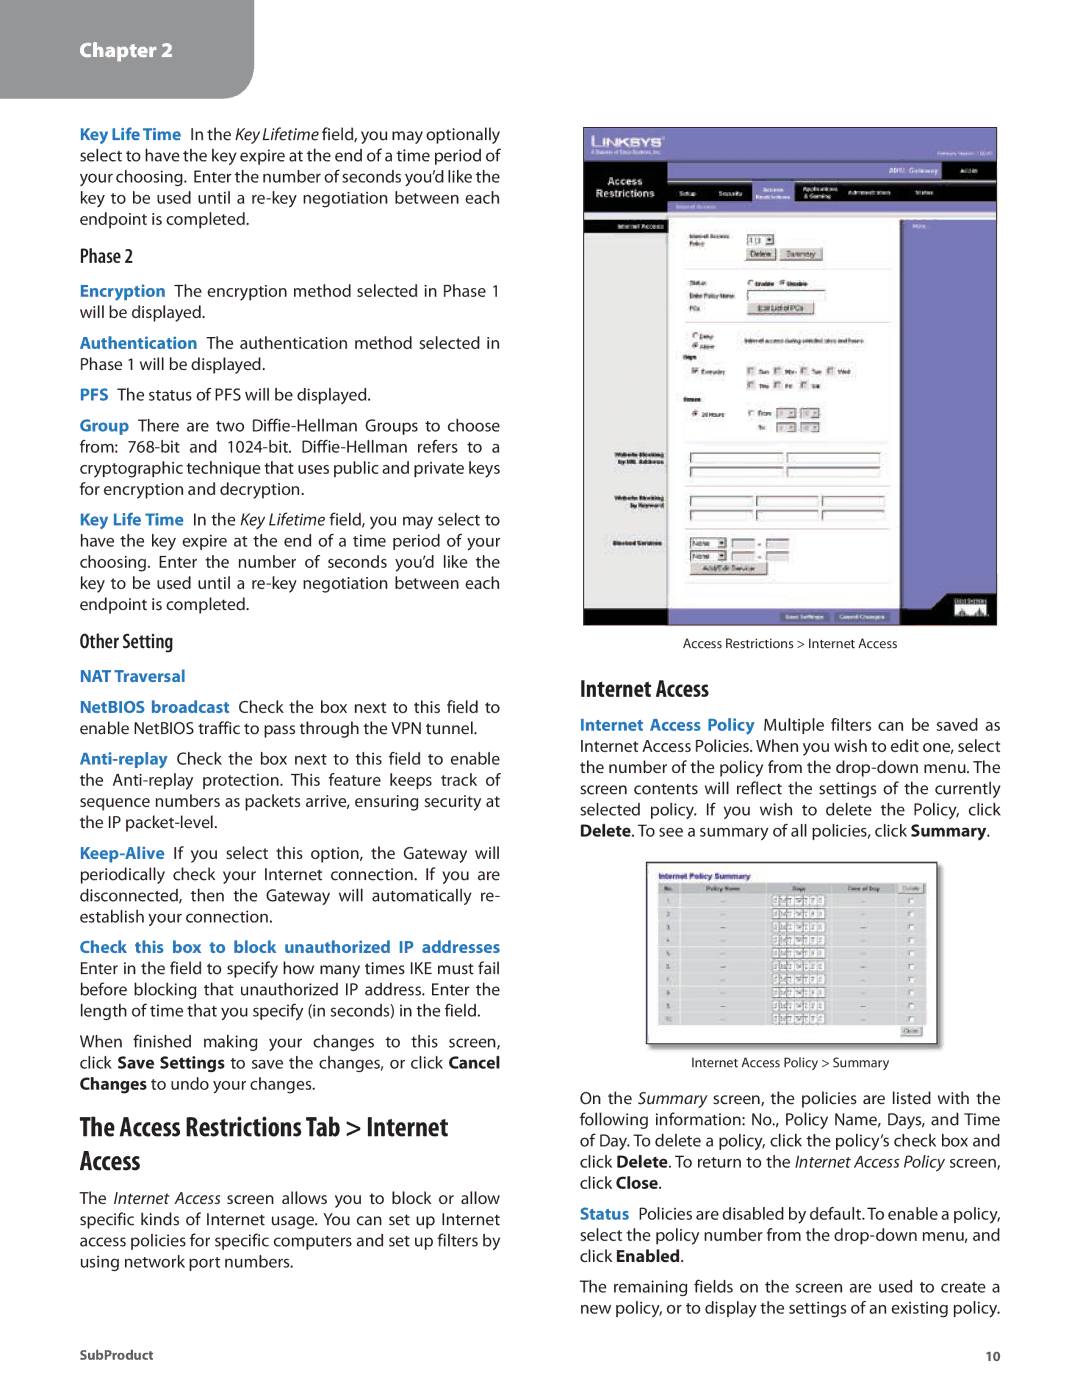
Access Restrictions > Internet Access
Internet Access
Internet Access Policy Multiple filters can be saved as Internet Access Policies. When you wish to edit one, select the number of the policy from the
Internet Access Policy > Summary
On the Summary screen, the policies are listed with the following information: No., Policy Name, Days, and Time of Day. To delete a policy, click the policy’s check box and click Delete. To return to the Internet Access Policy screen, click Close.
Status Policies are disabled by default. To enable a policy, select the policy number from the
The remaining fields on the screen are used to create a new policy, or to display the settings of an existing policy.
SubProduct | 10 |