ADSL2 Gateway with 4-Port Switch
Chapter 4: Connecting the ADSL2 Gateway with 4-Port Switch
Overview
The Gateway’s setup consists of more than simply plugging hardware together. You will have to configure your networked computers to accept the IP addresses that the Gateway assigns them (if applicable), and you will also have to configure the Gateway with setting(s) provided by your Internet Service Provider (ISP).
The installation technician from your ISP should have left the setup information for your modem with you after installing your broadband connection. If not, you can call your ISP to request that data.
After you have the setup information you need for your specific type of Internet connection, you can begin installation and setup of the Gateway.
Connection to a Computer
1.Before you begin, make sure that all of your network’s hardware is powered off, including the Gateway and all computers.
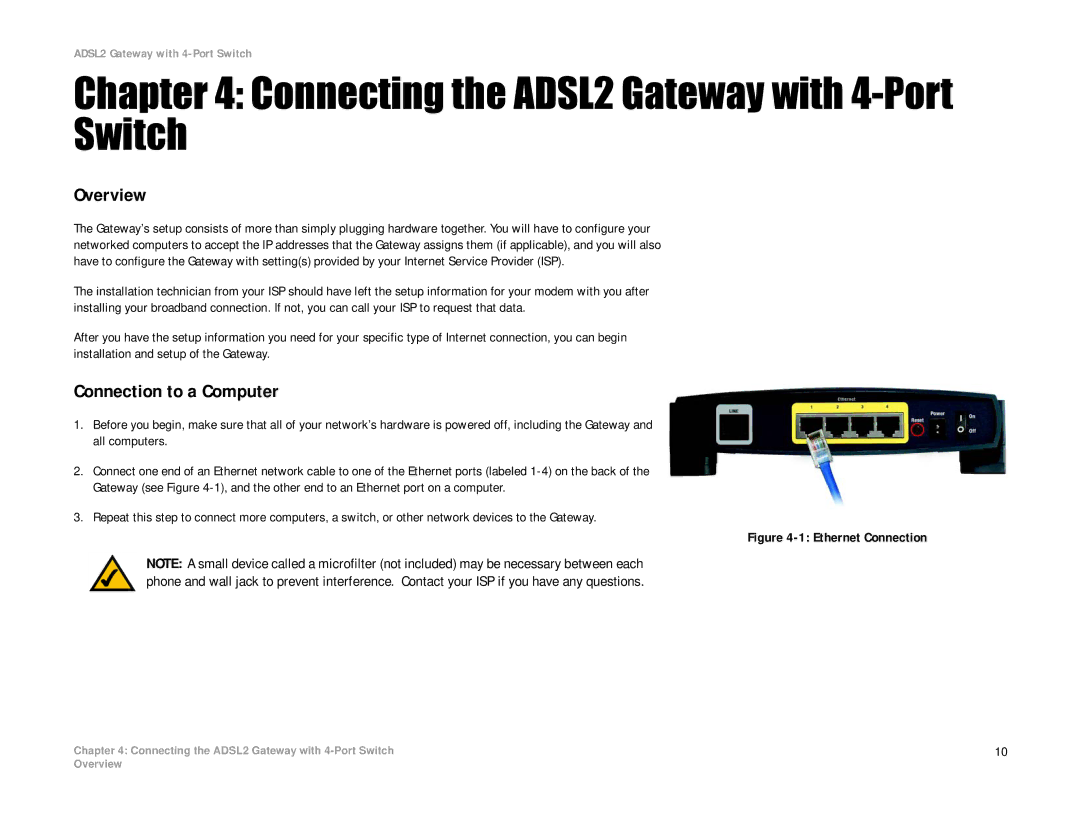
2.Connect one end of an Ethernet network cable to one of the Ethernet ports (labeled
3.Repeat this step to connect more computers, a switch, or other network devices to the Gateway.
Figure 4-1: Ethernet Connection
NOTE: A small device called a microfilter (not included) may be necessary between each phone and wall jack to prevent interference. Contact your ISP if you have any questions.
Chapter 4: Connecting the ADSL2 Gateway with | 10 |
Overview