Instant Broadband Series
Address Automatically and continue to step 5. If your ISP assigns you a fixed IP address, click Specify an IP Address and enter the address into the Subnet Mask, Default Gateway Address and DNS fields provided by the ISP.
If you need to enable PPPoE support, choose Enable. (More information on PPPoE and Connect on Demand can be found on page 19.)
5.When you have properly configured the Setup page, click Apply, then click Continue.
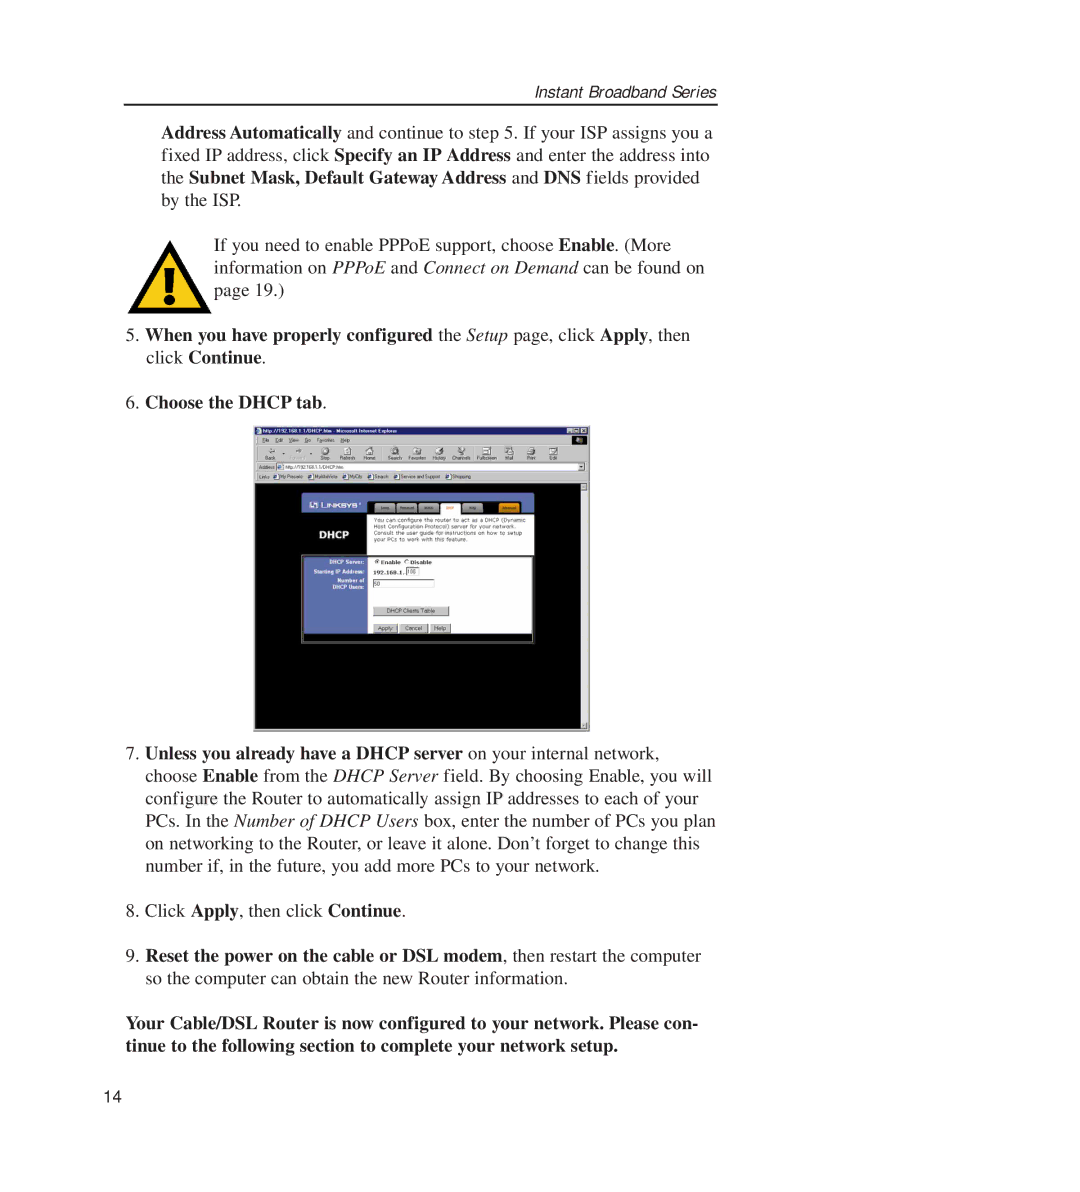
6.Choose the DHCP tab.
7.Unless you already have a DHCP server on your internal network, choose Enable from the DHCP Server field. By choosing Enable, you will configure the Router to automatically assign IP addresses to each of your PCs. In the Number of DHCP Users box, enter the number of PCs you plan on networking to the Router, or leave it alone. Don’t forget to change this number if, in the future, you add more PCs to your network.
8.Click Apply, then click Continue.
9.Reset the power on the cable or DSL modem, then restart the computer so the computer can obtain the new Router information.
Your Cable/DSL Router is now configured to your network. Please con- tinue to the following section to complete your network setup.
14