Linksys E3000
Storage > Disk
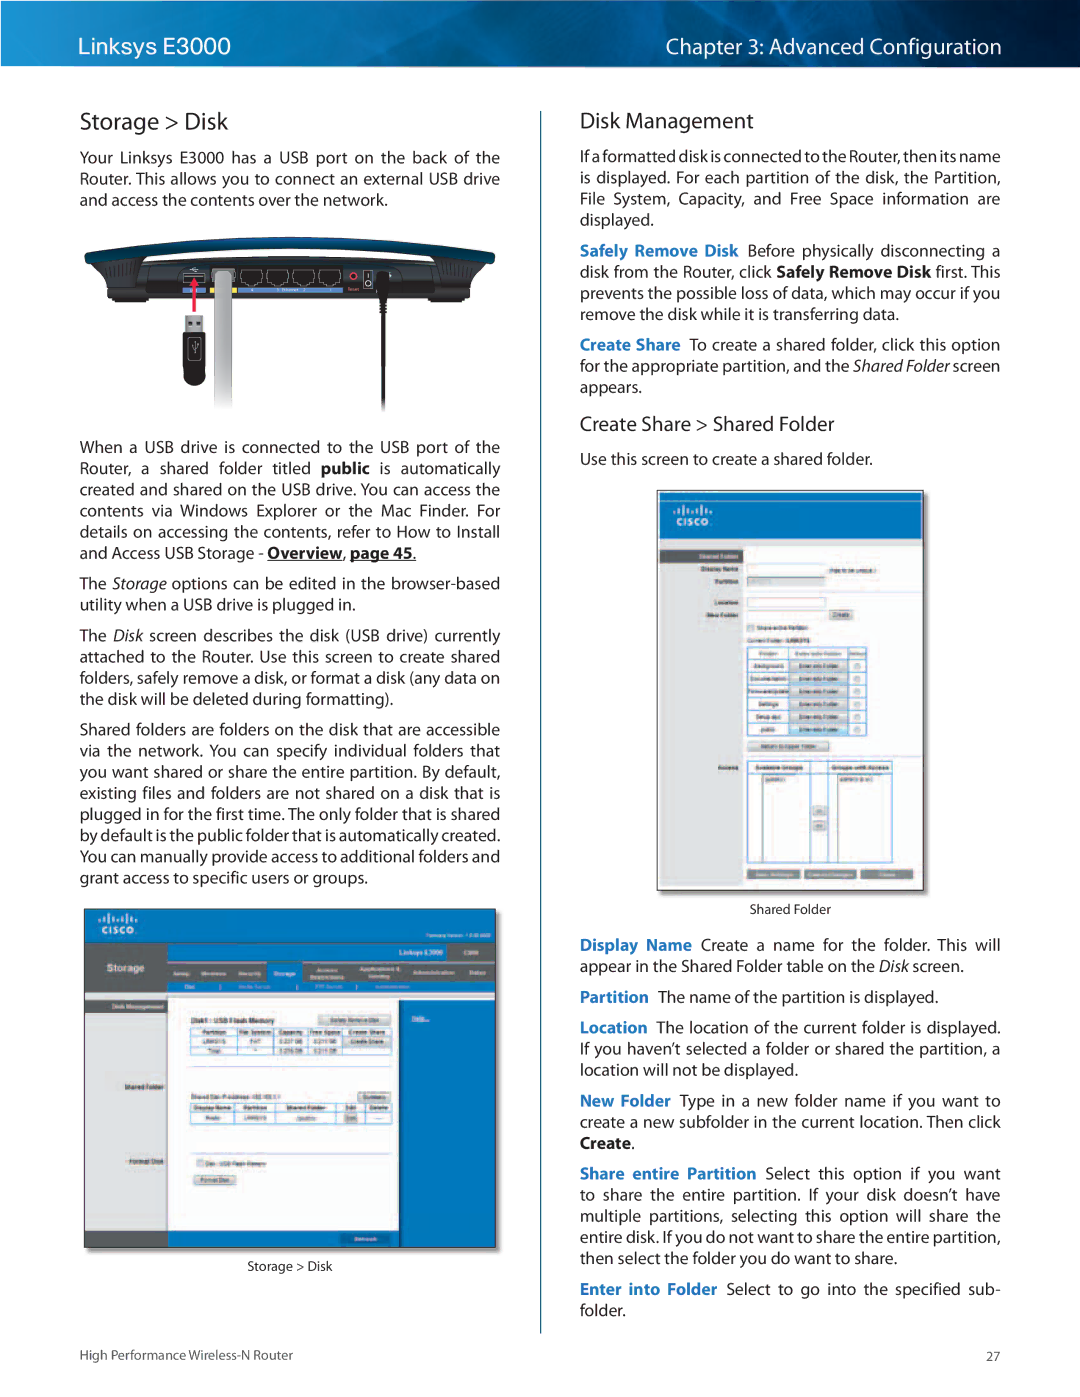
Your Linksys E3000 has a USB port on the back of the Router.. This allows you to connect an external USB drive and access the contents over the network..
USB | Internet | 4 | 3 Ethernet 2 | 1 | Reset | 12VDC |
Power |
When a USB drive is connected to the USB port of the Router, a shared folder titled public is automatically created and shared on the USB drive.. You can access the contents via Windows Explorer or the Mac Finder.. For details on accessing the contents, refer to How to Install and Access USB Storage - Overview, page 45..
The Storage options can be edited in the
The Disk screen describes the disk (USB drive) currently attached to the Router.. Use this screen to create shared folders, safely remove a disk, or format a disk (any data on the disk will be deleted during formatting)..
Shared folders are folders on the disk that are accessible via the network.. You can specify individual folders that you want shared or share the entire partition.. By default, existing files and folders are not shared on a disk that is plugged in for the first time.. The only folder that is shared by default is the public folder that is automatically created.. You can manually provide access to additional folders and grant access to specific users or groups..
Storage > Disk
Chapter 3: Advanced Configuration
Disk Management
If a formatted disk is connected to the Router, then its name is displayed.. For each partition of the disk, the Partition, File System, Capacity, and Free Space information are displayed..
Safely Remove Disk Before physically disconnecting a disk from the Router, click Safely Remove Disk first.. This prevents the possible loss of data, which may occur if you remove the disk while it is transferring data..
Create Share To create a shared folder, click this option for the appropriate partition, and the Shared Folder screen appears..
Create Share > Shared Folder
Use this screen to create a shared folder..
Shared Folder
Display Name Create a name for the folder.. This will appear in the Shared Folder table on the Disk screen..
Partition The name of the partition is displayed..
Location The location of the current folder is displayed.. If you haven’t selected a folder or shared the partition, a location will not be displayed..
New Folder Type in a new folder name if you want to create a new subfolder in the current location.. Then click Create..
Share entire Partition Select this option if you want to share the entire partition.. If your disk doesn’t have multiple partitions, selecting this option will share the entire disk.. If you do not want to share the entire partition, then select the folder you do want to share..
Enter into Folder Select to go into the specified sub folder..
High Performance | 27 |