Linksys manual Wi-Fi Protected Setup, Linksys E3000, Advanced Configuration

Models: E3000

1 80
Download 80 pages 18.96 Kb
Page 24
Image 24
Wi-Fi Protected Setup

Linksys E3000

Click Save Settings to apply your changes, or click Cancel Changes to clear your changes..

Wi-Fi Protected Setup

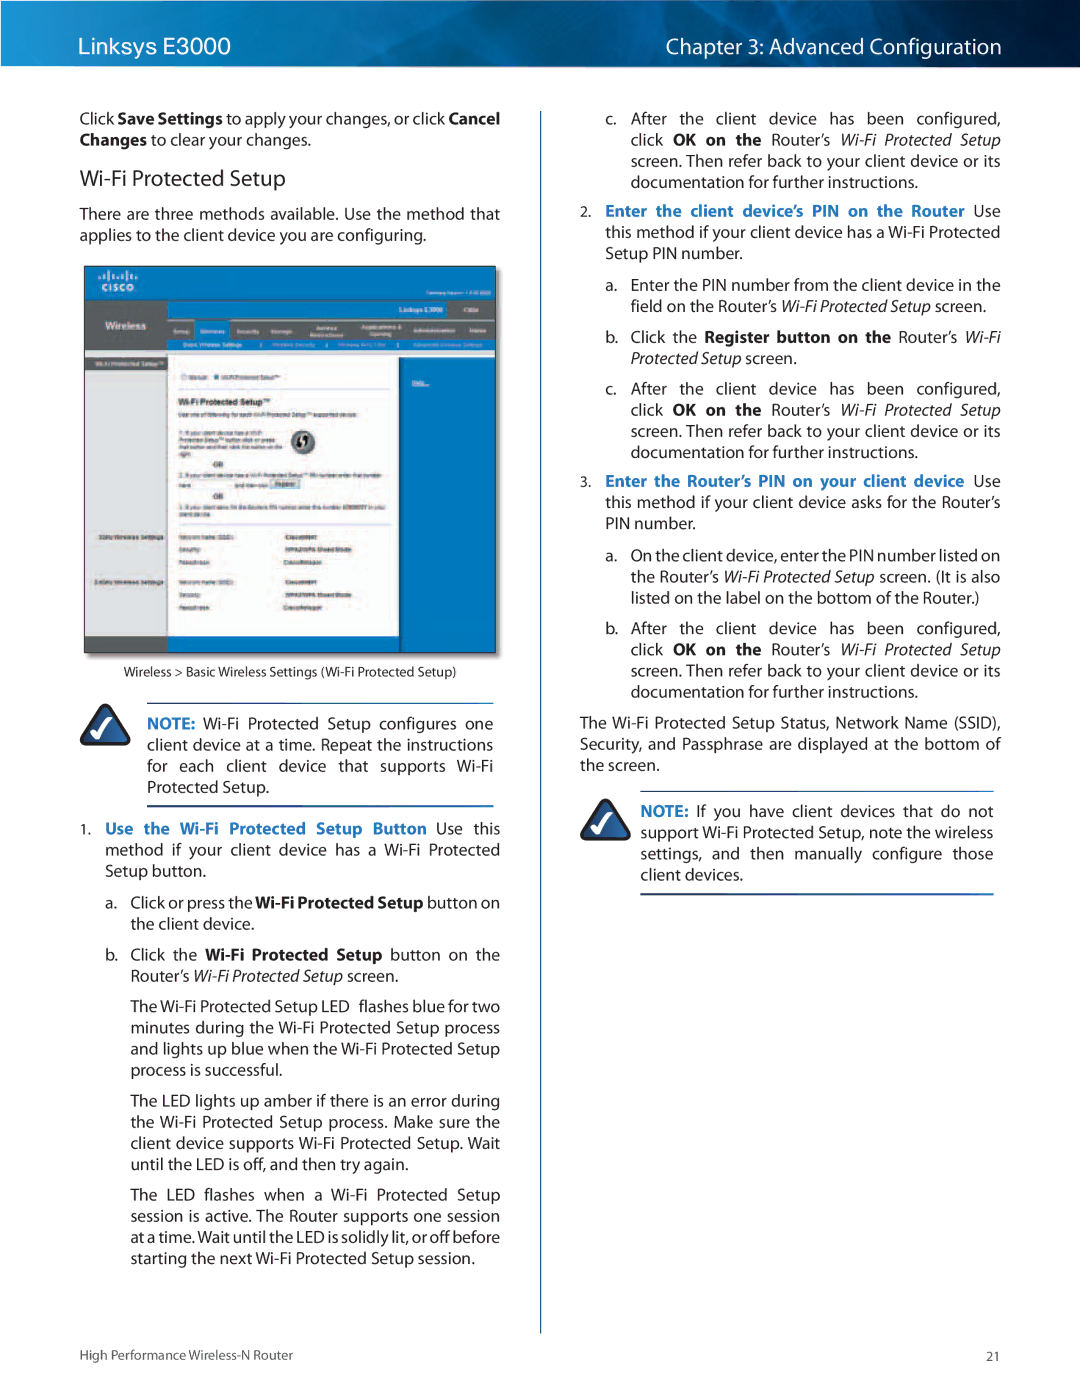
There are three methods available.. Use the method that applies to the client device you are configuring..

Wireless > Basic Wireless Settings (Wi-Fi Protected Setup)

NOTE: Wi-Fi Protected Setup configures one client device at a time.. Repeat the instructions for each client device that supports Wi-Fi Protected Setup..

1.Use the Wi-Fi Protected Setup Button  Use this method if your client device has a Wi-Fi Protected Setup button..

a.Click or press the Wi-Fi Protected Setup button on the client device..

b.Click the WiFi Protected Setup button on the Router’s Wi-Fi Protected Setup screen..

The Wi-Fi Protected Setup LED  flashes blue for two minutes during the Wi-Fi Protected Setup process and lights up blue when the Wi-Fi Protected Setup process is successful..

The LED lights up amber if there is an error during the WiFi Protected Setup process.. Make sure the client device supports WiFi Protected Setup.. Wait until the LED is off, and then try again..

The LED flashes when a WiFi Protected Setup session is active.. The Router supports one session at a time.. Wait until the LED is solidly lit, or off before starting the next Wi-Fi Protected Setup session..

Chapter 3: Advanced Configuration

c.After the client device has been configured, click OK on the Router’s Wi-Fi Protected Setup screen.. Then refer back to your client device or its documentation for further instructions..

2.Enter the client device’s PIN on the Router  Use this method if your client device has a Wi-Fi Protected Setup PIN number..

a.Enter the PIN number from the client device in the field on the Router’s Wi-Fi Protected Setup screen..

b.Click the Register button on the Router’s Wi-Fi Protected Setup screen..

c.After the client device has been configured, click OK on the Router’s Wi-Fi Protected Setup screen.. Then refer back to your client device or its documentation for further instructions..

3.Enter the Router’s PIN on your client device  Use this method if your client device asks for the Router’s PIN number..

a.On the client device, enter the PIN number listed on the Router’s Wi-Fi Protected Setup screen.. (It is also listed on the label on the bottom of the Router..)

b.After the client device has been configured, click OK on the Router’s Wi-Fi Protected Setup screen.. Then refer back to your client device or its documentation for further instructions..

The Wi-Fi Protected Setup Status, Network Name (SSID), Security, and Passphrase are displayed at the bottom of the screen..

NOTE: If you have client devices that do not support Wi-Fi Protected Setup, note the wireless settings, and then manually configure those client devices..

High Performance Wireless-N Router

21

Page 24
Image 24
Linksys manual Wi-Fi Protected Setup, Linksys E3000, Advanced Configuration