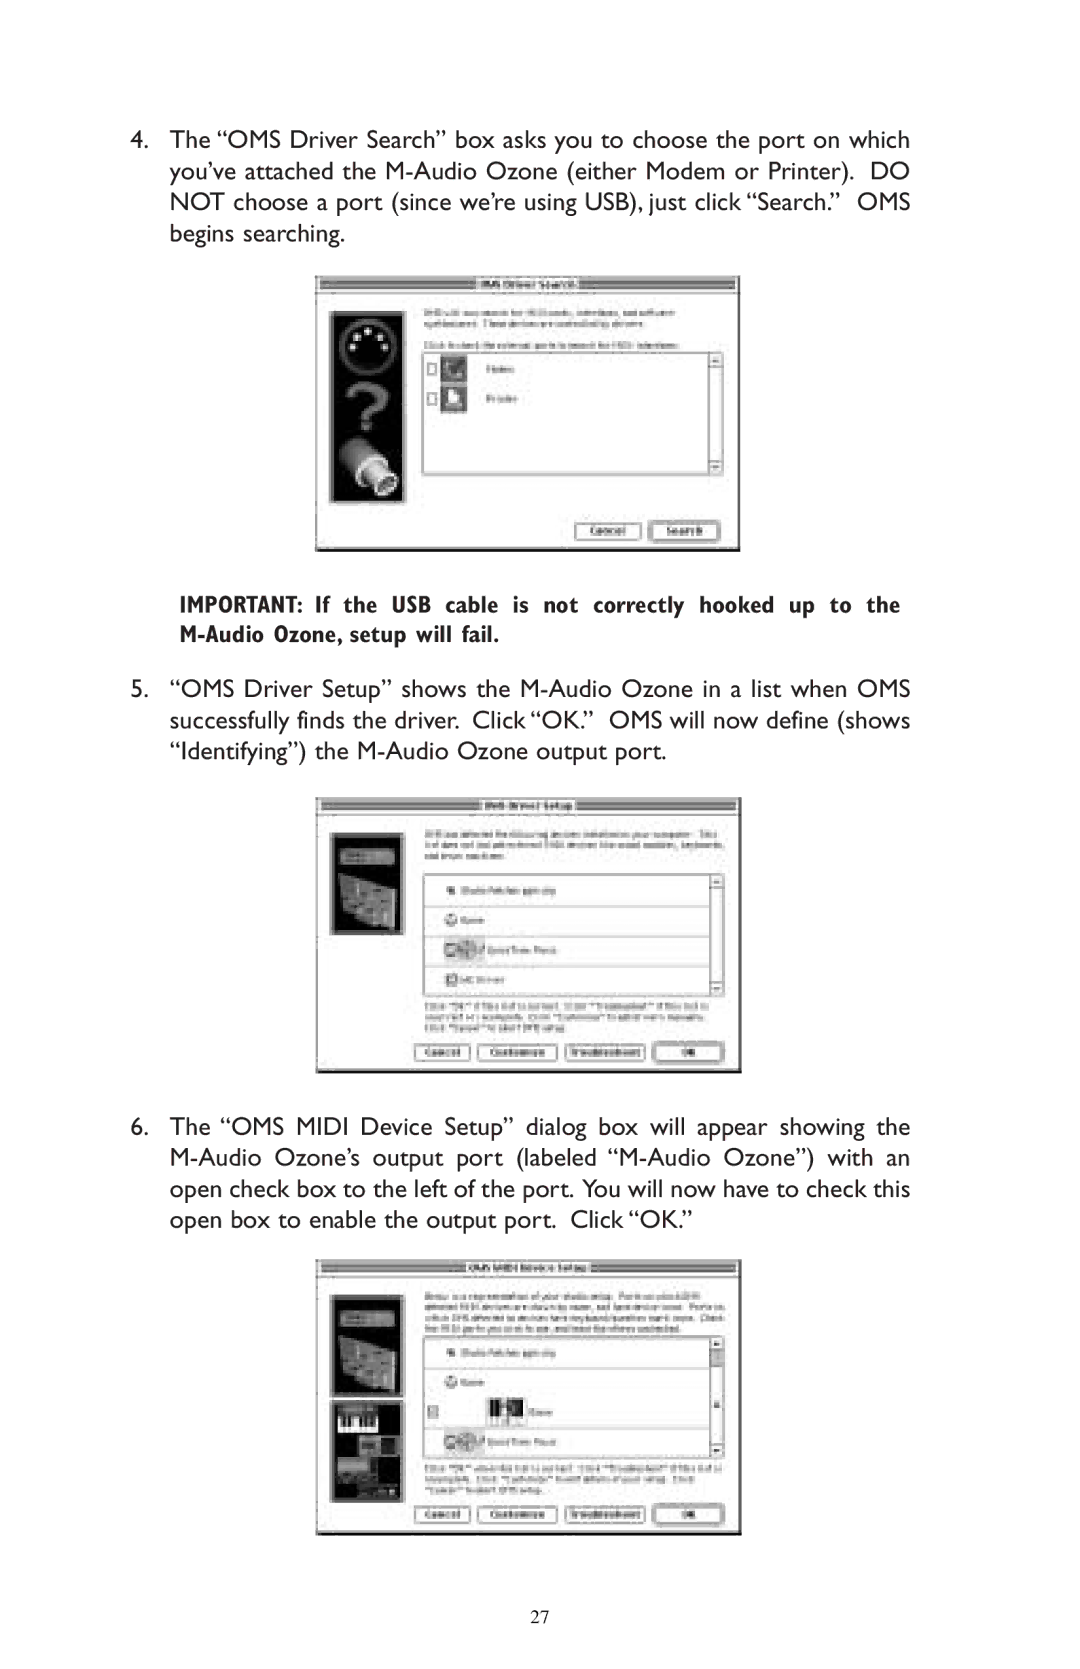
4.The “OMS Driver Search” box asks you to choose the port on which you’ve attached the M-Audio Ozone (either Modem or Printer). DO NOT choose a port (since we’re using USB), just click “Search.” OMS begins searching.
IMPORTANT: If the USB cable is not correctly hooked up to the M-Audio Ozone, setup will fail.
5.“OMS Driver Setup” shows the M-Audio Ozone in a list when OMS successfully finds the driver. Click “OK.” OMS will now define (shows “Identifying”) the M-Audio Ozone output port.
6.The “OMS MIDI Device Setup” dialog box will appear showing the M-Audio Ozone’s output port (labeled “M-Audio Ozone”) with an open check box to the left of the port. You will now have to check this open box to enable the output port. Click “OK.”

