input level offset menu
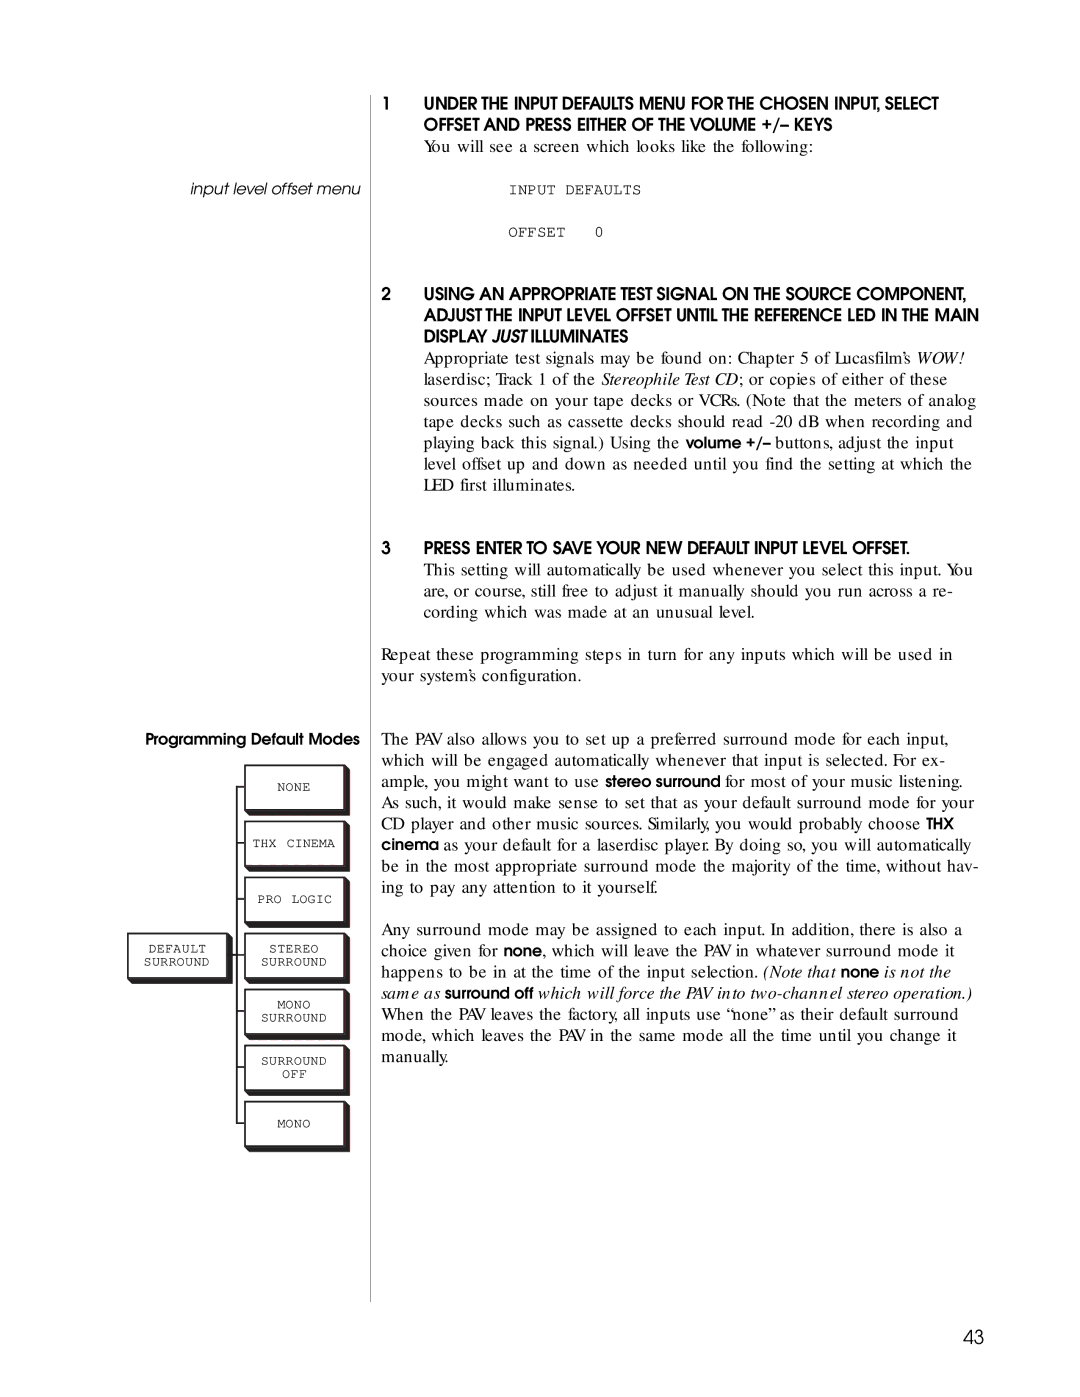
Programming Default Modes
1UNDER THE INPUT DEFAULTS MENU FOR THE CHOSEN INPUT, SELECT OFFSET AND PRESS EITHER OF THE VOLUME +/– KEYS
You will see a screen which looks like the following:
INPUT DEFAULTS
OFFSET 0
2USING AN APPROPRIATE TEST SIGNAL ON THE SOURCE COMPONENT, ADJUST THE INPUT LEVEL OFFSET UNTIL THE REFERENCE LED IN THE MAIN DISPLAY JUST ILLUMINATES
Appropriate test signals may be found on: Chapter 5 of Lucasfilm’s WOW! laserdisc; Track 1 of the Stereophile Test CD; or copies of either of these sources made on your tape decks or VCRs. (Note that the meters of analog tape decks such as cassette decks should read
3PRESS ENTER TO SAVE YOUR NEW DEFAULT INPUT LEVEL OFFSET.
This setting will automatically be used whenever you select this input. You are, or course, still free to adjust it manually should you run across a re- cording which was made at an unusual level.
Repeat these programming steps in turn for any inputs which will be used in your system’s configuration.
The PAV also allows you to set up a preferred surround mode for each input, which will be engaged automatically whenever that input is selected. For ex- ample, you might want to use stereo surround for most of your music listening.
DEFAULT SURROUND
NONE
THX CINEMA
PRO LOGIC
STEREO
SURROUND
MONO
SURROUND
SURROUND
OFF
As such, it would make sense to set that as your default surround mode for your CD player and other music sources. Similarly, you would probably choose THX cinema as your default for a laserdisc player. By doing so, you will automatically be in the most appropriate surround mode the majority of the time, without hav- ing to pay any attention to it yourself.
Any surround mode may be assigned to each input. In addition, there is also a choice given for none, which will leave the PAV in whatever surround mode it happens to be in at the time of the input selection. (Note that none is not the same as surround off which will force the PAV into
MONO
43
