Create a Waypoint
A waypoint is a set of coordinates. On land or at sea, these waypoints can mark a location and you can travel to that exact location any time you want. Set a waypoint for your home and a any other key locations. Familiar waypoints shown on a map make it easier to stay oriented and mark your route when you travel.
1.Use the Map Manipulator to zoom in and display the place on the map you want to add a waypoint.
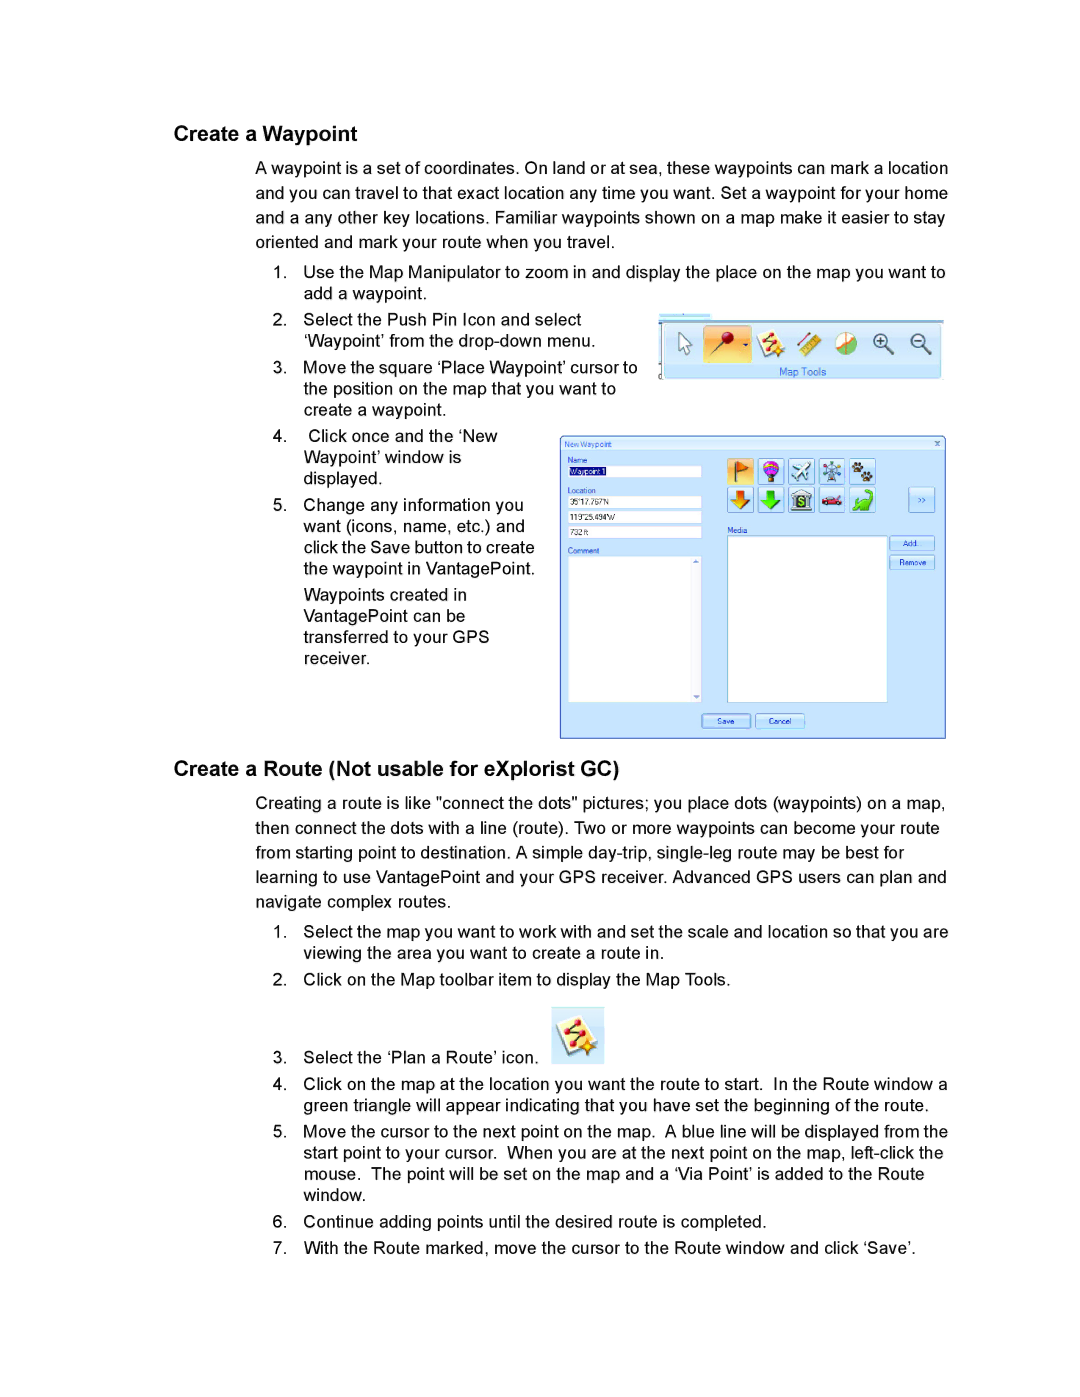
2.Select the Push Pin Icon and select ‘Waypoint’ from the
3.Move the square ‘Place Waypoint’ cursor to the position on the map that you want to create a waypoint.
4.Click once and the ‘New
Waypoint’ window is displayed.
5.Change any information you want (icons, name, etc.) and click the Save button to create the waypoint in VantagePoint.
Waypoints created in VantagePoint can be transferred to your GPS receiver.
Create a Route (Not usable for eXplorist GC)
Creating a route is like "connect the dots" pictures; you place dots (waypoints) on a map, then connect the dots with a line (route). Two or more waypoints can become your route from starting point to destination. A simple
1.Select the map you want to work with and set the scale and location so that you are viewing the area you want to create a route in.
2.Click on the Map toolbar item to display the Map Tools.
3.Select the ‘Plan a Route’ icon.
4.Click on the map at the location you want the route to start. In the Route window a green triangle will appear indicating that you have set the beginning of the route.
5.Move the cursor to the next point on the map. A blue line will be displayed from the start point to your cursor. When you are at the next point on the map,
6.Continue adding points until the desired route is completed.
7.With the Route marked, move the cursor to the Route window and click ‘Save’.