XV-DV323XV-DV424
Location underside of the unit
Risk of Electric Shock Do not Open
LASERPRODUCT1
Operating Environment
Contents
Surround sound and other settings
More tuner features RDS
Using the timer
Video Adjust menu
Before you start
Features
Disc / content format playback compatibility
Before you start Chapter
Before you start
Front panel
Controls and displays
Controls and displays Chapter
Controls and displays Display
Tuner indicators
Timer indicators
European model only
Remote control
Controls and displays
Tune +
Cursor buttons, Enter and tuning buttons
Disc playback controls
ST +
Number buttons
16 DVD/CD buttons
20 SR+
Getting started Chapter
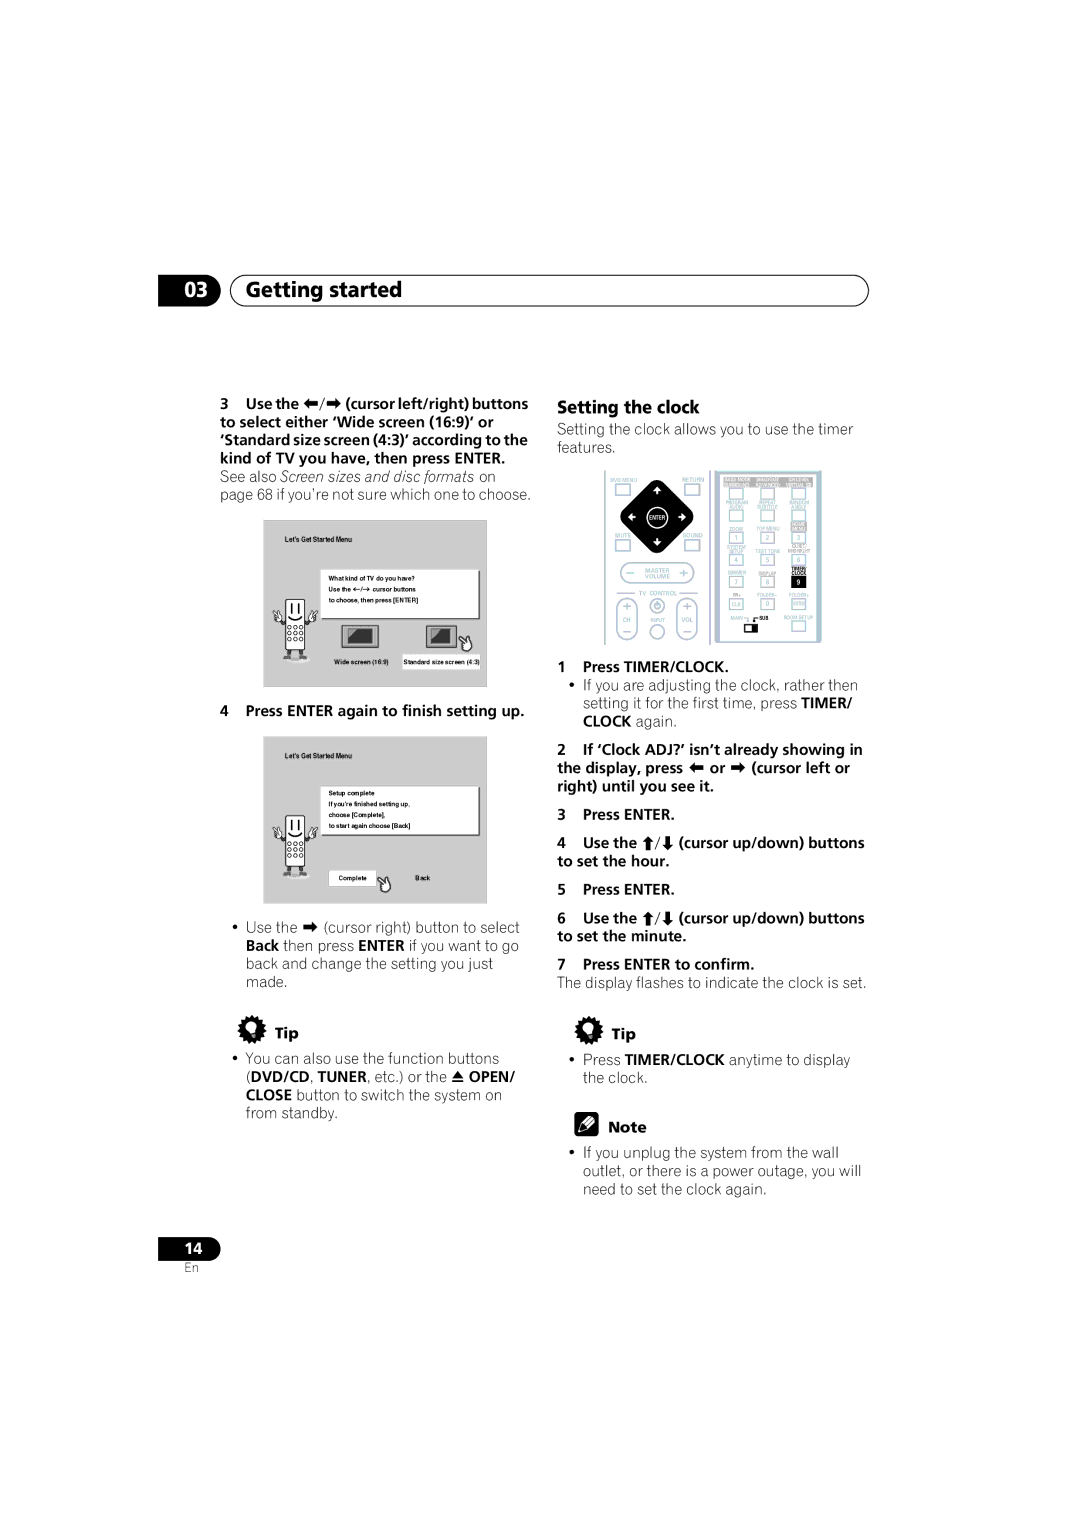
Switching on and setting up
Getting started
Follow the directions that appear on
Setting the clock
Getting started
Using the System Setup menu on
Getting started Home theater sound setup
Using the Room Setup
Use Cursor up/down buttons
Getting started Setting up the remote to control your TV
Using the on-screen displays
Press OPEN/CLOSE to open the disc tray Load a disc
Playing discs
Basic playback controls
Press play to start playback
Shows Resume or Last Mem
Using the front panel controls
Resume and Last Memory
Why won’t the disc I loaded play?
DVD-Video disc menus
Numbers
Listening to the radio
Video CD/Super VCD PBC menus
Improving poor FM reception
There are three tuning modes-manual, auto, and high-speed
Press Enter to save the station preset
Memorizing stations
Select the source you want to listen to
Listening to station presets
Listening to other sources
If necessary, start playback of the external source
Listening to your system
Auto listening mode
Press Surround to select the ‘Auto’ listening mode
Listening to your system Chapter
Dolby Pro Logic II Music settings
Listening to your system Listening in surround sound
Surround then use
Using Front Surround
Use the buttons
Press repeatedly to select from
Listening to your system
Listening with headphones
Adjusting the Advanced and Front Surround effect level
Listening in stereo
Listening with a virtual surround back speaker
Default setting Off
Listening to your system Enhancing dialogue
Listening modes
Boosting the bass level
Adjusting the bass and treble
To adjust the sound
Press Sound
Scanning discs
Playing discs
Playing discs Chapter
Playing in slow motion
Using the Disc Navigator to browse the contents of a disc
Using repeat play
Looping a section of a disc
Using random play
Select a random play option
Repeat to build up a program list
Using the OSD
Playing discs Creating a program list
To play the program list, press play
Clearing the program list
Using the front panel display
Searching a disc
Switching subtitles
Switching the DVD audio language
Switching camera angles
Playing discs Switching VR format DVD-RW audio channel
Switching the Video CD/Super VCD audio channel
Zooming the screen
S T O F
Front panel display information
Disc
G E R 0
Viewing Jpeg discs Chapter
Using the Jpeg Disc Navigator and Photo Browser
Viewing Jpeg discs
Playing a Jpeg slideshow
Using the Photo Browser
Viewing Jpeg discs
An introduction to RDS
More tuner features RDS
More tuner features RDS Chapter
Searching for RDS programs
More tuner features RDS
Displaying RDS information
Press Display to select the RDS information display
Setting the wake-up timer
Using the timer
Using the timer Chapter
Turning the wake-up timer on/off
Using the timer
Setting the sleep timer
Surround and sound setup options
Surround sound and other settings Chapter
Using the System Setup menu
Surround sound and other settings
SR+ control options for Pioneer plasma displays
Function setting for L2 input
Function setting for TV input
Function setting for L1 input
When you’re done, press Enter to exit test tone setup Tip
Video Adjust
Video Adjust menu
Video Adjust menu Chapter
Creating your own presets
Using the Initial Settings menu
Initial Settings menu
Initial Settings menu Chapter
Video Output settings
Initial Settings menu
Language settings
Options
Initial Settings menu Display settings
Registering a new password
Parental Lock
Setting/changing the Country code
Changing your password
Setting/changing the Parental Lock
Use the number buttons to enter a 4- digit password
Other connections
Connecting external antennas
Connecting auxiliary components
Other connections Chapter
To select ‘Rec Mode?’
Recording mode
Other connections
To select ‘R.Mode On’ or ‘R.Mode Off’
Component video output
Connecting using the S-video output
Connecting using
About progressive scan video
When TV format is set to PAL
Using the Scart AV output
When TV format is set to Auto or Ntsc
Plasma display
Using this unit with a Pioneer
Switching the TV audio input from Scart to RCA
Scart pin assignment
Using the SR+ mode with a Pioneer plasma display
To switch SR+ mode on/off, press SR+ Shift +
Additional information
Optional system settings
System Setup menu options in standby
Additional information Chapter
Watching Ntsc on a PAL TV MOD. PAL
Resetting the system
Additional information
DVD Video regions
Additional information Using and taking care of discs
Titles, chapters and tracks
Handling discs
Storing discs
Proper installation and maintenance of this system
Hints on installation
Discs to avoid
Power cord caution
Cleaning the pickup lens
Problems with condensation
Moving the system unit
General
Additional information Troubleshooting
See Video Output settings on
Surround sound on
DVD/CD/Video CD player
STANDBY/ON button
WMA/MP3/JPEG discs
Tuner
Error Messages
Widescreen TV users
Selecting languages using the language code list
Additional information Screen sizes and disc formats
Standard TV users
Language Language code letter, Language code
Additional information Language code list
Country code list
Country, Country code, Country code letter
Additional information Preset code list
Marantz
Additional information Glossary
Protection
Additional information Specifications
Center speaker
Accessories Speaker system
Front speakers S-DV424
Surround speakers
Pioneer Corporation