Manual (Wired)
In the following cases, select “Manual” to set each setting as necessary.
-When connection test failed with the setting of “Auto”.
-When instructed by your Internet service provider to make specific settings in accordance with your network environment.
1.Follow steps 1 and 2 in “Auto (Wired)” on page 38.
2.Use [![]()
![]()
![]() ] to select “Manual”, then press [OK].
] to select “Manual”, then press [OK].
3.Use [![]()
![]()
![]() ] to select “IP Address”, then press [OK].
] to select “IP Address”, then press [OK].
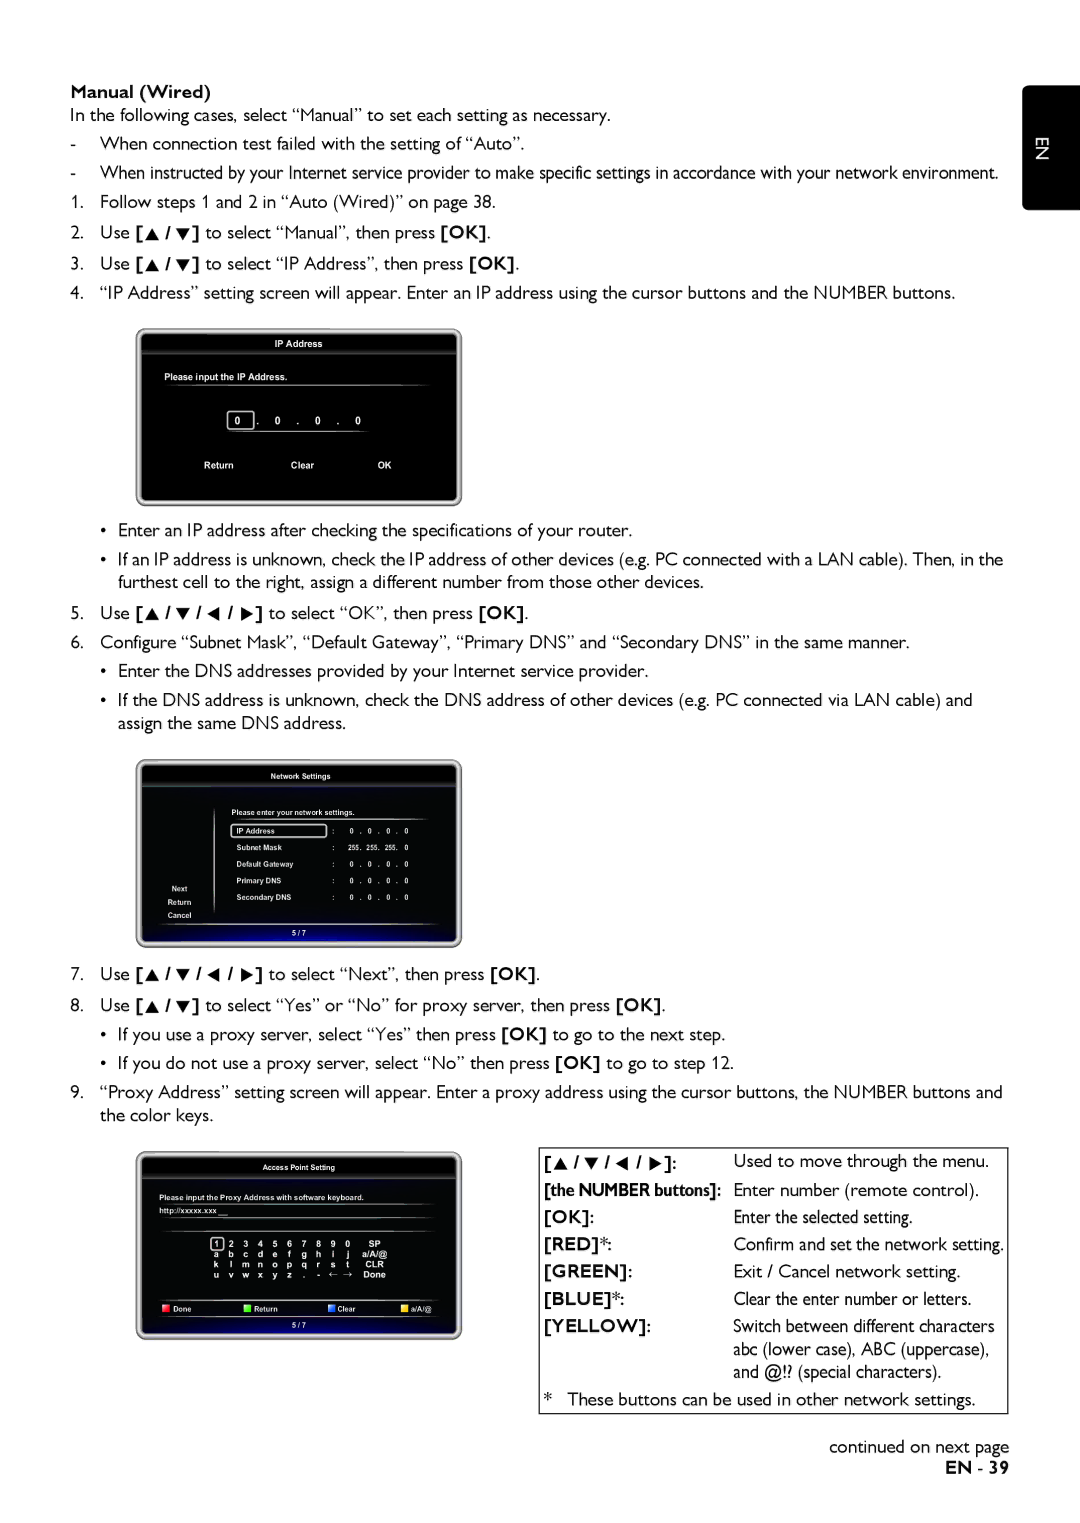
4.“IP Address” setting screen will appear. Enter an IP address using the cursor buttons and the NUMBER buttons.
IP Address
Please input the IP Address.
0 . 0 . 0 . 0
Return Clear OK
•Enter an IP address after checking the specifications of your router.
•If an IP address is unknown, check the IP address of other devices (e.g. PC connected with a LAN cable). Then, in the furthest cell to the right, assign a different number from those other devices.
5.Use [![]()
![]()
![]()
![]()
![]()
![]()
![]() ] to select “OK”, then press [OK].
] to select “OK”, then press [OK].
6.Configure “Subnet Mask”, “Default Gateway”, “Primary DNS” and “Secondary DNS” in the same manner.
•Enter the DNS addresses provided by your Internet service provider.
•If the DNS address is unknown, check the DNS address of other devices (e.g. PC connected via LAN cable) and assign the same DNS address.
Network Settings |
|
|
|
|
|
Please enter your network settings. |
|
|
| ||
IP Address | : | 0 . | 0 . | 0 . | 0 |
Subnet Mask | : | 255. | 255. | 255. | 0 |
Default Gateway | : | 0 . | 0 . | 0 . | 0 |
Primary DNS | : | 0 . | 0 . | 0 . | 0 |
Next |
|
|
|
|
|
Secondary DNS | : | 0 . | 0 . | 0 . | 0 |
Return |
|
|
|
|
|
Cancel
5 / 7
7.Use [![]()
![]()
![]()
![]()
![]()
![]()
![]() ] to select “Next”, then press [OK].
] to select “Next”, then press [OK].
8.Use [![]()
![]()
![]() ] to select “Yes” or “No” for proxy server, then press [OK].
] to select “Yes” or “No” for proxy server, then press [OK].
•If you use a proxy server, select “Yes” then press [OK] to go to the next step.
•If you do not use a proxy server, select “No” then press [OK] to go to step 12.
9.“Proxy Address” setting screen will appear. Enter a proxy address using the cursor buttons, the NUMBER buttons and the color keys.
EN
Access Point Setting
Please input the Proxy Address with software keyboard. http://xxxxx.xxx
Done | Return | Clear | a/A/@ |
5 / 7
[ | ]: | Used to move through the menu. |
[the NUMBER buttons]: | Enter number (remote control). | |
[OK]: |
| Enter the selected setting. |
[RED]*: |
| Confirm and set the network setting. |
[GREEN]: |
| Exit / Cancel network setting. |
[BLUE]*: |
| Clear the enter number or letters. |
[YELLOW]: |
| Switch between different characters |
|
| abc (lower case), ABC (uppercase), |
|
| and @!? (special characters). |
* These buttons can be used in other network settings. | ||
|
| continued on next page |
|
| EN - 39 |
