ENGLISH
Settings
Menu map
By default, this unit has recommended settings defined. You can customize this unit based on your existing system and your preferences.
Setting items |
|
| Description | Page | |||
|
|
|
|
| |||
Timer Play |
| Switches the timer playback function on/off. |
| 24 | |||
Play File | Disc | Switches a file | media | playback range (“All” | or | “Folder”). | 25 |
| USB | Switches a file | media | playback range (“All” | or | “Folder”). | 25 |
Disp Info | iPod | Sets the iPod information that displays during playback. | 25 | ||||
| USB | Sets the USB memory device information that displays during playback. | 25 | ||||
iPod Ctrl |
| Switches the iPod’s operation mode. |
|
| 25 | ||
USB Resume |
| Switches the USB memory device resume playback on/off. | 25 | ||||
Digital Out |
| Switches the digital audio output on/off. |
|
| 25 | ||
Auto Stnby |
| Switches the auto standby function on/off. |
|
| 25 | ||
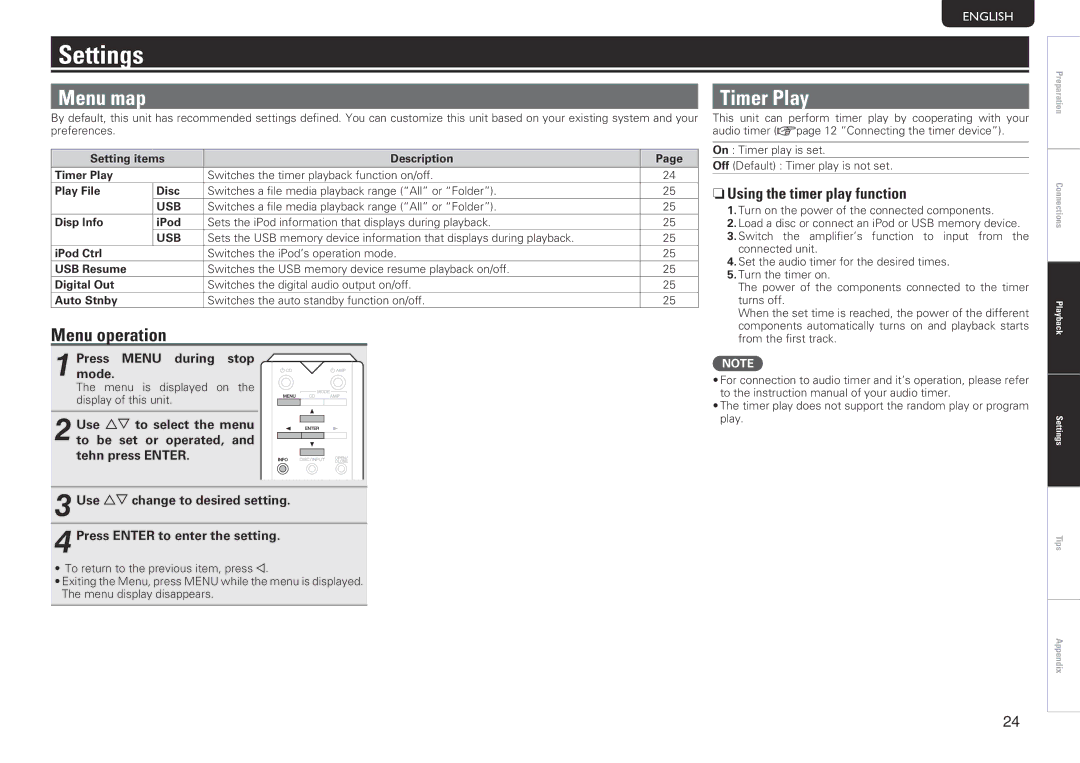
Menu operation
1 Pressmode. MENU during stop
The menu is displayed on the display of this unit.
2 Use ui to select the menu to be set or operated, and tehn press ENTER.
3 Use ui change to desired setting.
4 Press ENTER to enter the setting.
•To return to the previous item, press o.
•Exiting the Menu, press MENU while the menu is displayed. The menu display disappears.
Timer Play
This unit can perform timer play by cooperating with your audio timer (vpage 12 “Connecting the timer device”).
On : Timer play is set.
Off (Default) :Timer play is not set.
nnUsing the timer play function
1.Turn on the power of the connected components.
2.Load a disc or connect an iPod or USB memory device.
3.Switch the amplifier’s function to input from the connected unit.
4.Set the audio timer for the desired times.
5.Turn the timer on.
The power of the components connected to the timer turns off.
When the set time is reached, the power of the different components automatically turns on and playback starts from the first track.
NOTE
•For connection to audio timer and it’s operation, please refer to the instruction manual of your audio timer.
•The timer play does not support the random play or program play.
Preparation
Connections
Playback
Settings
Tips
Appendix
24