ENGLISH

WORKING WITH MODES

RC3200A starts up in Use mode. In this mode you operate your devices. For customizing the RC3200A (adjusting the settings, learning buttons or recording macros) you have to switch to the appropriate mode.

Note

When switching between modes you will always return to the last active screen.

The RC3200A can be put into 4 different modes. These modes are: Use mode: For operating your devices. See “Operating Devices”.

Setup mode: For changing the RC3200A system settings. See “Adjusting the Settings” for more details.

Learn mode: For learning commands from other remote controls. See “Learning Commands” for more details.

Macro mode: For recording macros. You can assign multiple commands to one single button. See “Recording Macros” for more details.

Note

Learning commands and recording macros is only possible per device. This means that you first have to select a specific device to perform these actions.

1.On the HOME screen tap the soft button of the device you want to customize.

The first page of the selected device appears.

2.Press and hold the Mode button for 3 seconds. The Mode screen appears.

Note

You have to press and hold the Mode button for 3 seconds to prevent accidental changes.

3. Select the desired mode from the Mode screen.

Note

When you switch to another mode from the HOME screen, you cannot choose the Learn mode and Macro mode. To switch to these modes you first have to go to the specific device you want to customize.

ADJUSTING THE SETTINGS

The RC3200A settings can be adjusted in the Setup mode.

1. Press and hold the Mode button for 3 seconds. The Mode screen appears.

2. Tap Setup in the Mode screen. The first Setup page appears.

The RC3200A settings consist of 3 setup pages with several settings per page.

Use the Page Up and Page Down buttons to navigate to the appropriate setup page.

FIRST SETUP PAGE

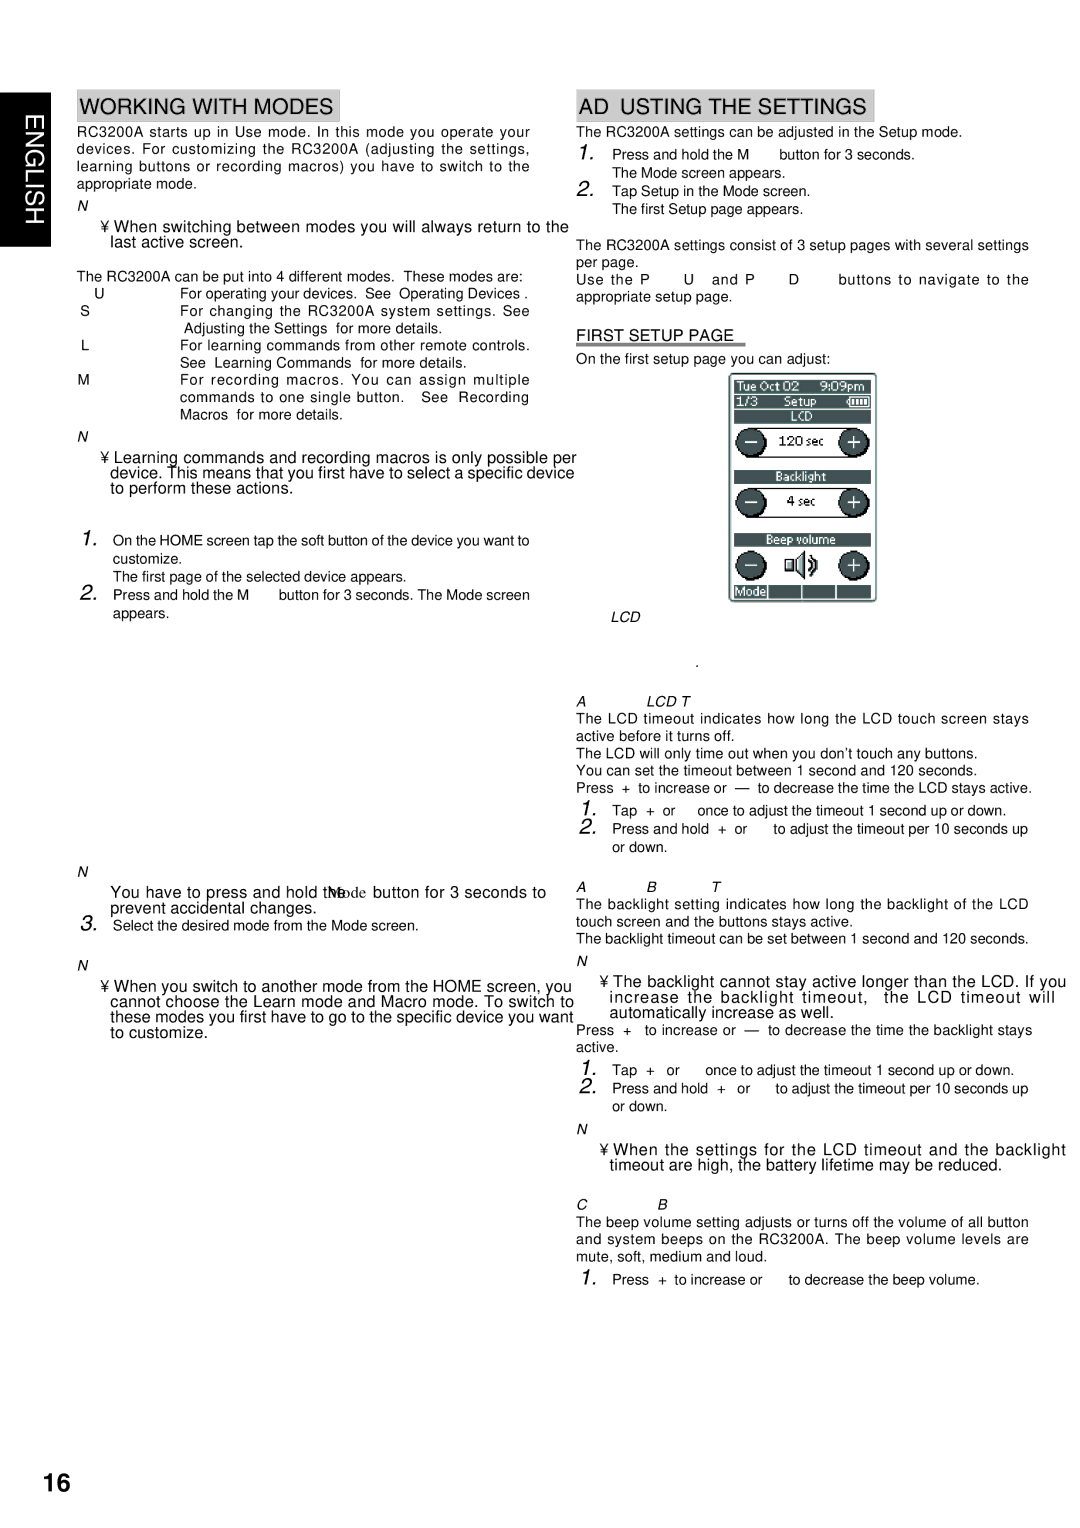
On the first setup page you can adjust:

the LCD timeout;

the backlight timeout;

the beep volume.

Adjust the LCD Timeout

The LCD timeout indicates how long the LCD touch screen stays active before it turns off.

The LCD will only time out when you don't touch any buttons. You can set the timeout between 1 second and 120 seconds.

Press “+” to increase or “–” to decrease the time the LCD stays active.

1. Tap “+” or ”once to adjust the timeout 1 second up or down.

2. Press and hold “+” or to adjust the timeout per 10 seconds up or down.

Adjust the Backlight Timeout

The backlight setting indicates how long the backlight of the LCD touch screen and the buttons stays active.

The backlight timeout can be set between 1 second and 120 seconds.

Note

The backlight cannot stay active longer than the LCD. If you increase the backlight timeout, the LCD timeout will automatically increase as well.

Press “+” to increase or “–” to decrease the time the backlight stays active.

1. Tap “+” or once to adjust the timeout 1 second up or down.

2. Press and hold “+” or to adjust the timeout per 10 seconds up or down.

Note

When the settings for the LCD timeout and the backlight timeout are high, the battery lifetime may be reduced.

Change the Beep volume

The beep volume setting adjusts or turns off the volume of all button and system beeps on the RC3200A. The beep volume levels are mute, soft, medium and loud.

1. Press “+” to increase or to decrease the beep volume.

16

Page 20
Image 20
Marantz SR9200 manual Working with Modes, Adjusting the Settings, First Setup, Adjust the Backlight Timeout

SR9200 specifications

The Marantz SR9200 is a high-end A/V receiver that stands out in the competitive world of home audio and video equipment. Renowned for its exceptional sound quality, advanced features, and flexibility, it serves as a cornerstone for home theater enthusiasts seeking immersive audio experiences.

One of the main features of the SR9200 is its robust power amplification. The receiver boasts a substantial output, delivering 110 watts per channel across all seven channels, which ensures a rich and dynamic sound performance. This power allows it to drive a variety of speaker configurations, accommodating both small and large setups. The receiver employs a high-current amplifier design that significantly enhances transient response, allowing for crisp and clear audio delivery across all frequencies.

In terms of connectivity, the Marantz SR9200 offers an extensive array of options. It includes multiple HDMI inputs and outputs, supporting 4K passthrough and various audio formats such as Dolby Atmos and DTS:X. This makes it compatible with the latest high-definition video sources and ensures a future-proof setup for streaming and gaming. The HDMI inputs also support HDCP 2.2, enabling compatibility with UHD content.

Another key aspect of the SR9200 is its advanced audio processing capabilities. Utilizing Marantz's proprietary technologies, the receiver is equipped with Audyssey MultEQ XT for automatic room calibration. This feature analyzes the room acoustics and adjusts the audio output for optimal sound quality tailored to the specific environment. Furthermore, the receiver supports various surround formats, creating an enveloping soundstage that enhances movie watching and music listening.

The Marantz SR9200 also features a user-friendly interface, including a graphical user interface (GUI) that simplifies navigation through settings and inputs. The receiver can be controlled via the Marantz app, providing convenience for tech-savvy users.

In summary, the Marantz SR9200 is designed for audiophiles who demand top-tier performance and versatility in their home theater systems. With its powerful amplification, advanced audio technologies, and extensive connectivity options, it delivers an unparalleled audio experience that enriches all forms of entertainment. Whether for movies, music, or gaming, the SR9200 sets a high standard in high-fidelity home audio solutions.