SPEAKER DISTANCE (TIME ALIGNMENT)
Use this parameter to specify the distance of each speaker’s position from the listening position. The delay time is automatically calculated according to these distances.
Begin by determining the ideal or most commonly used seating position in the room.
This is important for the timing of the acoustics to create the proper sound space that the SR9200 and today’s sound systems are able to produce.
Note that the speakers that you selected “No” or “None” for in the Speaker Config sub-menu will not appear here.
(There are several usefull books and special DVD and LD’s available to guide you through proper home theater configuration. If you are unsure, have your Marantz dealer perform the installation for you.
They are trained professionals familiar with even the most sophisticated custom installations. Marantz recommends the WWW.CEDIA.ORG website for further information about this).
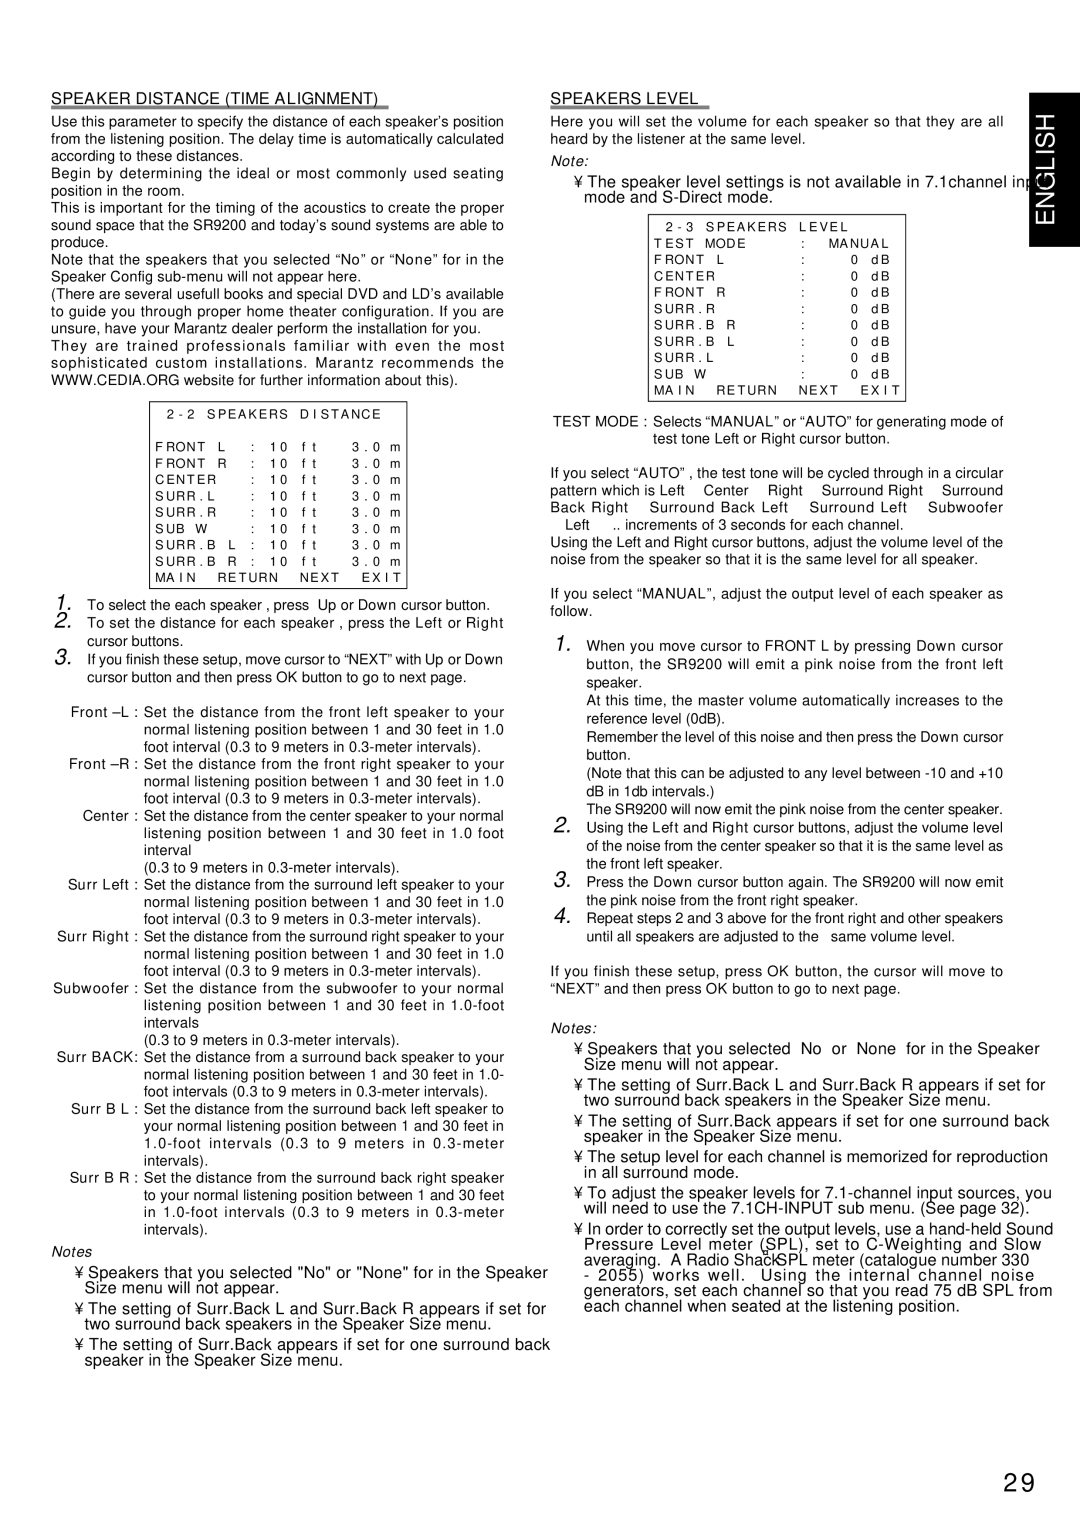
2 - 2 S P E AK E R S | D I S T ANC E | |
F RON T | L | : | 1 0 | f t | 3 . 0 | m |
F RON T | R | : | 1 0 | f t | 3 . 0 | m |
C E N T E R | | : 1 0 f t | 3 . 0 m |
S URR . L | | : | 1 0 | f t | 3 . 0 | m |
S URR . R | | : | 1 0 | f t | 3 . 0 | m |
S UB W | | : 1 0 f t | 3 . 0 m |
S URR . B | L | : | 1 0 | f t | 3 . 0 | m |
S URR . B | R | : | 1 0 | f t | 3 . 0 | m |
MA I N | R E T URN | N E X T | E X I T |
1. To select the each speaker , press Up or Down cursor button.
2. To set the distance for each speaker , press the Left or Right cursor buttons.
3. If you finish these setup, move cursor to “NEXT” with Up or Down cursor button and then press OK button to go to next page.
Front –L :Set the distance from the front left speaker to your normal listening position between 1 and 30 feet in 1.0 foot interval (0.3 to 9 meters in 0.3-meter intervals).
Front –R :Set the distance from the front right speaker to your normal listening position between 1 and 30 feet in 1.0 foot interval (0.3 to 9 meters in 0.3-meter intervals).
Center : Set the distance from the center speaker to your normal listening position between 1 and 30 feet in 1.0 foot interval
(0.3 to 9 meters in 0.3-meter intervals).
Surr Left : Set the distance from the surround left speaker to your normal listening position between 1 and 30 feet in 1.0 foot interval (0.3 to 9 meters in 0.3-meter intervals).
Surr Right : Set the distance from the surround right speaker to your normal listening position between 1 and 30 feet in 1.0 foot interval (0.3 to 9 meters in 0.3-meter intervals).
Subwoofer : Set the distance from the subwoofer to your normal listening position between 1 and 30 feet in 1.0-foot intervals
(0.3 to 9 meters in 0.3-meter intervals).
Surr BACK: Set the distance from a surround back speaker to your normal listening position between 1 and 30 feet in 1.0- foot intervals (0.3 to 9 meters in 0.3-meter intervals).
Surr B L : Set the distance from the surround back left speaker to your normal listening position between 1 and 30 feet in 1.0-foot intervals (0.3 to 9 meters in 0.3-meter intervals).
Surr B R : Set the distance from the surround back right speaker to your normal listening position between 1 and 30 feet in 1.0-foot intervals (0.3 to 9 meters in 0.3-meter intervals).
Notes
•Speakers that you selected "No" or "None" for in the Speaker Size menu will not appear.
•The setting of Surr.Back L and Surr.Back R appears if set for two surround back speakers in the Speaker Size menu.
•The setting of Surr.Back appears if set for one surround back speaker in the Speaker Size menu.
SPEAKERS LEVEL
Here you will set the volume for each speaker so that they are all heard by the listener at the same level.
Note:
•The speaker level settings is not available in 7.1channel input mode and S-Direct mode.
2 - 3 S P E AK E R S L E V E L | | |
T E S T MOD E | : MANUA L |
F RON T | L | : | 0 | d B |
C E N T E R | | : | 0 | d B |
F RON T | R | : | 0 | d B |
S URR . R | | : | 0 | d B |
S URR . B | R | : | 0 | d B |
S URR . B | L | : | 0 | d B |
S URR . L | | : | 0 | d B |
S UB W | | : | 0 | d B |
MA I N | R E T URN | N E X T | | E X I T |
| | | | |
TEST MODE : Selects “MANUAL” or “AUTO” for generating mode of test tone Left or Right cursor button.
If you select “AUTO” , the test tone will be cycled through in a circular pattern which is Left →Center →Right →Surround Right →Surround Back Right →Surround Back Left →Surround Left →Subwoofer →Left →.. increments of 3 seconds for each channel.
Using the Left and Right cursor buttons, adjust the volume level of the noise from the speaker so that it is the same level for all speaker.
If you select “MANUAL”, adjust the output level of each speaker as follow.
1. When you move cursor to FRONT L by pressing Down cursor button, the SR9200 will emit a pink noise from the front left speaker.
At this time, the master volume automatically increases to the reference level (0dB).
Remember the level of this noise and then press the Down cursor button.
(Note that this can be adjusted to any level between -10 and +10 dB in 1db intervals.)
The SR9200 will now emit the pink noise from the center speaker.
2. Using the Left and Right cursor buttons, adjust the volume level of the noise from the center speaker so that it is the same level as the front left speaker.
3. Press the Down cursor button again. The SR9200 will now emit the pink noise from the front right speaker.
4. Repeat steps 2 and 3 above for the front right and other speakers
until all speakers are adjusted to the same volume level.
If you finish these setup, press OK button, the cursor will move to “NEXT” and then press OK button to go to next page.
Notes:
•Speakers that you selected “No” or “None” for in the Speaker Size menu will not appear.
•The setting of Surr.Back L and Surr.Back R appears if set for two surround back speakers in the Speaker Size menu.
•The setting of Surr.Back appears if set for one surround back speaker in the Speaker Size menu.
•The setup level for each channel is memorized for reproduction in all surround mode.
•To adjust the speaker levels for 7.1-channel input sources, you will need to use the 7.1CH-INPUT sub menu. (See page 32).
•In order to correctly set the output levels, use a hand-held Sound
Pressure Level meter (SPL), set to C-Weighting and Slow averaging. A Radio Shack® SPL meter (catalogue number 330 - 2055) works well. Using the internal channel noise generators, set each channel so that you read 75 dB SPL from each channel when seated at the listening position.