Disassembly Procedures
!WARNING
To avoid risk of electrical shock, personal injury or death; disconnect power to microwave oven and discharge the high voltage capacitor before performing any disassembly procedures.
High voltage is present at the high voltage terminal of the high voltage transformer during any cooking cycle.
It is neither necessary or advisable to attempt measurement of the high voltage.
Before touching any oven components or wiring, always unplug the oven from its power source and discharge capacitor.
Grille Removal
The top
Grille Removal
1.Disconnect power to oven.
2.Remove screws located in front on top of microwave securing grille.
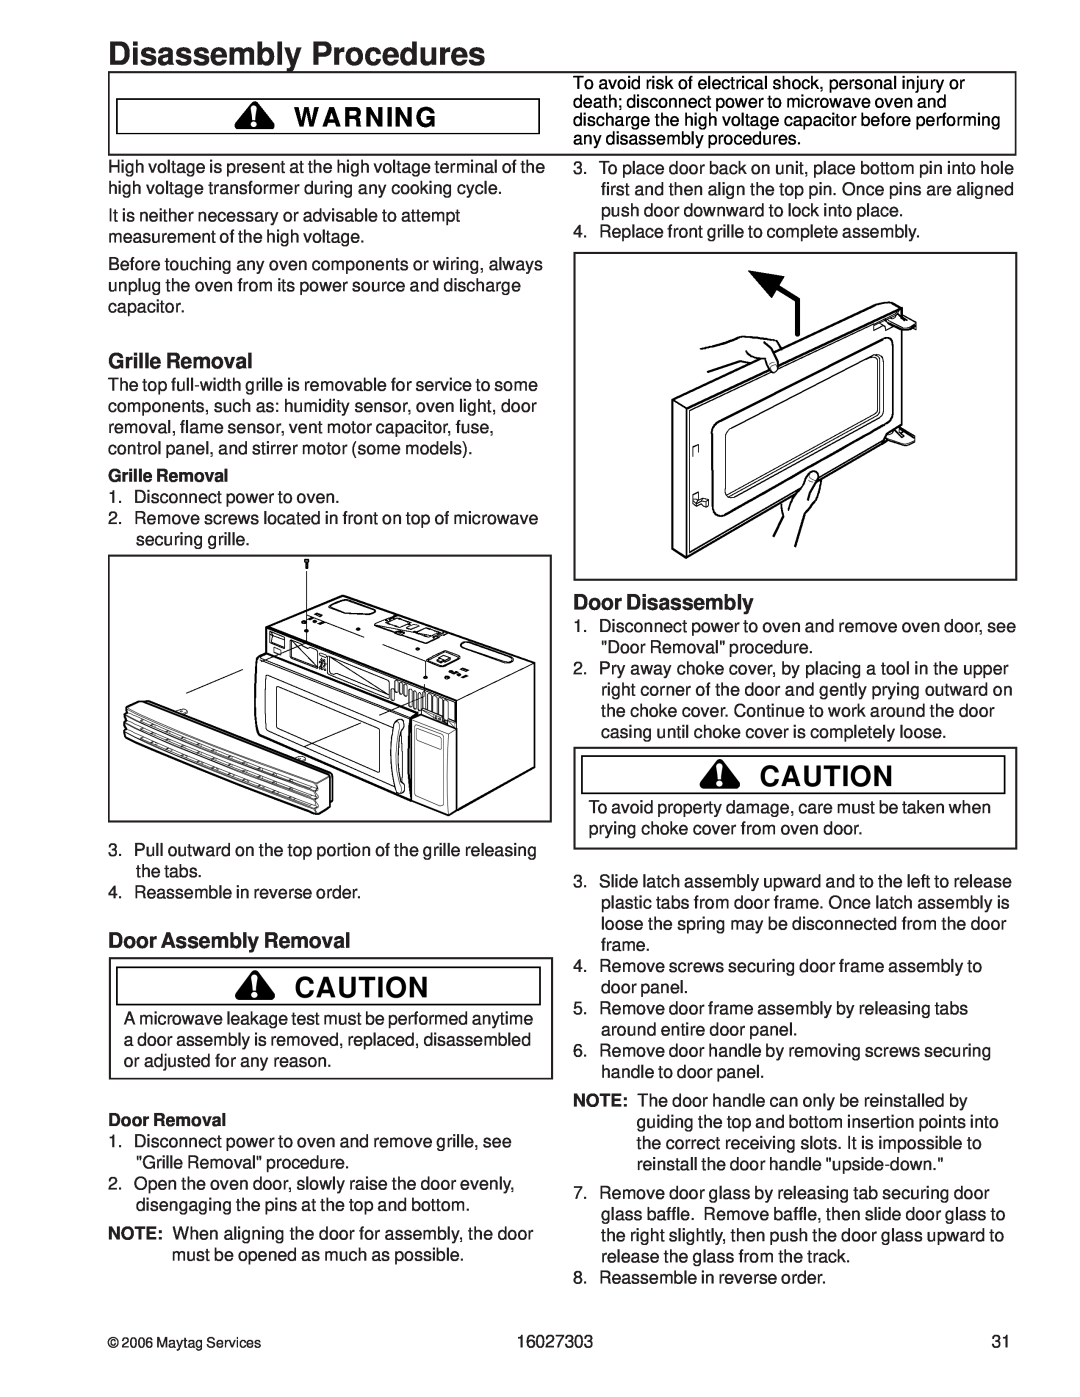
3.To place door back on unit, place bottom pin into hole first and then align the top pin. Once pins are aligned push door downward to lock into place.
4.Replace front grille to complete assembly.
3.Pull outward on the top portion of the grille releasing the tabs.
4.Reassemble in reverse order.
Door Assembly Removal
!CAUTION
A microwave leakage test must be performed anytime a door assembly is removed, replaced, disassembled or adjusted for any reason.
Door Removal
1.Disconnect power to oven and remove grille, see "Grille Removal" procedure.
2.Open the oven door, slowly raise the door evenly, disengaging the pins at the top and bottom.
NOTE: When aligning the door for assembly, the door must be opened as much as possible.
Door Disassembly
1.Disconnect power to oven and remove oven door, see "Door Removal" procedure.
2.Pry away choke cover, by placing a tool in the upper right corner of the door and gently prying outward on the choke cover. Continue to work around the door casing until choke cover is completely loose.
!CAUTION
To avoid property damage, care must be taken when prying choke cover from oven door.
3.Slide latch assembly upward and to the left to release plastic tabs from door frame. Once latch assembly is loose the spring may be disconnected from the door frame.
4.Remove screws securing door frame assembly to door panel.
5.Remove door frame assembly by releasing tabs around entire door panel.
6.Remove door handle by removing screws securing handle to door panel.
NOTE: The door handle can only be reinstalled by guiding the top and bottom insertion points into the correct receiving slots. It is impossible to reinstall the door handle
7.Remove door glass by releasing tab securing door glass baffle. Remove baffle, then slide door glass to the right slightly, then push the door glass upward to release the glass from the track.
8.Reassemble in reverse order.
© 2006 Maytag Services | 16027303 | 31 |