MVP871 specifications
The McIntosh MVP871 is a premium universal disc player known for its high-end performance and exceptional audio and video quality. Incorporating cutting-edge technologies, the MVP871 stands out as a versatile option for audiophiles and home theater enthusiasts alike. It is engineered to handle a broad range of media formats, including CDs, DVDs, and Blu-ray discs, as well as various digital file formats, making it an all-in-one solution for your entertainment needs.One of the MVP871’s defining features is its advanced video processing capabilities. Equipped with a high-quality video chipset, the player can upscale standard DVDs and Blu-ray discs to deliver vivid images at resolutions up to 1080p. This ensures that older content is presented with improved clarity and detail, making it a suitable fit in modern home theater setups. The player's 10-bit video processing enhances color depth and dynamic range, providing a richer viewing experience.
Audio performance is equally impressive. The MVP871 utilizes high-resolution audio processing technologies, supporting a variety of audio formats including SACD and DVD-Audio. This means users can enjoy music with incredible detail and fidelity, thanks to the player’s meticulous digital-to-analog conversion process. Furthermore, the player has balanced XLR outputs along with traditional RCA connections, allowing for integration into high-end audio systems while minimizing noise and interference.
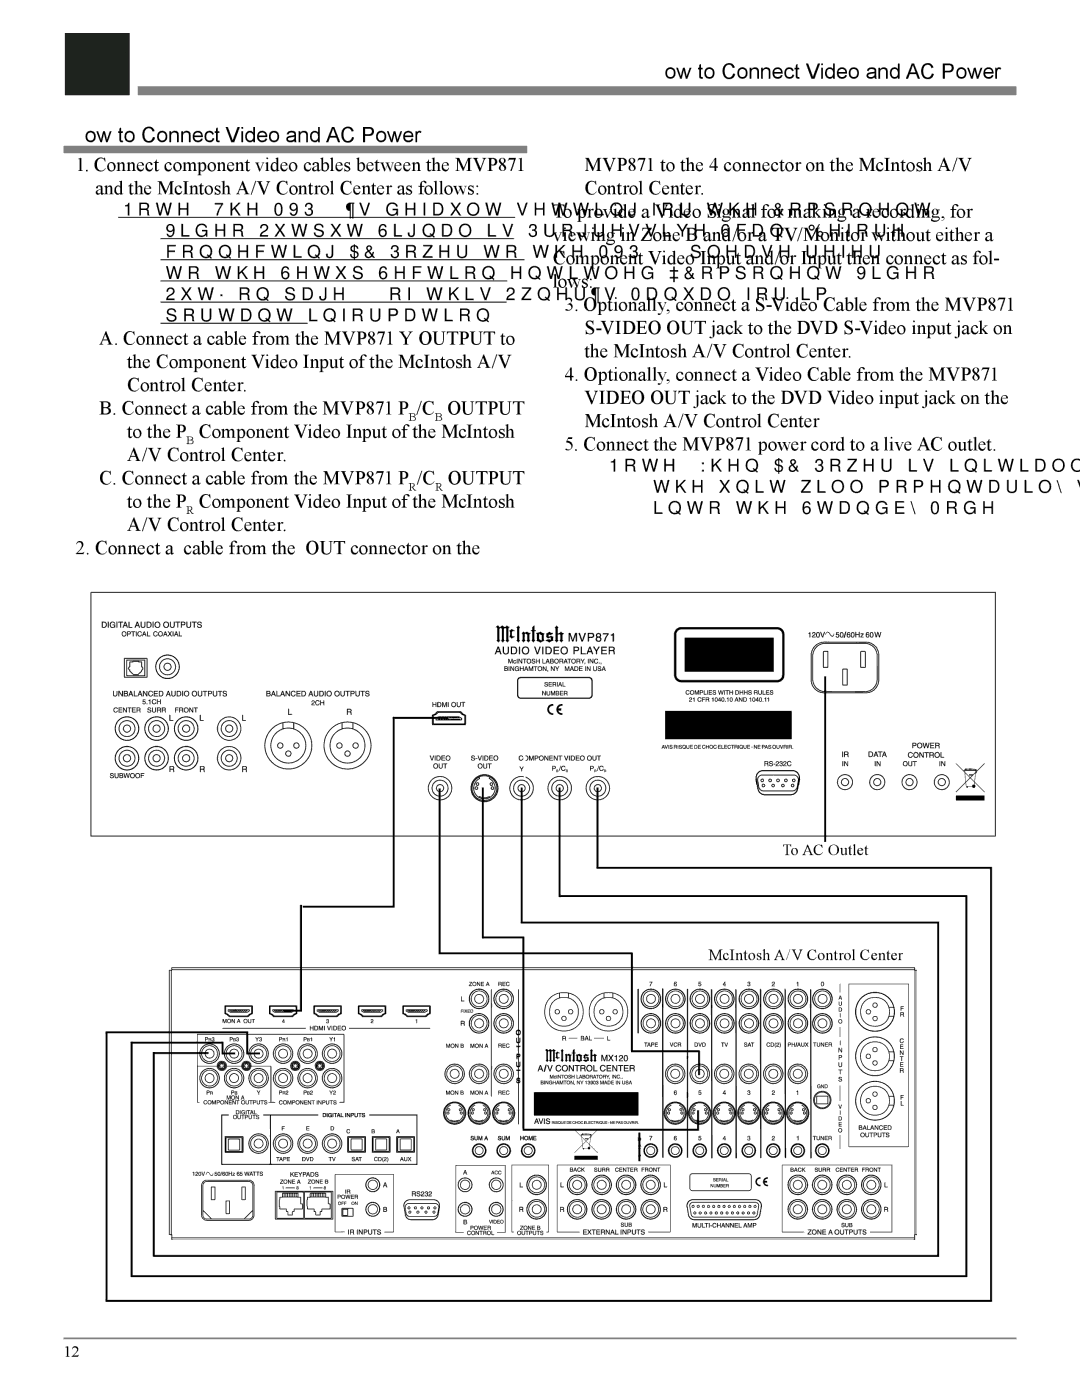
Connectivity is a strong suit of the MVP871. It comes with multiple ports including HDMI, component, and digital audio outputs, ensuring compatibility with a wide range of devices. The HDMI output can carry both audio and video, simplifying connections to modern AV receivers and displays. Moreover, it supports a robust array of formats, including MP3, WAV, and FLAC, catering to the growing trend of digital music streaming.
The MVP871's design reflects the craftsmanship typical of McIntosh products. The player features a sleek black exterior with illuminated blue meters, adding an aesthetic appeal to any audio setup. It is built to last, employing high-quality components and materials that not only enhance performance but also ensure durability.
In summary, the McIntosh MVP871 is a remarkable universal disc player that combines versatility, advanced technology, and premium design. With its extensive format support, superior video and audio quality, and comprehensive connectivity options, it serves as an ideal centerpiece in any high-performance audio and visual system. Whether enjoying classic albums or the latest blockbuster film, the MVP871 offers an unparalleled entertainment experience.

