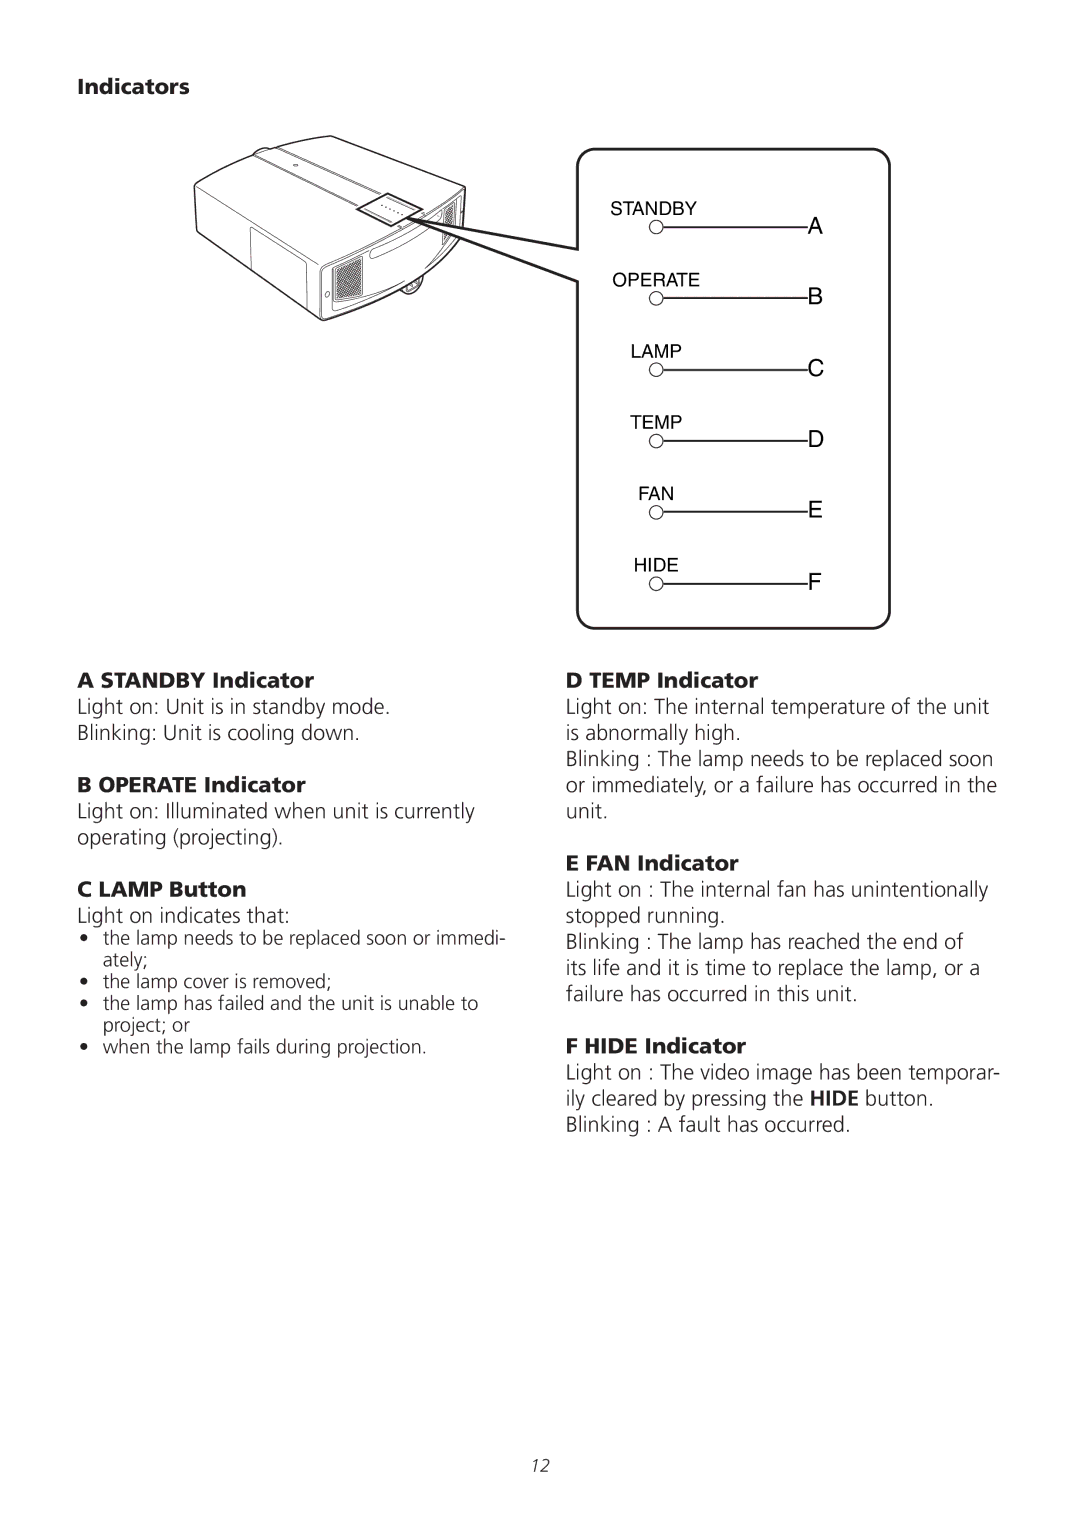
PRELIMINARY Installation and Operation Manual
D-ILA 1080MF1
HD D-ILA Digital Video Projector
For Customer use
Safety precautions
IMPORTANT SAFEGUARDS
IMPORTANT INFORMATION
WARNING THIS APPARATUS MUST BE EARTHED
All operating instructions should be followed
WARNING THIS APPARATUS MUST BE EARTHED
Maintenance Procedures
Information for Users on Disposal of Old Equipment EU Only
European Union
Other Countries outside the European Union
Do not clean with an abrasive cloth or cleaner
Contents
Accessories
Accessories
Controls and Features
Controls & Features
A Indicator
C Power Zoom Lens
A F B
Remove this cover when operating this unit or
when replacing the lamp unit
is produced when the power is on
C AC Power Input Socket
A Rx/Tx Indicators
A B C
H I J
D E F G
Indicators
A Standby Indicator
B OPERATE Indicator
D TEMP Indicator
Indicator Display Table
Top panel indicators
Control panel indicators
Note Cool Down Mode
Remote Control
A Projector/Processor Select buttons
B ON Button
C OFF Button
F MENU Button
K TEST Button main label
M HIDE Button main label
N LIGHT Button
Installing the Projector
Considerations for projector installation
Installation Environment
Operating Precautions
Projector and Screen Installation
View from the side
View from Above
Projection Distance and Projection Screen Size Relationship Chart
Screen Size and Projection Distance
Lens Shift Setting
Adjust the projection screen position
Approx. 0% downward maximum
Project a reference image on the screen
Connecting to Devices
Connecting a Video Processor
Connecting a computer or Home Automation System via RS232
Interfacing the Projector
Connecting the Power Cable Supplied
Precautions Against Fire and Electric Shock
4 Adjusting zoom image size and focus
6 Turning off the power
2 Apply Mains Power
Precautions During Use
Adjustments and Settings Using Menus
Menu Structure
Accessing the Menus 1 Press the MENU button
4 After setting is completed, press the EXIT button
5 Repeat procedures 2 to 4 to set other items
6 After setting is fully completed, press the MENU button
Menu Configuration
Setting Values Normal, A, B, Custom Default Value Normal
Setting Values D65, User1, User2 Default Value D65
Setting Values -255 to Default Value
Setting Values 15sec, On Default Value 15sec
Setting Values min 15, 30, 60, Off Default Value Off
Default Value
Setting Values Lock, Unlock Default Value Unlock
Replacement Lamp Lamp Unit Part No. BHL5008-S
When the lamp usage time exceeds 1900 hours but is under 2000 hours
When the lamp usage time exceeds 2000 hours but is under 2010 hours
When the lamp usage time reaches 2010 hours
Lamp Replacement Procedure 1 Remove the control panel cover
2 Loosen the screw and remove the lamp cover
3 Loosen the screws on the lamp unit and lift up the handle
4 Pull out the lamp unit
5 Slide in the new lamp unit until it is fully inserted
Handling the new Lamp Unit
6 Tighten the screws of the lamp unit and fold down the handle
7 Re-attach the lamp cover and fasten the screw
Resetting Lamp Time
1 Reconnect power to the projector
Check the lamp time has been reset
Cleaning and Replacing the Filter
4 Reinstall the inner filter
What the messages mean ‘No Signal DVI-D’
‘Lamp replacement’
‘Lamp replacement Warning’
Warning Indicators
About warning indicators
Actions to be taken following display of warning indications
For Nos. 1
Troubleshooting
Before sending the unit for repair, check the following chart
9 8 7 5 4 3 2
Interface Sockets
Pinouts RS-232C Port
DVI-D Interface
1 Communication Specifications
2 Command Format A Command data format
RS-232C External Control
B Response data format
3 External control command table
Numeric value
ON/OFF
Character
Specifications
Input Signal
Resolution
Service
Projector Dimensions
All dimensions in millimetres