Manuals
/
Brands
/
Power Tools
/
Welder
/
Miller Electric
/
Power Tools
/
Welder
Miller Electric
M-10 Gun, Millermatic DVI manual
1
1
60
60
Download
60 pages, 1.8 Mb
Processes
Description
Arc Welding Power Source
and Wire Feeder
OM-1330
220 237H
2007
−
02
Millermatic DVI
And M-10 Gun
R
Flux
Cored (FCAW)
Welding
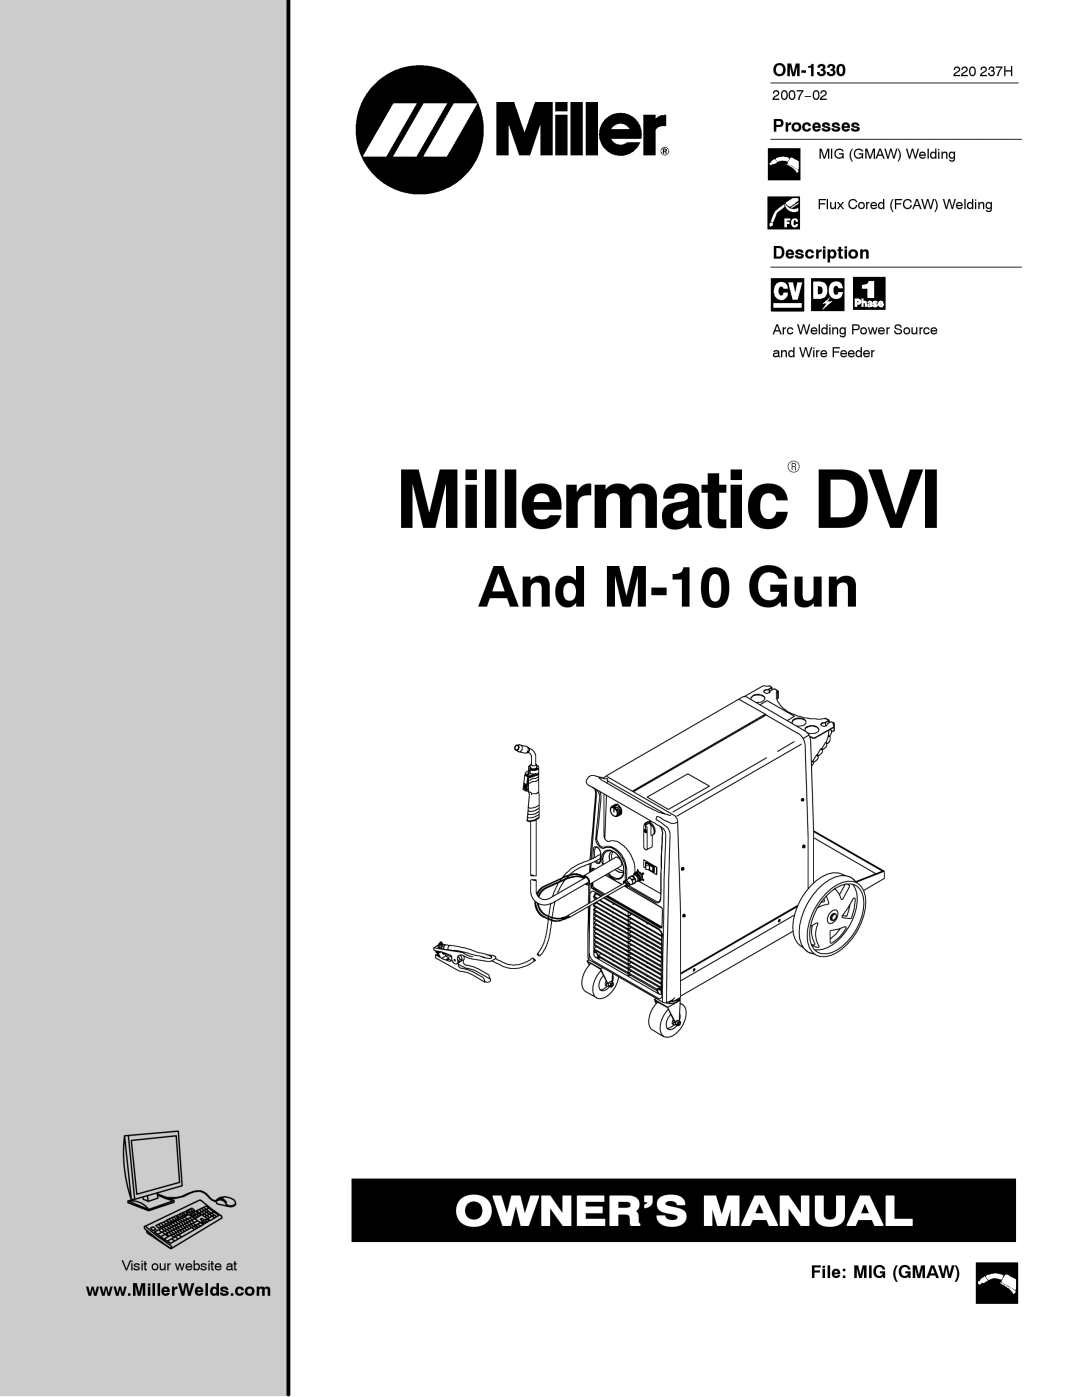
MIG (GMAW)
Welding
File: MIG (GMAW)
Visit
our website at
www.MillerWelds.com
Contents
Main
Millermatic DVI
And M-10 Gun
From Miller to You
Page
TABLE OF CONTENTS
SECTION 1 SAFETY PRECAUTIONS - READ BEFORE USING
1-1. Symbol Usage
.
1-2. Arc Welding Hazards
ELECTRIC SHOCK can kill.
ARC RAYS can burn eyes and skin.
WELDING can cause fire or explosion.
FLYING METAL can injure eyes.
BUILDUP OF GAS can injure or kill.
HOT PARTS can cause severe burns.
1-3. Additional Symbols For Installation, Operation, And Maintenance
FIRE OR EXPLOSION hazard.
FALLING UNIT can cause injury.
OVERUSE can cause OVERHEATING
STATIC (ESD) can damage PC boards.
1-5. Principal Safety Standards
1-6. EMF Information
SECTION 2 CONSIGNES DE SCURIT LIRE AVANT UTILISATION
2-1. Symboles utiliss
.
2-2. Dangers relatifs au soudage la rc
UNE DCHARGE LECTRIQUE peut entraner la mort.
LES RAYONS DARC peuvent entra- ner des brlures aux yeux et la peau.
LE SOUDAGE peut provoquer un incendie ou une explosion.
DES PARTICULES VOLANTES peuvent blesser les yeux.
LES ACCUMULATIONS DE GAZ risquent de provoquer des blessures ou mme la mort.
DES PICES CHAUDES peuvent provoquer des brlures graves.
2-3. Dangers supplmentaires en relation avec linstallation, le fonctionnement et la maintenance
Risque DINCENDIE OU DEXPLO- SION.
LA CHUTE DE LAPPAREIL peut blesser.
LEMPLOI EXCESSIF peut SUR- CHAUFFER LQUIPEMENT.
LES CHARGES LECTROSTATIQUES peuvent endommager les circuits imprims.
2-5. Principales normes de scurit
2-6. Information EMF
SECTION 3 DEFINITIONS
3-1. Symbols And Definitions
V
SECTION 4 INSTALLATION
4-1. Specifications
A. 115 VAC
B. 230 VAC
4-2. Duty Cycle And Overheating
A or V
A. 115 VAC
B. 230 VAC
4-3. Volt-Ampere Curves
CAUTION
4-5. Connecting To Weld Output Terminals
4-6. Installing Work Clamp
4-7. Installing Welding Gun
4-8. Setting Gun Polarity For Wire Type
Changing Polarity
+
-
4-9. Installing Gas Supply
.
4-10. Installing MIG Wire Spool and Adjusting Hub Tension
Installing 1 Or 2 lb Wire Spool To install either a 1 lb or 2 lb wire
4-11. Connecting 1-Phase Input Power For 230 VAC
1
4-12. Electrical Service Guide For 230 VAC
4-13. Extension Cord Data
Input Voltage Input Power
Phase Hertz Conductor Size Max. Cord Length
4-14. Selecting A Location And Connecting Input Power
4-15. Threading Welding Wire
.
4-16. Installing Diverter Valve And Switch For Optional Spool Gun
4-17. Connecting An Optional Spool Gun
SECTION 5 OPERATION
5-1. Controls
.
Page
Page
Page
SECTION 6 MAINTENANCE &TROUBLESHOOTING
6-1. Routine Maintenance
.
3 Months
6 Months
6-3. Unit Overload
6-4. Replacing Gun Contact Tip
6-5. Changing Drive Roll and Wire Inlet Guide
6-6. Aligning Drive Rolls and Wire Guide
6-7. Removing Knob From Front Panel
6-8. Cleaning Or Replacing Gun Liner
6-9. Replacing Switch And/Or Head Tube
6-10. Troubleshooting
Welding Trouble Remedy
Wire Drive/Gun Trouble Remedy
Page
Page
SECTION 8 MIG WELDING (GMAW) GUIDELINES
8-1. Typical MIG Process Connections
8-2. Typical MIG Process Control Settings
8-3. Holding And Positioning Welding Gun
8-4. Conditions That Affect Weld Bead Shape
8-5. Gun Movement During Welding
8-6. Poor Weld Bead Characteristics
8-7. Good Weld Bead Characteristics
8-8. Troubleshooting Excessive Spatter
8-9. Troubleshooting Porosity
8-10. Troubleshooting Excessive Penetration
8-11. Troubleshooting Lack Of Penetration
8-12. Troubleshooting Incomplete Fusion
8-13. Troubleshooting Burn-Through
8-14. Troubleshooting Waviness Of Bead
8-15. Troubleshooting Distortion
8-16. Common MIG Shielding Gases
8-17. Troubleshooting Guide For Semiautomatic Welding Equipment
Problem Probable Cause Remedy
Page
SECTION 9 PARTS LIST
Figure 9-1. Main Assembly
Page
Figure 9-2. Baffle, Center w/Components
Page
Page
Page
Page
Page
9-7. Drive Roll And Wire Guide Kits
Page
Page
Warranty Questions?
Call 1-800-4-A-MILLER for your local Miller distributor.
Effective January 1, 2007 (Equipment with a serial number preface of LH or newer)
Please complete and retain with your personal records.
For Service
Always provide Model Name and Serial/Style Number.
Contact a DISTRIBUTOR or SERVICE AGENCY near you.
Owners Record