P MODE FLASH: THE BASICS
Flash Range
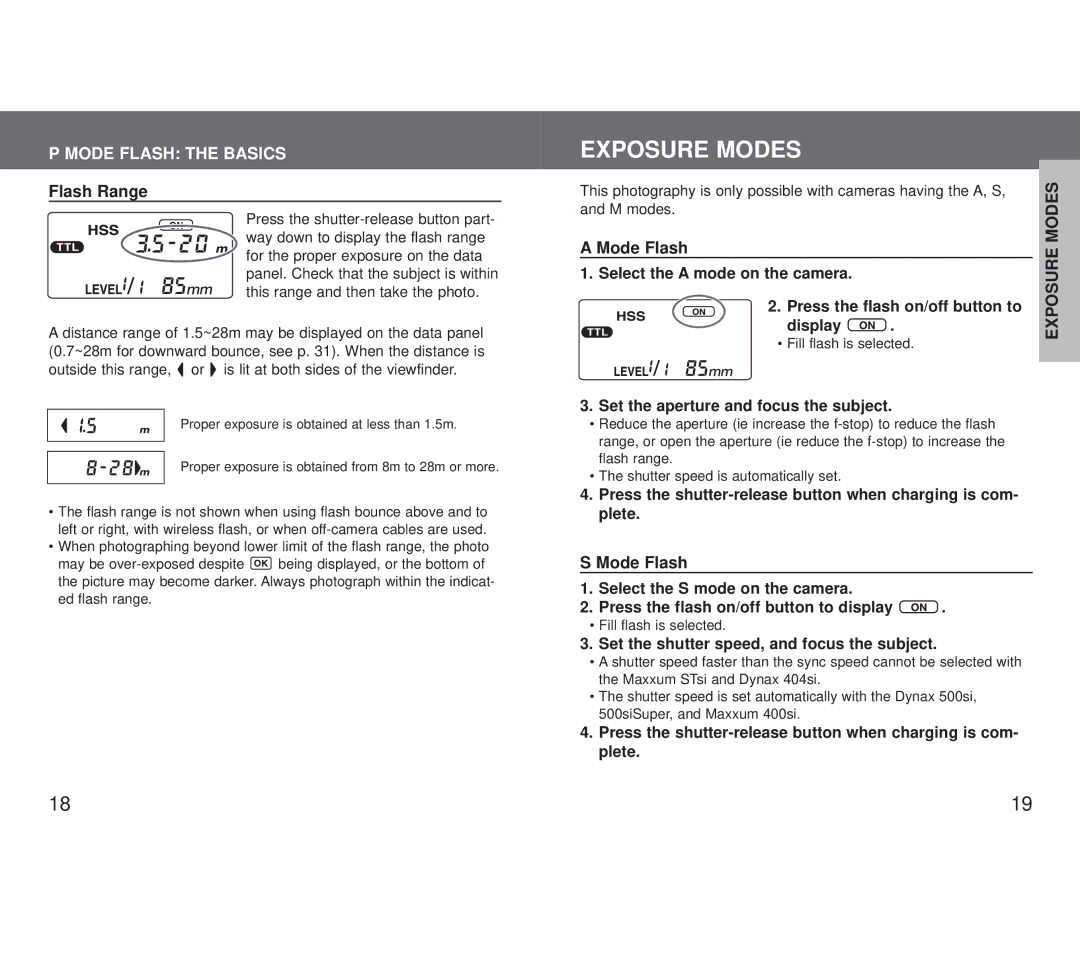
Press the
A distance range of 1.5~28m may be displayed on the data panel (0.7~28m for downward bounce, see p. 31). When the distance is outside this range, ![]() or
or ![]() is lit at both sides of the viewfinder.
is lit at both sides of the viewfinder.
Proper exposure is obtained at less than 1.5m.
Proper exposure is obtained from 8m to 28m or more.
•The flash range is not shown when using flash bounce above and to left or right, with wireless flash, or when
•When photographing beyond lower limit of the flash range, the photo
may be ![]() being displayed, or the bottom of the picture may become darker. Always photograph within the indicat- ed flash range.
being displayed, or the bottom of the picture may become darker. Always photograph within the indicat- ed flash range.
EXPOSURE MODES
This photography is only possible with cameras having the A, S, and M modes.
A Mode Flash
1. Select the A mode on the camera.
2. Press the flash on/off button to
display ![]() .
.
• Fill flash is selected.
3.Set the aperture and focus the subject.
•Reduce the aperture (ie increase the
•The shutter speed is automatically set.
4.Press the
S Mode Flash
1.Select the S mode on the camera.
2.Press the flash on/off button to display ![]() .
.
•Fill flash is selected.
3.Set the shutter speed, and focus the subject.
•A shutter speed faster than the sync speed cannot be selected with the Maxxum STsi and Dynax 404si.
•The shutter speed is set automatically with the Dynax 500si, 500siSuper, and Maxxum 400si.
4.Press the
EXPOSURE MODES
18 | 19 |
