The video data are saved as follows.
- A file bearing the conversion start date and time and the camera number in its name will be created by default.
(Example) 09012005123456C09.AVI : In the case of conversion of the video data supplied from Camera No. 9 at 12:34:56 on January 9, 2005.
Note that the newly created AVI file does not contain the audio data.
4.5 Print command
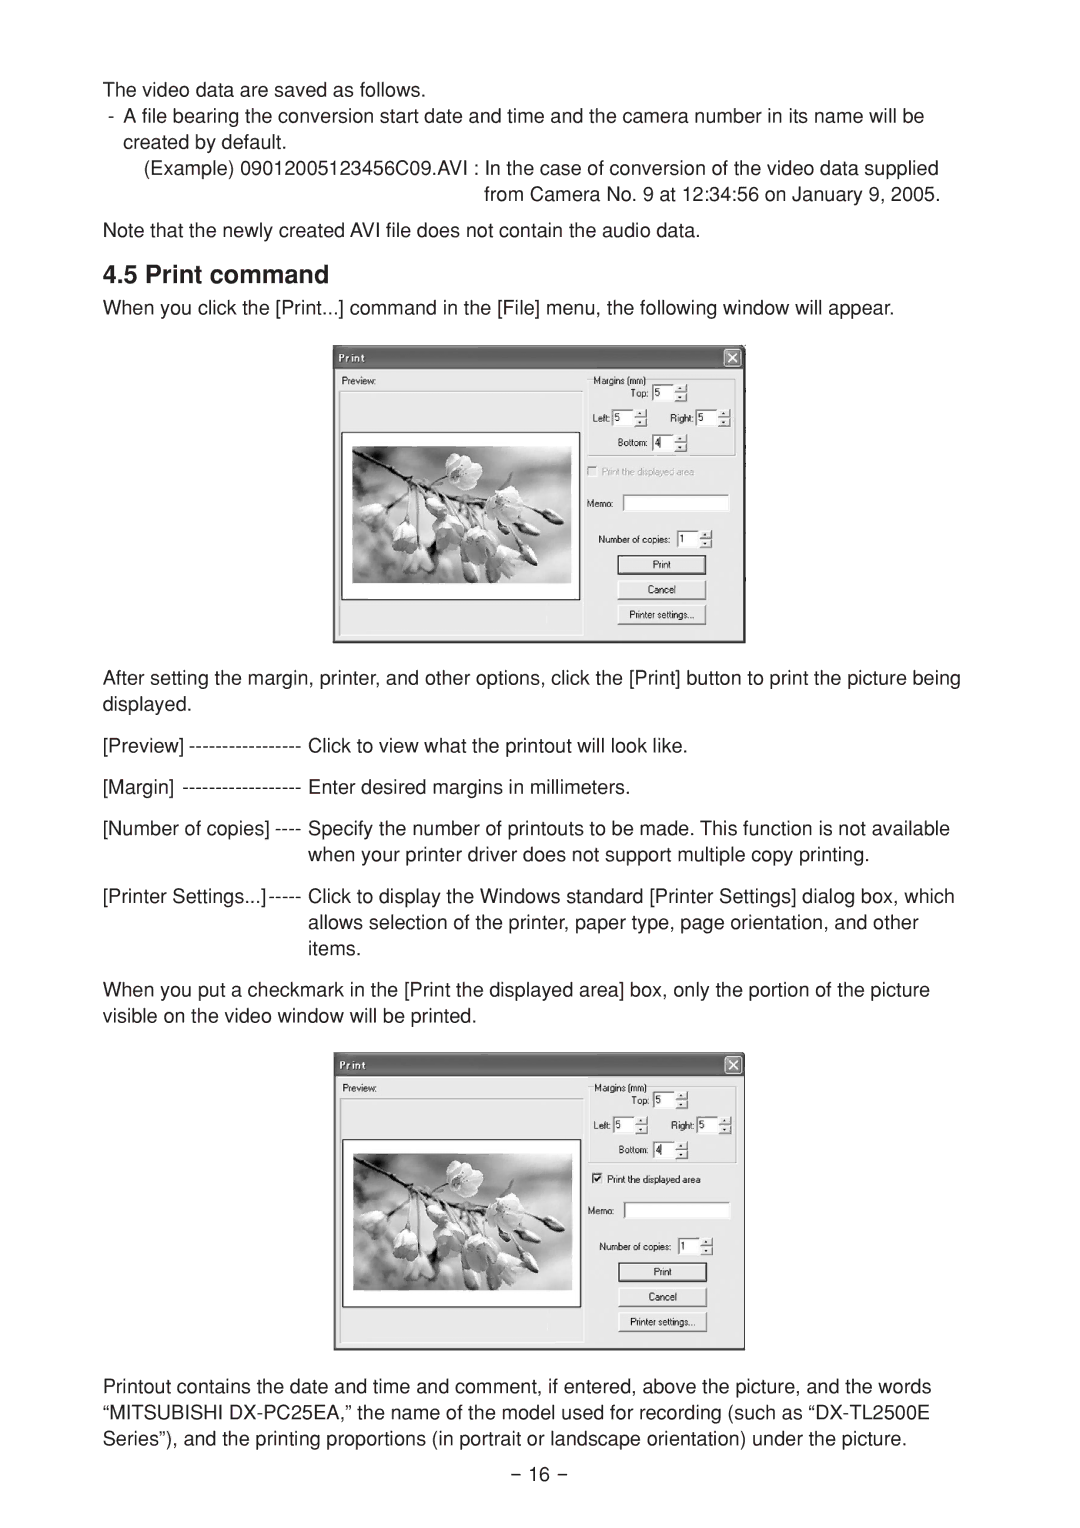
When you click the [Print...] command in the [File] menu, the following window will appear.
After setting the margin, printer, and other options, click the [Print] button to print the picture being displayed.
[Preview] | Click to view what the printout will look like. |
[Margin] | Enter desired margins in millimeters. |
[Number of copies] | Specify the number of printouts to be made. This function is not available |
| when your printer driver does not support multiple copy printing. |
[Printer
allows selection of the printer, paper type, page orientation, and other items.
When you put a checkmark in the [Print the displayed area] box, only the portion of the picture visible on the video window will be printed.
Printout contains the date and time and comment, if entered, above the picture, and the words “MITSUBISHI
- 16 -
