Screen Menu Options
Auto Adjustment
-RGB (PC) mode only; This function doesn’t work for
-Automatically adjusts picture position and minimizes image shaking.
-Auto Adjust and Manual Adjust are not active in DVI mode.
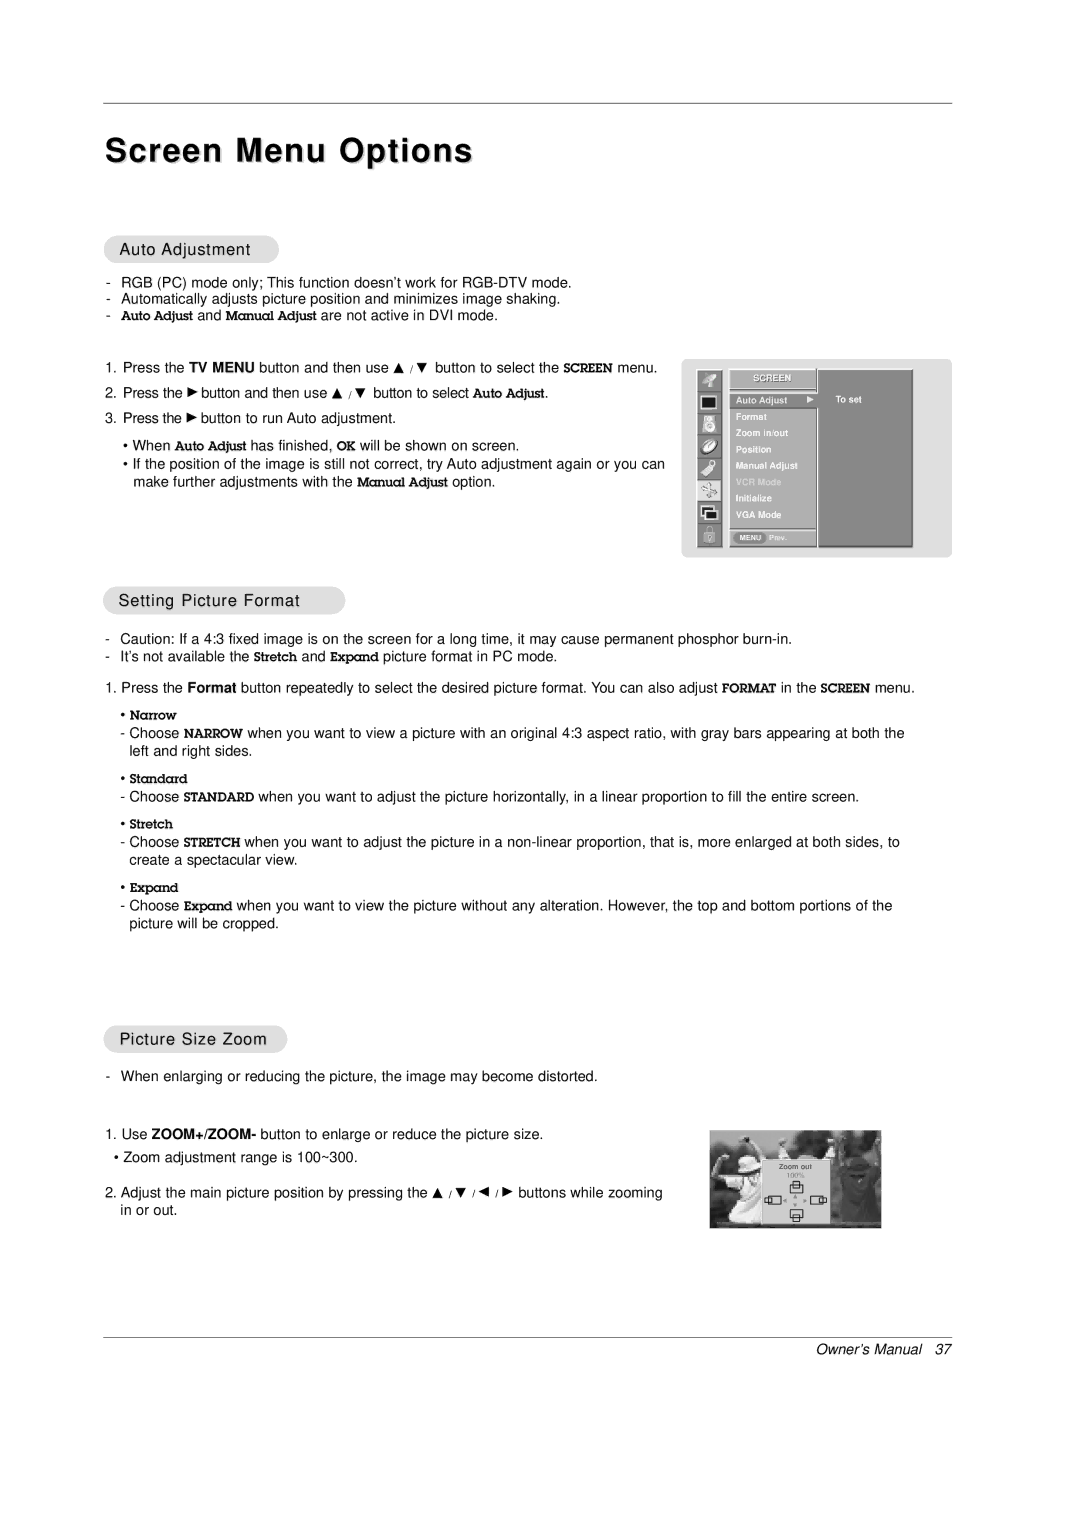
1.Press the TV MENU button and then use D / E button to select the SCREEN menu.
2.Press the G button and then use D / E button to select Auto Adjust.
3.Press the G button to run Auto adjustment.
•When Auto Adjust has finished, OK will be shown on screen.
•If the position of the image is still not correct, try Auto adjustment again or you can make further adjustments with the Manual Adjust option.
SCREEN
Auto Adjust | G | To set |
Format
Zoom in/out
Position
Manual Adjust
VCR Mode
Initialize
VGA Mode
MENU Prev.
Setting Picture Format
-Caution: If a 4:3 fixed image is on the screen for a long time, it may cause permanent phosphor
-It’s not available the Stretch and Expand picture format in PC mode.
1. Press the Format button repeatedly to select the desired picture format. You can also adjust FORMAT in the SCREEN menu.
•Narrow
-Choose NARROW when you want to view a picture with an original 4:3 aspect ratio, with gray bars appearing at both the left and right sides.
•Standard
- Choose STANDARD when you want to adjust the picture horizontally, in a linear proportion to fill the entire screen.
•Stretch
-Choose STRETCH when you want to adjust the picture in a
•Expand
-Choose Expand when you want to view the picture without any alteration. However, the top and bottom portions of the picture will be cropped.
Picture Size Zoom
- When enlarging or reducing the picture, the image may become distorted.
1.Use ZOOM+/ZOOM- button to enlarge or reduce the picture size.
•Zoom adjustment range is 100~300.
2.Adjust the main picture position by pressing the D / E / F / G buttons while zooming in or out.
Zoom out
100%
D
![]() F E G
F E G ![]()
Owner’s Manual 37
