
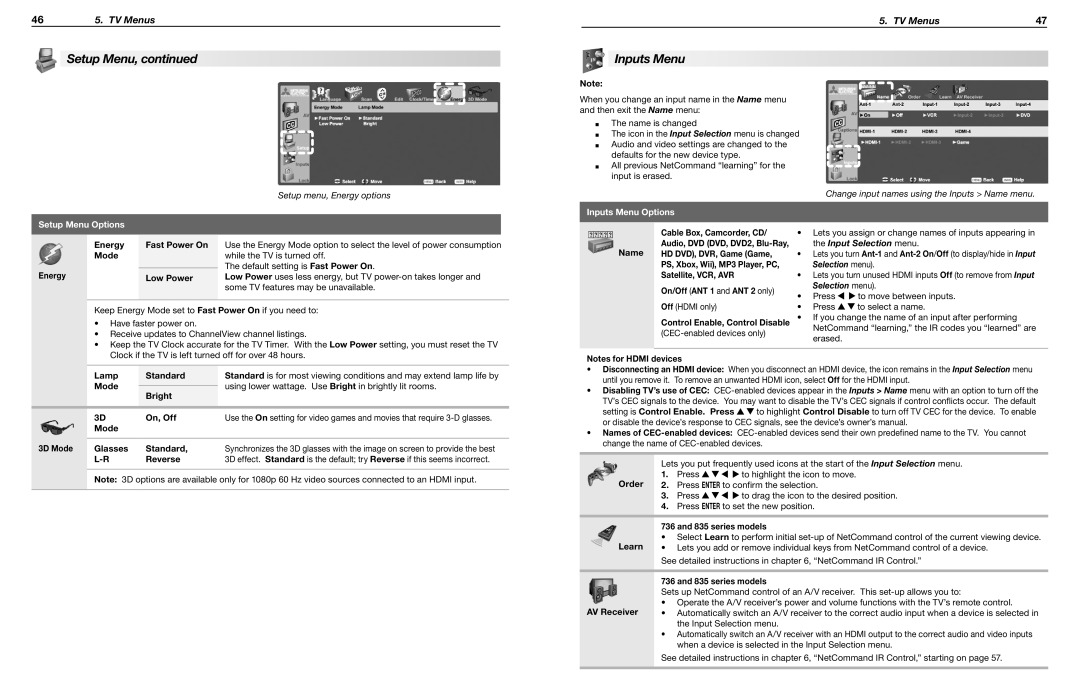
WD-73736, WD-65736, WD-65835, WD-73735, WD-73835 specifications
The Mitsubishi Electronics WD-73C8, WD-73735, WD-73835, WD-73736, and WD-60735 are a series of high-performance DLP televisions known for their exceptional picture quality, advanced technology, and user-friendly features. These models, mainly targeting the large-screen home entertainment segment, are designed to deliver an immersive viewing experience.One of the standout features of these televisions is their use of DLP (Digital Light Processing) technology, which ensures high brightness levels and vibrant colors. With Mitsubishi’s advanced DLP projection system, viewers can enjoy deeper blacks and a wide color gamut, making movies and sporting events come alive.
The WD-73C8 model, with its 73-inch screen, offers a colossal viewing area, making it an ideal choice for home theaters. Its Full HD resolution of 1920x1080 ensures that image clarity is never compromised, allowing viewers to see the finest details in high-definition content.
Similar in size, the WD-73735, WD-73835, and WD-73736 models also feature a 73-inch display, while the WD-60735 comes with a 60-inch screen. All models utilize Mitsubishi’s advanced Color Management System, which provides customizable color settings and enhances overall picture quality.
Another key technology integrated into these televisions is the Reality Creation feature, which enhances the sharpness and detail of standard-definition content. This means that older movies and TV shows can be upscaled to look more vibrant and clear, providing a better experience without the need for high-resolution sources.
The internal sound system of these models is engineered to complement their impressive visuals. Equipped with powerful speakers and advanced audio technologies, they deliver a cinematic sound experience that enhances everything from action scenes to quiet dialogue.
Connectivity options abound in these Mitsubishi TVs, with multiple HDMI ports, USB inputs, and even Ethernet connectivity for streaming services. This allows users to easily link their gaming consoles, Blu-ray players, and smart devices, further enhancing the versatility of the televisions.
Overall, the Mitsubishi Electronics WD-73C8, WD-73735, WD-73835, WD-73736, and WD-60735 models position themselves as excellent choices for consumers looking to elevate their home entertainment experience, combining cutting-edge technology with user-centric design. These televisions stand as a testament to Mitsubishi’s commitment to delivering high-quality, reliable products that enrich the viewing experience.