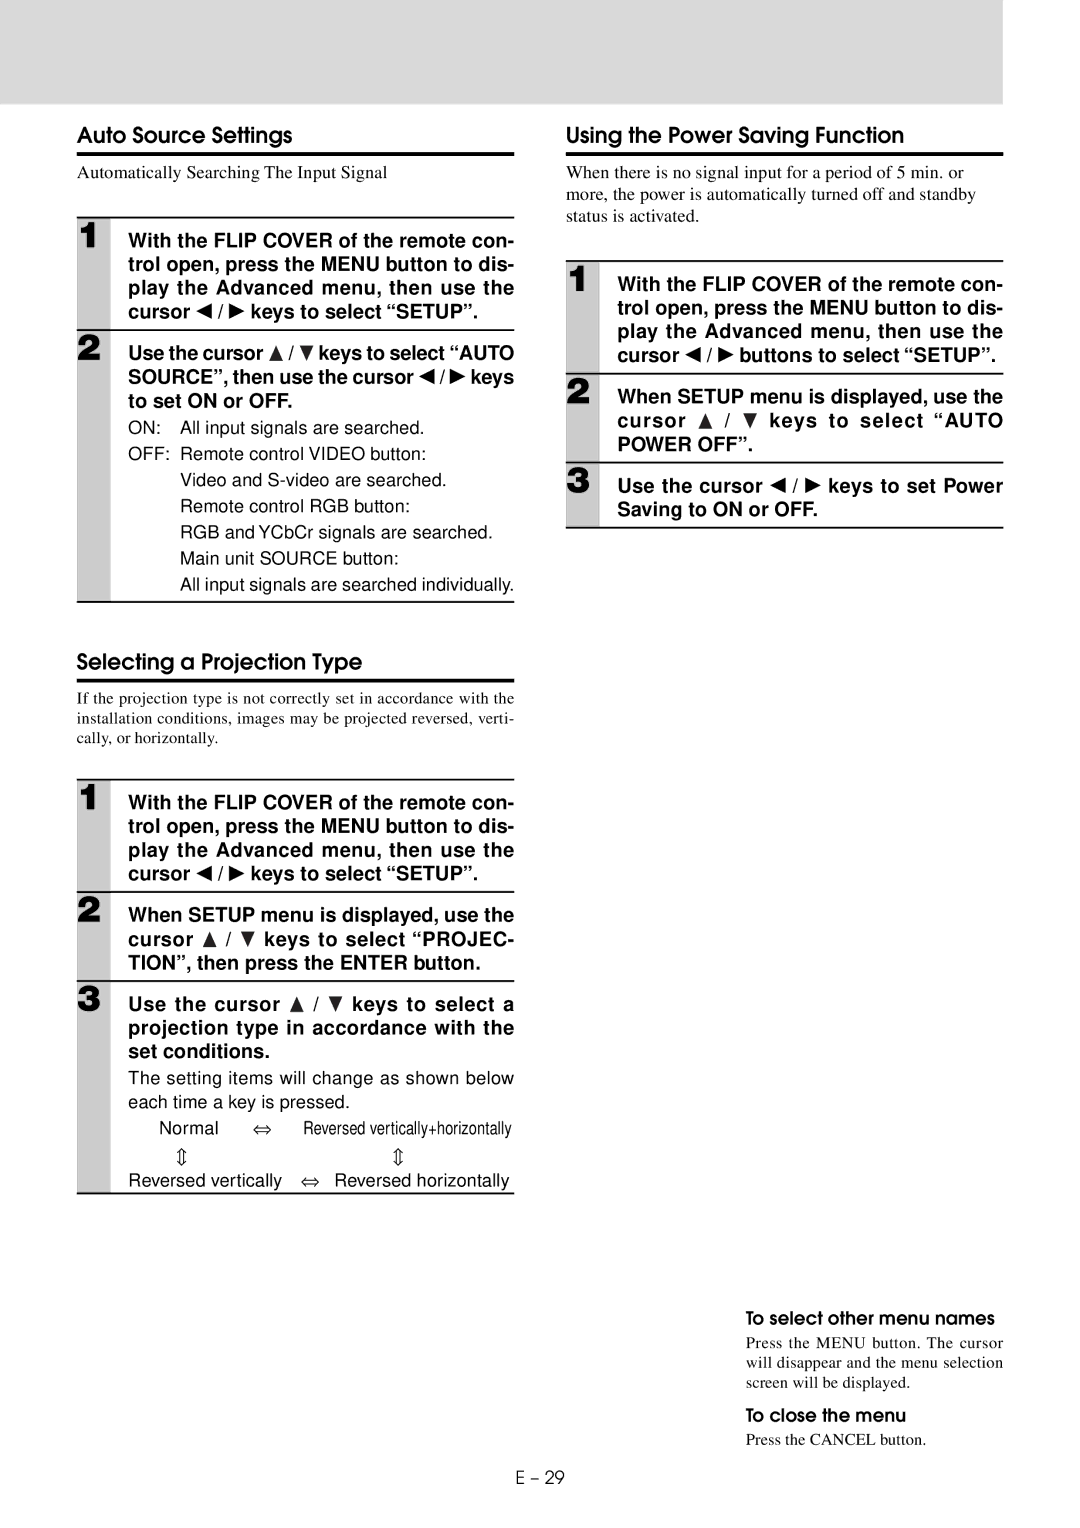
Auto Source Settings
Automatically Searching The Input Signal
1 With the FLIP COVER of the remote con- trol open, press the MENU button to dis- play the Advanced menu, then use the cursor ◀ / ▶ keys to select “SETUP”.
2 Use the cursor ![]() /
/ ![]() keys to select “AUTO SOURCE”, then use the cursor ◀ / ▶ keys to set ON or OFF.
keys to select “AUTO SOURCE”, then use the cursor ◀ / ▶ keys to set ON or OFF.
ON: All input signals are searched.
OFF: Remote control VIDEO button:
Video and
Remote control RGB button:
RGB and YCbCr signals are searched.
Main unit SOURCE button:
All input signals are searched individually.
Using the Power Saving Function
When there is no signal input for a period of 5 min. or more, the power is automatically turned off and standby status is activated.
1 With the FLIP COVER of the remote con- trol open, press the MENU button to dis- play the Advanced menu, then use the cursor ◀ / ▶ buttons to select “SETUP”.
2 When SETUP menu is displayed, use the cursor ![]() /
/ ![]() keys to select “AUTO POWER OFF”.
keys to select “AUTO POWER OFF”.
3 Use the cursor ◀ / ▶ keys to set Power
Saving to ON or OFF.
Selecting a Projection Type
If the projection type is not correctly set in accordance with the installation conditions, images may be projected reversed, verti- cally, or horizontally.
1 With the FLIP COVER of the remote con- trol open, press the MENU button to dis- play the Advanced menu, then use the cursor ◀ / ▶ keys to select “SETUP”.
2 When SETUP menu is displayed, use the cursor ![]() /
/ ![]() keys to select “PROJEC- TION”, then press the ENTER button.
keys to select “PROJEC- TION”, then press the ENTER button.
3 Use the cursor ![]() /
/ ![]() keys to select a projection type in accordance with the set conditions.
keys to select a projection type in accordance with the set conditions.
The setting items will change as shown below each time a key is pressed.
Normal ⇔
⇔
Reversed vertically ⇔
To select other menu names
Press the MENU button. The cursor will disappear and the menu selection screen will be displayed.
To close the menu
Press the CANCEL button.
E – 29
