CLP REPEATER CAPABILITY: WORKING WITH RPX
4.Press the “Menu” button on the CLP radio to start the cloning process.
5.Once the cloning is completed, turn the RPX OFF and back ON again in order to activate the radio.
6.To clone another RPX, repeat steps 3, 4 and 5.
7.To exit clone mode on the CLP radio, turn the radio OFF.
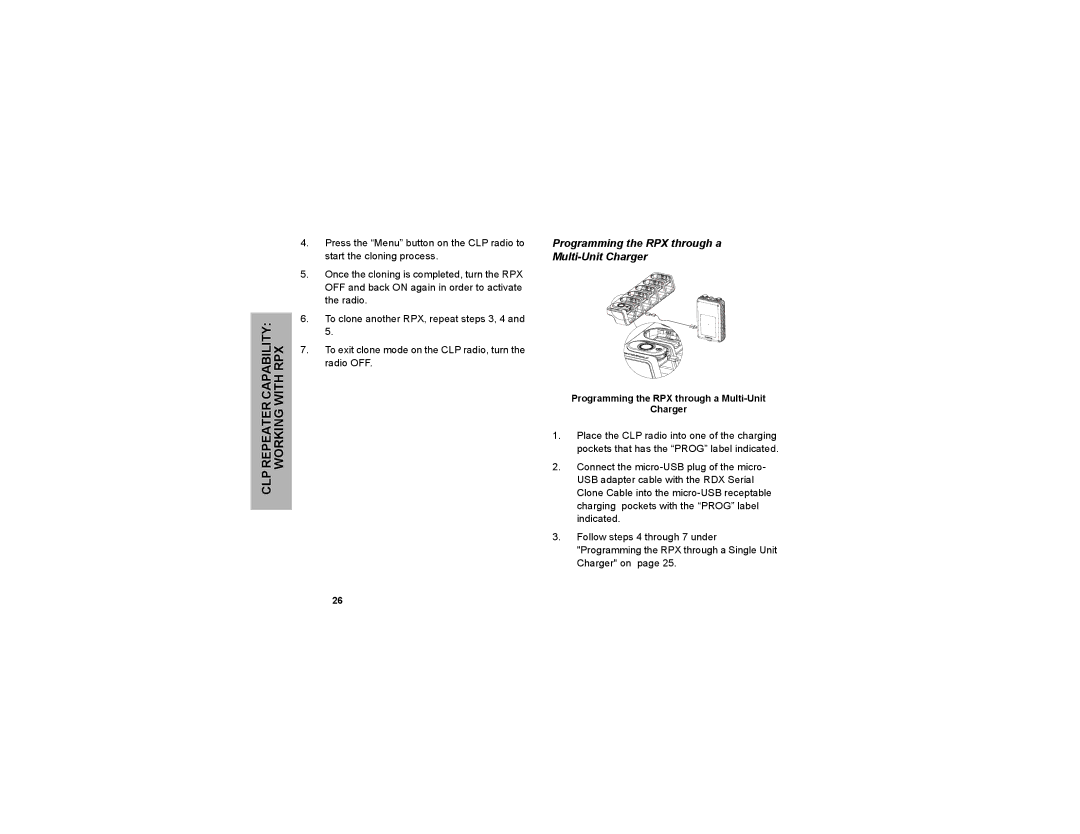
Programming the RPX through a
Multi-Unit Charger
Programming the RPX through a
Charger
1.Place the CLP radio into one of the charging pockets that has the “PROG” label indicated.
2.Connect the
3.Follow steps 4 through 7 under "Programming the RPX through a Single Unit Charger" on page 25.
26