Installation Precautions
! Attention
This description does not address to all possible cases. For new requirement and query, please consult the regional sales center of Haier Air Conditioner General Co., Ltd.
! Warning
This instruction manual must be read carefully before beginning of installation, improper ins- tallation may cause accidents and thus bring about machine damage and personal casualty.
Installing tools
1. | Screw driver | 6. Pipe cutter | 10. Leakage detector or soap water |
2. | Hacksaw | 7. Pipe expander | 11. Measuring tape |
3. | Driller of 70mm diameter | 8. Knife | 12. Scraper |
4. | Spanner (diameter 17, 27mm) | 9. Pinchers | 13. Refrigeration oil |
5. Spanner (14, 17, 19, 27mm)
Electrical requirements
![]() The power supply shall be connected from the outdoor side. (For models with
The power supply shall be connected from the outdoor side. (For models with
![]() A separate power circuit shall be supplied and connected by a qualified electrician according to the wiring rules specified in the corresponding national standard.
A separate power circuit shall be supplied and connected by a qualified electrician according to the wiring rules specified in the corresponding national standard.
![]() A current leakage breaker must be installed.
A current leakage breaker must be installed.
![]() The connection method of power cord is " Y " type. If the power flexible cord is damaged, it shall be replaced by the manufacturer or its service department or similar qualified technician so as to avoid risks.
The connection method of power cord is " Y " type. If the power flexible cord is damaged, it shall be replaced by the manufacturer or its service department or similar qualified technician so as to avoid risks.
![]() Power cord plug: L should be connected to the live wire, N should be connected to the neutral wire and
Power cord plug: L should be connected to the live wire, N should be connected to the neutral wire and![]() to the ground wire.
to the ground wire.
![]() Connection wire size: 3 G
Connection wire size: 3 G
![]() Signal transmission wire
Signal transmission wire ![]() Power cord, connection wire and signal wire shall be provided by the user.
Power cord, connection wire and signal wire shall be provided by the user.
Indoor unit
1. Select suitable places the outlet air can be sent to the
entire room, and convenient to lay out the connection pipe, connection wire and the drainage pipe to outdoor.
2. The ceiling structure must be strong enough to support
the unit weight.
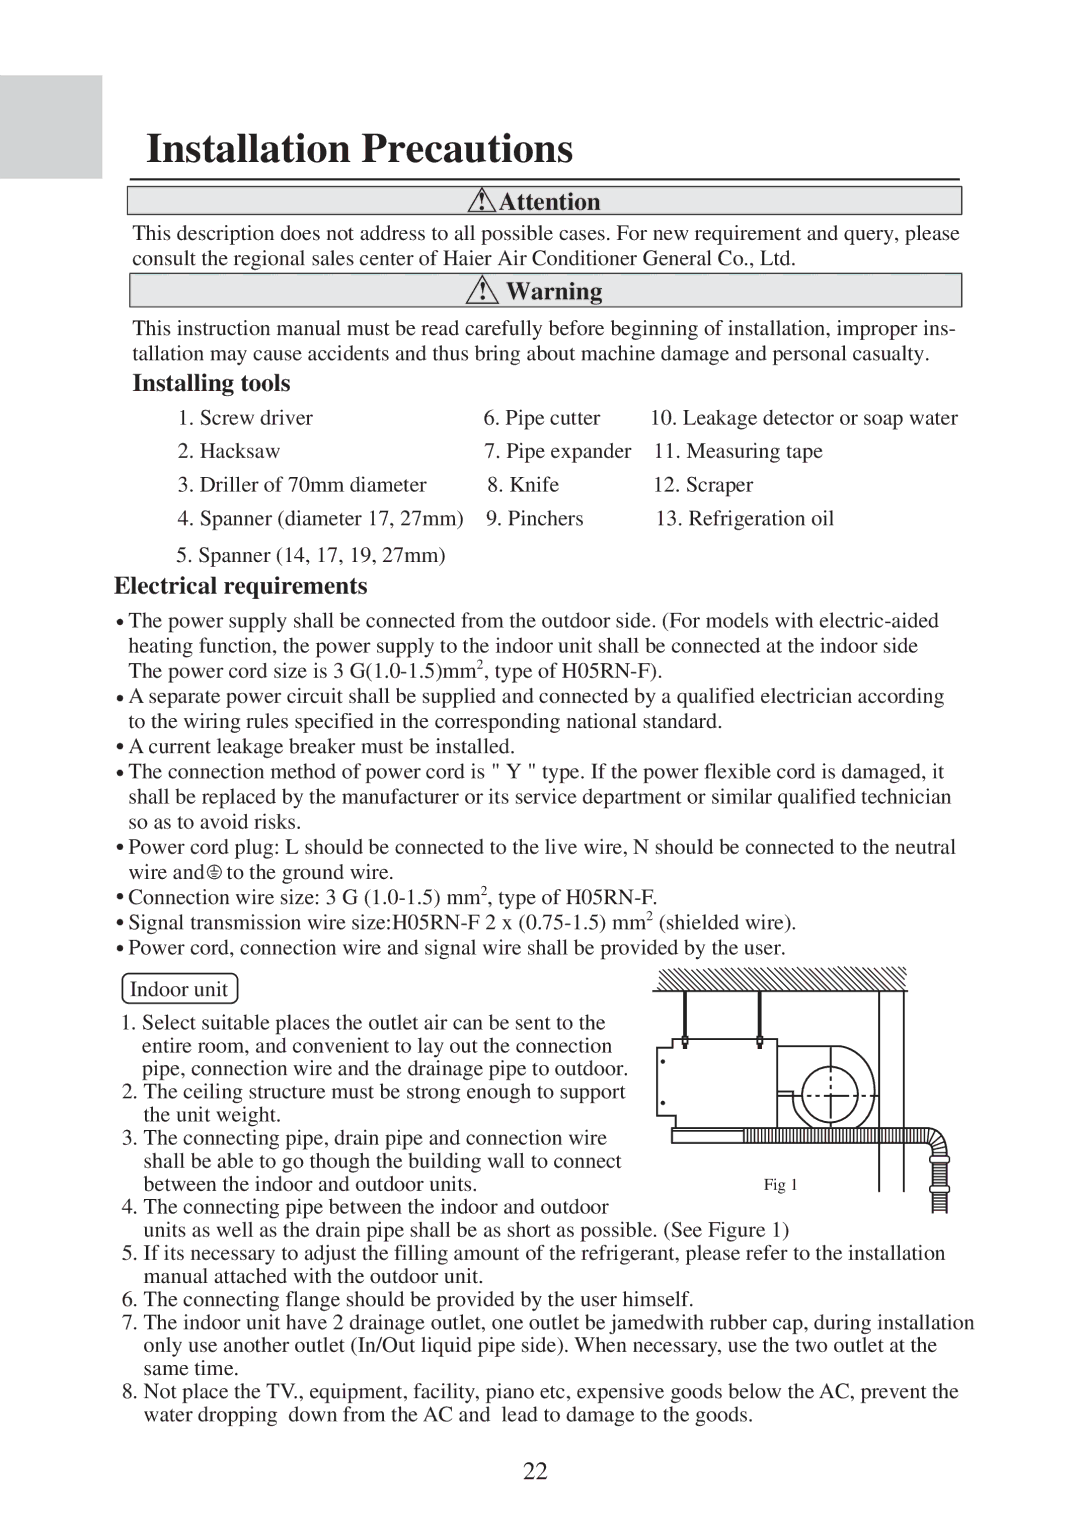
3. The connecting pipe, drain pipe and connection wire shall be able to go though the building wall to connect between the indoor and outdoor units. 4. The connecting pipe between the indoor and outdoor
units as well as the drain pipe shall be as short as possible. (See Figure 1)
5.If its necessary to adjust the filling amount of the refrigerant, please refer to the installation manual attached with the outdoor unit.
6.The connecting flange should be provided by the user himself.
7.The indoor unit have 2 drainage outlet, one outlet be jamedwith rubber cap, during installation only use another outlet (In/Out liquid pipe side). When necessary, use the two outlet at the same time.
8.Not place the TV., equipment, facility, piano etc, expensive goods below the AC, prevent the water dropping down from the AC and lead to damage to the goods.
22
