27
SEMI-ANNUALLY (OR EVERY TWO TONS OF PELLET)
NOTE: More frequent cleaning may be required depending on pellet quality.
WARNING: Disconnect the power cord prior to conducting service. The following section details extensive maintenance procedures. We strongly suggest these items be carried out by a trained service technician, possibly by a service agreement set up with your dealer. NOTE: The heater becomes very hot during operation. Let the heater cool completely and disconnect the power cord prior to conducting service.
VACUUM HOPPER
NPS40:
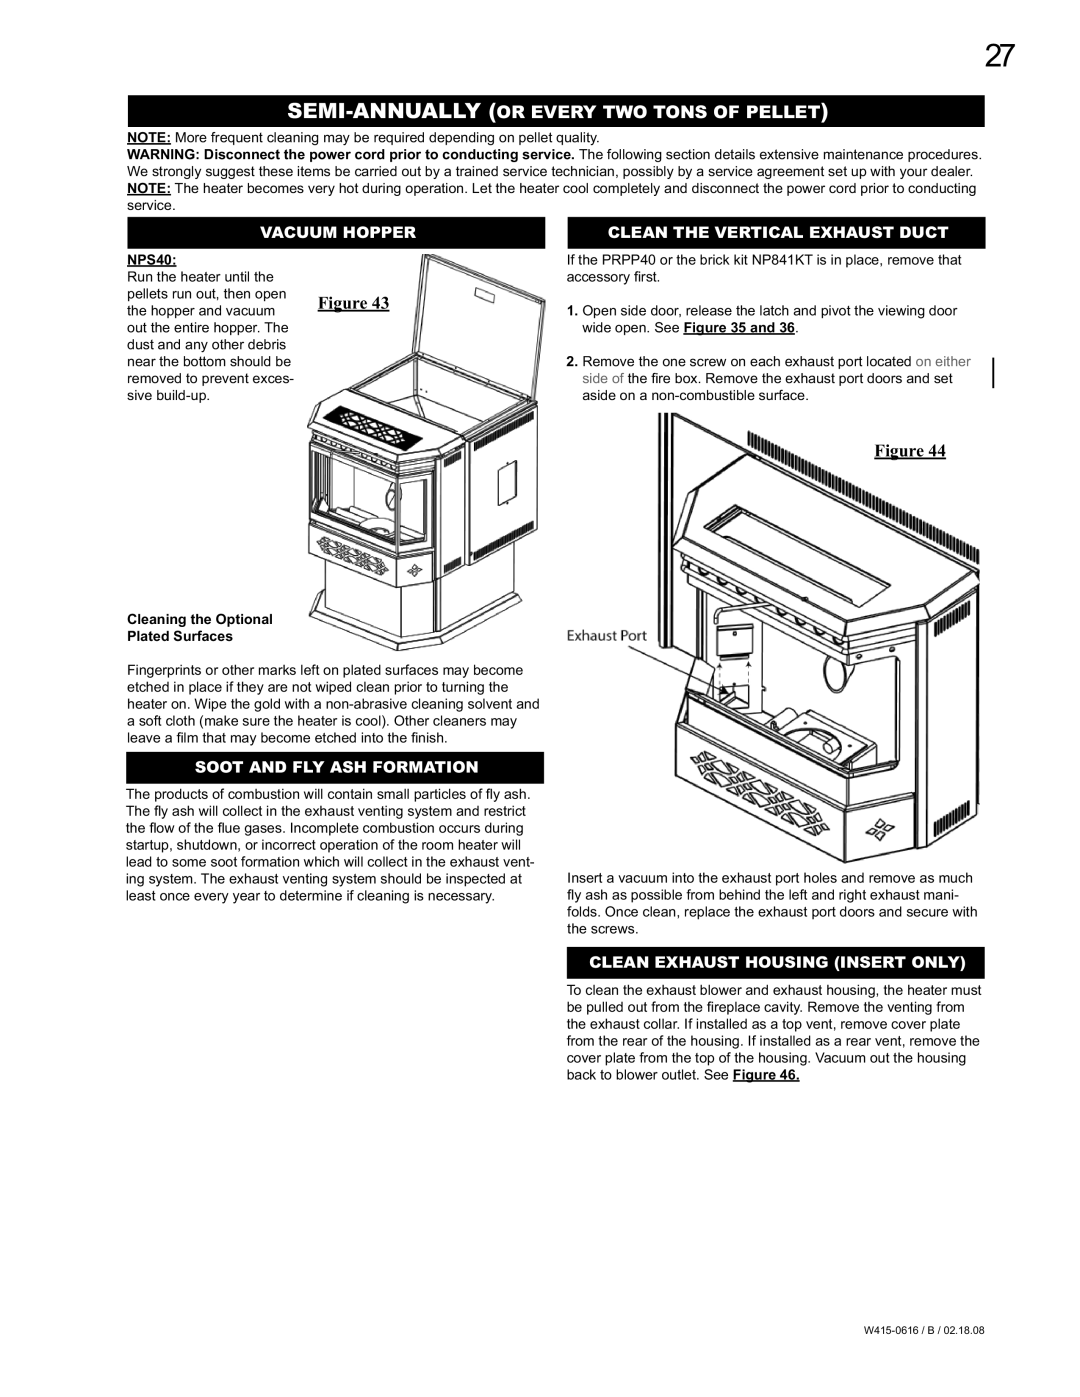
Run the heater until the
pellets run out, then open
the hopper and vacuum Figure 43 out the entire hopper. The
dust and any other debris near the bottom should be removed to prevent exces- sive
Cleaning the Optional
Plated Surfaces
Fingerprints or other marks left on plated surfaces may become etched in place if they are not wiped clean prior to turning the heater on. Wipe the gold with a
SOOT AND FLY ASH FORMATION
The products of combustion will contain small particles of fl y ash. The fl y ash will collect in the exhaust venting system and restrict the fl ow of the fl ue gases. Incomplete combustion occurs during startup, shutdown, or incorrect operation of the room heater will lead to some soot formation which will collect in the exhaust vent- ing system. The exhaust venting system should be inspected at least once every year to determine if cleaning is necessary.
CLEAN THE VERTICAL EXHAUST DUCT
If the PRPP40 or the brick kit NP841KT is in place, remove that accessory fi rst.
1.Open side door, release the latch and pivot the viewing door wide open. See Figure 35 and 36.
2.Remove the one screw on each exhaust port located on either side of the fi re box. Remove the exhaust port doors and set aside on a
Figure 44
Figure 31
Insert a vacuum into the exhaust port holes and remove as much
fly ash as possible from behind the left and right exhaust mani- folds. Once clean, replace the exhaust port doors and secure with the screws.
CLEAN EXHAUST HOUSING (INSERT ONLY)
To clean the exhaust blower and exhaust housing, the heater must be pulled out from the fi replace cavity. Remove the venting from the exhaust collar. If installed as a top vent, remove cover plate from the rear of the housing. If installed as a rear vent, remove the cover plate from the top of the housing. Vacuum out the housing back to blower outlet. See Figure 46.
