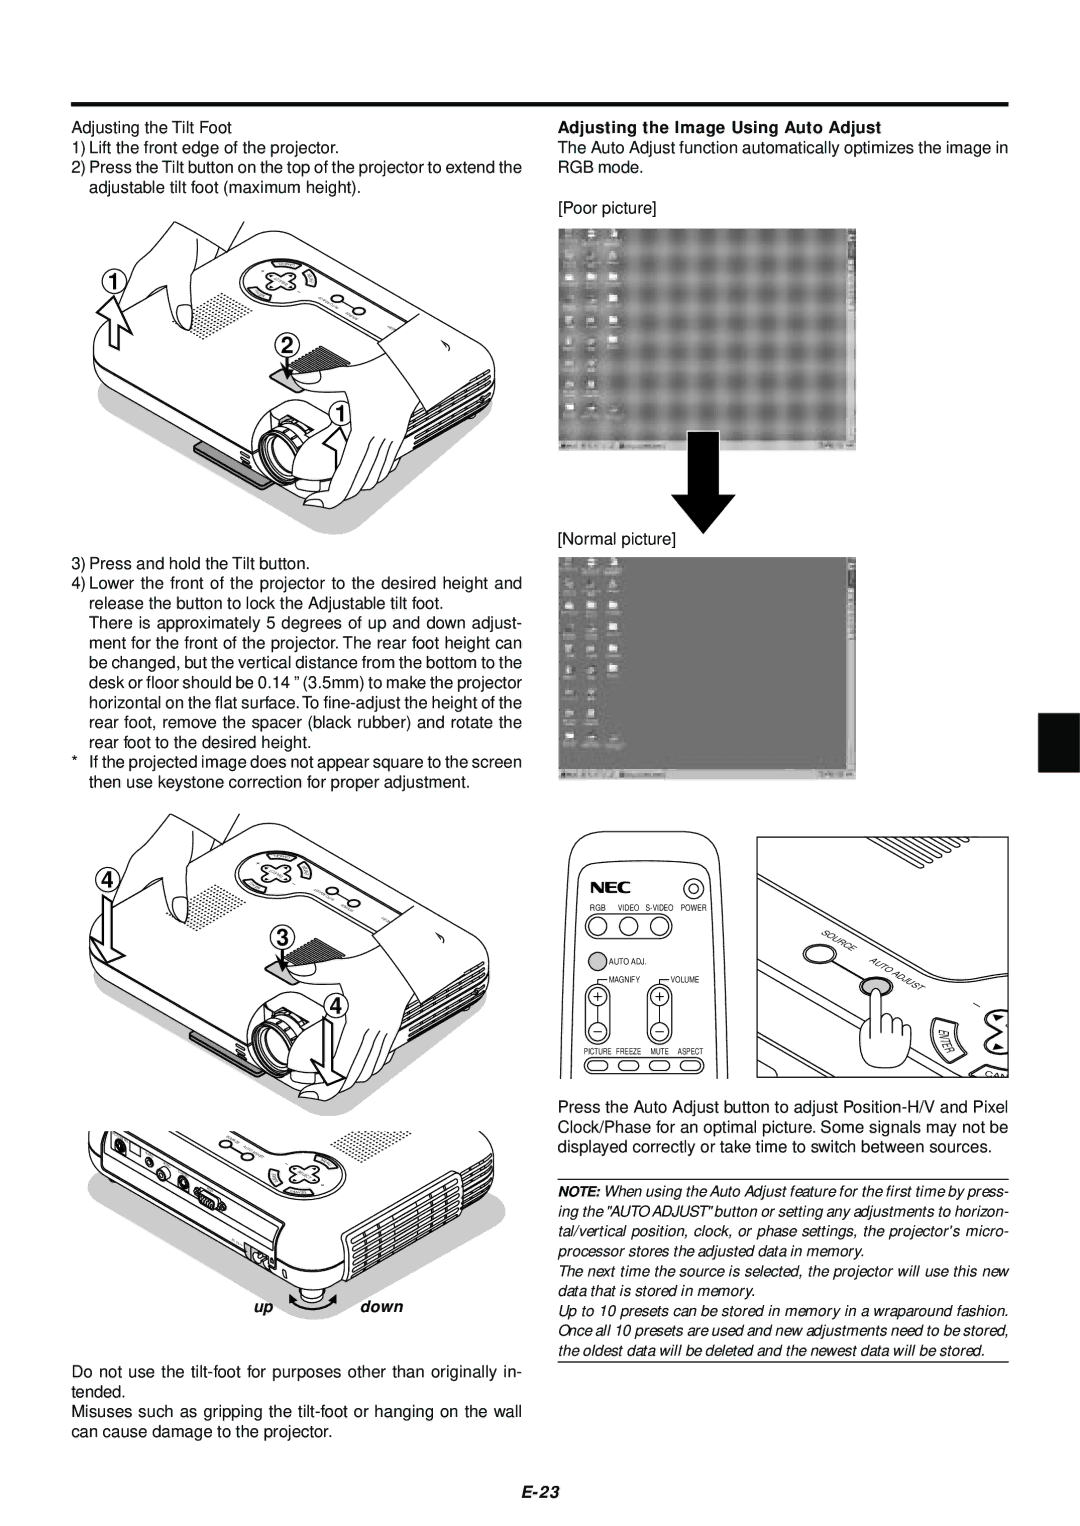
Adjusting the Tilt Foot | Adjusting the Image Using Auto Adjust |
1) Lift the front edge of the projector. | The Auto Adjust function automatically optimizes the image in |
2) Press the Tilt button on the top of the projector to extend the | RGB mode. |
adjustable tilt foot (maximum height). |
|
| [Poor picture] |
1
L |
|
ECNAC |
|
| R |
SELECT | E |
| T |
| NE |
U |
|
|
NE |
|
|
M | T |
|
| SUJ |
|
| DA | OT |
|
| UA |
ECRUO
S
2
![]() 1
1
YB | DN |
| |
| / | AT | |
|
| NO | S |
| S |
R | UTAT |
EW | S |
| OP |
[Normal picture]
3)Press and hold the Tilt button.
4)Lower the front of the projector to the desired height and release the button to lock the Adjustable tilt foot.
There is approximately 5 degrees of up and down adjust- ment for the front of the projector. The rear foot height can be changed, but the vertical distance from the bottom to the desk or floor should be 0.14 ” (3.5mm) to make the projector
horizontal on the flat surface. To
*If the projected image does not appear square to the screen then use keystone correction for proper adjustment.
L |
|
ECNAC |
|
| R |
SELECT | E |
| T |
| N |
| E |
4 | UN |
|
|
EM | TSUJ |
| |
|
| DA | OT |
|
|
| UA |
EC |
|
|
|
|
RU |
|
|
|
|
OS |
|
|
|
|
YB | DN |
|
| |
3 | / | AT |
| |
| NO | S |
| |
|
|
| S | |
|
| RE | UT | |
|
| ATS | ||
|
|
| WOP | |
![]() 4
4
RGB VIDEO
![]() AUTO ADJ.
AUTO ADJ.
![]() MAGNIFY
MAGNIFY ![]() VOLUME
VOLUME
PICTURE FREEZE MUTE ASPECT
SOURCE
AUTO | ADJUST |
|
E
N
T
E
R
C
A
S
N
P |
| S |
|
|
|
CC |
|
|
|
| |
ONT |
| OU |
|
|
|
ROL |
| RCE |
|
| |
|
|
| A |
|
|
|
|
| UT |
|
|
AUD |
|
| O A |
|
|
|
| DJU | ST |
| |
IO |
|
|
| ME | |
V |
|
|
|
| |
|
|
|
| NU | |
IDEO |
|
|
|
|
|
S- |
|
|
| E | SELECT |
V |
|
| E |
| |
| IDEO |
|
| T |
|
|
|
|
| N |
|
|
|
|
| R |
|
| R |
|
|
| CANCE L |
| GB |
|
|
| |
|
| AC | IN |
|
|
up  down
down
Do not use the
Misuses such as gripping the
Press the Auto Adjust button to adjust
NOTE: When using the Auto Adjust feature for the first time by press- ing the "AUTO ADJUST" button or setting any adjustments to horizon- tal/vertical position, clock, or phase settings, the projector's micro- processor stores the adjusted data in memory.
The next time the source is selected, the projector will use this new data that is stored in memory.
Up to 10 presets can be stored in memory in a wraparound fashion. Once all 10 presets are used and new adjustments need to be stored, the oldest data will be deleted and the newest data will be stored.