July
MOTOROLA MOTOMESH DUO 2.0 4300 Users Guide
MOTOMESH DUO 2.0 4300 Users Guide
This page intentionally left blank
July ii
July iii
Copyrights
Disclaimer
Trademarks
July iv
of Contents
Contents
Chapter 6 Certification and Safety Information
Chapter 5 Customer Service
3-11
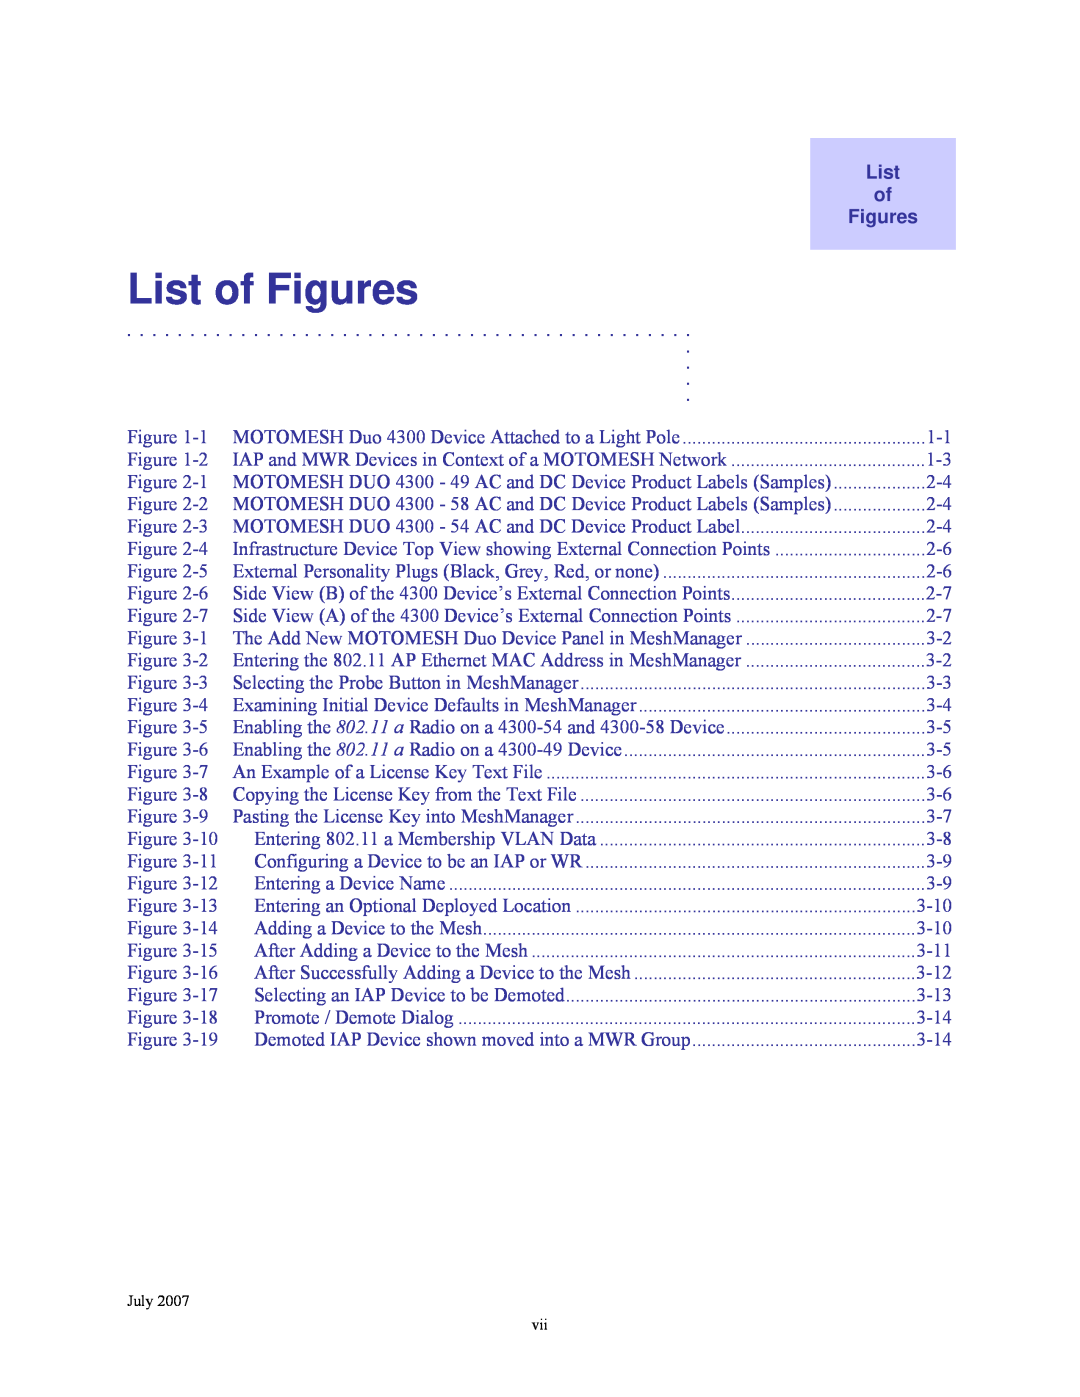
List of Figures
List of Figures
3-10
July viii
List of Figures
Table 1-1 MOTOMESH Duo 4300-49 Device Specifications
List of Tables
List of Tables
July x
List of Tables
3-15
List of Procedures
List of Procedures
Procedure
July xii
List of Procedures
Chapter
Chapter 1 Product Introduction
Figure 1-1 MOTOMESH Duo 4300 Device Attached to a Light Pole
MWR functionality includes
Infrastructure Devices within a MOTOMESH Wireless Network
Infrastructure Devices
IAP functionality includes
802.11
Wireless Switch
RADIUS
Figure 1-2 IAP and MWR Devices in Context of a MOTOMESH Network
2.4 GHz Portion
MOTOMESH Duo 4300 Device Specifications
Table 1-1 MOTOMESH Duo 4300-49 Device Specifications
Radio Characteristics
Environment
Power
MOTOMESH Duo 4300-58 Device Specifications
Physical
Security
5.4 GHz Portion
MOTOMESH Duo 4300-54 Device Specifications
Available Options
Software Requirements
Chapter 2 Infrastructure Device Installation
MeshManager EMS
Web Interface Utility
Hardware Installation Notes
One non Power over Ethernet PoE Ethernet port
Ports and Connections
Operator Supply List
Optional Antennas
MOTOMESH DUO Infrastructure Device Labels
Ethernet MAC IP Address
Infrastructure Device MAC Address Table
IAP or MWR
Device Name
Figure 2-5 External Personality Plugs Black, Grey, Red, or none
Infrastructure Device Assembly
Canopy
Infrastructure Device Deployment and Installation
Connect Plug.Black. plug. Black
Grounding Considerations
Assembling an AC Power MOTOMESH Duo Device
Procedure 2-1 Assembling an AC Power MOTOMESH Duo Device
Procedure 2-3 Testing Infrastructure Device Connectivity
Assembling a DC Power MOTOMESH Duo Device
Device Connectivity Testing
Procedure 2-2 Assembling a DC MOTOMESH Duo Device
July 2-10
Pre-staging a MOTOMESH Duo 4300 Device in MeshManager
Chapter 3 Device Configuration
Default Device Configuration
Configuring a 4300 Device Mesh from 2.4 to 4.9, 5.4, or
Figure 3-1 The Add New MOTOMESH Duo Device Panel in MeshManager
Procedure 3-1 Configuring a 4300 Device Mesh
Figure 3-2 Entering the 802.11 AP Ethernet MAC Address in MeshManager
Figure 3-3 Selecting the Probe Button in MeshManager
Figure 3-4 Examining Initial Device Defaults in MeshManager
Figure 3-6 Enabling the 802.11 a Radio on a 4300-49 Device
Figure 3-8 Copying the License Key from the Text File
Figure 3-7 An Example of a License Key Text File
License Key
Figure 3-9 Pasting the License Key into MeshManager
Figure 3-10 Entering 802.11 a Membership VLAN Data
Figure 3-12 Entering a Device Name
Figure 3-11 Configuring a Device to be an IAP or WR
Figure 3-14 Adding a Device to the Mesh
All of the Device configuration selections should now be completed
Figure 3-13 Entering an Optional Deployed Location
Select the Add button to formally add the device to the Network
Figure 3-15 After Adding a Device to the Mesh
Figure 3-16 After Successfully Adding a Device to the Mesh
Procedure 3-2 Demoting an IAP to a MWR
Demoting an IAP Device to a MWR
Figure 3-17 Selecting an IAP Device to be Demoted
Figure 3-19 Demoted IAP Device shown moved into a MWR Group
Figure 3-18 Promote / Demote Dialog
Procedure 3-3 Accessing the MOTOMESH Duo Device Recovery Settings
Second IP Stack Aids in Troubleshooting
Second IP Stack Settings
Accessing the MOTOMESH Duo Device Recovery Settings in MeshManager
Device Recovery Settings
Motorola End User License Agreement
Chapter 4 License Information
MOTOROLA, INC END USER LICENSE AGREEMENT
July 4-2
Chapter 4 License Information
including machine-readable form, and you agree to reproduce such notice in each form in which it appears, to the extent it is physically possible to do so. Unauthorized duplication of the Software or Documentation constitutes copyright infringement and in the United States is punishable in federal court by fine and imprisonment
6. RIGHT TO USE MOTOROLA’S NAME. Except as required in Section 3.4 above, you shall not, during the term of this Agreement or thereafter, use any trademark, of Motorola, or any word or symbol likely to be confused with any Motorola trademark, either alone or in any combination with another word or words
found to be defective within the warranty period, or to refund the purchase price and terminate this Agreement. To seek such a remedy, you must return the entire Product to Motorola, with a copy of the original purchase receipt within the warranty period
16. GOVERNING LAW. This Agreement shall be governed by the laws of the United States of America to the extent that they apply and otherwise by the laws of the State of Illinois
Hostapd - Copyright and License Information
Third Party Licensing Agreements
notice, this list of conditions and the following disclaimer
Email essc@motorola.com
Chapter 5 Customer Service
Customer Service Information
Europe
System Information
Radio Products and Services Division
Radio Products and Services Division Telephone Numbers
Obtaining Support
Returning FREs
Returning System Components to Motorola
July 5-4
Intelligent Access Point/Mesh Wireless Router
Chapter 6 Certification and Safety Information
FCC Regulatory Information
Federal Communications Commission FCC Statement
Safety Certification
Safety Information for the MOTOMESH Products
FCC Radiation Exposure Statement
Regulatory Requirements for CEPT Member States
EN 550221998 and EN
European Union Notification
MOTOROLA INC 1303 E ALGONQUIN ROAD SCHAUMBURG IL 60196 UNITED STATES
ETSI EN 300 328 V 141 ETSI EN 301 489-1 2002-08 and 301
Belgium Notification
Luxembourg Notification
Czech Republic Notification
Equipment Disposal
EU Declaration of Conformity for RoHS Compliance
Latviski Latvian Lietuviu Lithuanian Malti Maltese
CMM Labeling and Disclosure Table
Software License Terms and Conditions
THIS LIMITED WARRANTY IS THE ONLY WARRANTY PROVIDED BY MOTOROLA, AND MOTOROLA AND ITS LICENSORS EXPRESSLY DISCLAIM ALL OTHER WARRANTIES, EITHER EXPRESS OF IMPLIED, INCLUDING BUT NOT LIMITED TO IMPLIED WARRANTIES OF MERCHANTABILITY AND FITNESS FOR A PARTICULAR PURPOSE AND NONINFRINGEMENT. MOTOROLA DOES NOT WARRANT THAT THE OPERATION OF THE SOFTWARE WILL BE UNINTERRUPTED OR ERROR-FREE, OR THAT DEFECTS IN THE MOTOROLA OR AN AGENT THEREOF SHALL CREATE A WARRANTY OR IN ANY WAY INCREASE THE SCOPE OF THIS WARRANTY. MOTOROLA DOES NOT WARRANT ANY SOFTWARE THAT HAS BEEN OPERATED IN EXCESS OF SPECIFICATIONS, DAMAGED, MISUSED, NEGLECTED, OR IMPROPERLY INSTALLED. BECAUSE SOME JURISDICTIONS DO NOT ALLOW THE EXCLUSION OR LIMITATION OF IMPLIED WARRANTIES, THE ABOVE LIMITATIONS MAY NOT APPLY TO YOU
Right to Audit. Motorola shall have the right to audit annually, upon reasonable advance notice and during normal business hours, your records and accounts to determine compliance with the terms of this Agreement
July 6-12
Index
Page
Glossary
Glossary
Glossary