Installing the DFC on systems equipped with a BIC 25
Note: The BIC must have a BEC daughterboard installed before it can be connected to the DFC. For instructions on installing the BEC daughterboard, refer to "Installing the Media Services Bus Expansion Card (BEC) on the BIC" on page 19.
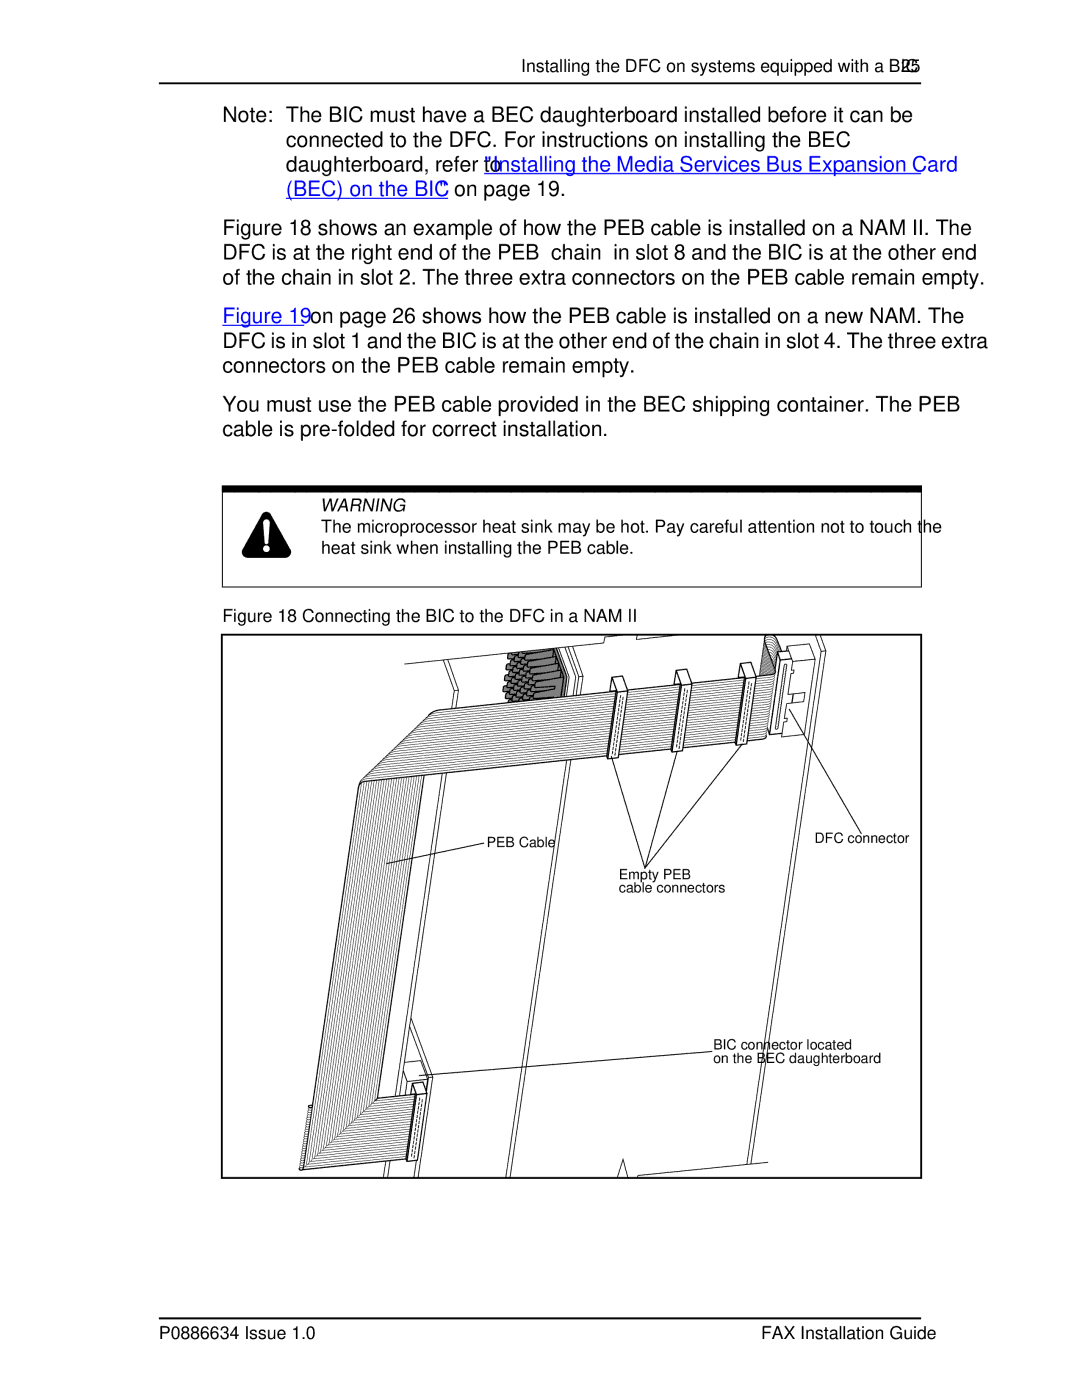
Figure 18 shows an example of how the PEB cable is installed on a NAM II. The DFC is at the right end of the PEB “chain” in slot 8 and the BIC is at the other end of the chain in slot 2. The three extra connectors on the PEB cable remain empty.
Figure 19 on page 26 shows how the PEB cable is installed on a new NAM. The DFC is in slot 1 and the BIC is at the other end of the chain in slot 4. The three extra connectors on the PEB cable remain empty.
You must use the PEB cable provided in the BEC shipping container. The PEB cable is pre-folded for correct installation.
WARNING
The microprocessor heat sink may be hot. Pay careful attention not to touch the heat sink when installing the PEB cable.
Figure 18 Connecting the BIC to the DFC in a NAM II
PEB Cable | DFC connector |
| Empty PEB |
| cable connectors |
| BIC connector located |
| on the BEC daughterboard |
P0886634 Issue 1.0 | FAX Installation Guide |
