DM-5 DM-3
Trademarks and registered trademarks
Page
Menu setting
Performing menu settings during
Introduction
Getting started
Other features
About Windows Media Player
About iTunes
Functions available
Enjoy Audible content with
Other information
Page
Clean the unit
Handling the recorder
Be careful with the strap
Keep young children and infants away from the recorder
Battery handling precautions
Do not use a battery if it is cracked or broken
Keep battery out of the reach of children
Never heat or incinerate batteries
AC adapter is dropped
It immediately after using the recorder
AC adapter
LCD monitor
You can enjoy music at any time
It features a scheduling function P.96
Supports high capacity recording media
It features various repeat functions P.72, P.73
You may assign your own names to folders P.70
Highly directional quality P.68
It is compatible with Audio Book P.157
It is compatible with Podcasting P.127
Compatible with Audible broadcasting P.159
VOL Stop REC
Home menu display
Recorder mode display
Repeat indicator
Vcva indicator Random indicator
Recorded files in the list
Music Podcast mode display
Podcast playback display
Audiobooks mode display
1File name 2Contents name
Daisy playback display For DM-5
Audio book playback display
Audio Diary mode display
9File format 0File length Elapsed playback time
4Schedule display area for
8Day registered in schedule
Inserting the battery
Battery cover is not attached at the time of purchase
Charge the battery
Charging using AC adapter
Connect the USB connection cable to the USB port of the PC
Charging by connecting to a computer via USB
Boot the PC
Connect to the USB connecting AC adapter optional to charge
Battery indicator
Turning on/off the power
Turning on the power
Turning off the power
Auto Power off mode
Slide the POWER/HOLD switch to the Hold position
Slide the POWER/HOLD switch to
Set the recorder to Hold mode
Exit Hold mode
Press the `OK button to complete the setting
Press the 9or 0button to select the item to set
Press the + or − button to set
Example 1020 P.M
Changing the time and date
Select Time & Date from the menu on the System Menu
Press the + or − button to set
After the date and time have been set, press the `OK button
Press the `OK button to complete the setting
Inserting a microSD card
Close the card cover securely
While the recorder is during stop mode, open the card cover
MicroSD Card, Built-in Memory Selected will appear
When Memory Select is set to
Ejecting a microSD card
About the folders for voice recordings
3File number
1User ID 4Extension
2Recording date
About the folder for music playback
First layer Second layer Third layer
About the folder for Podcast contents
File list display File display Display
Second layer Folder File
Folder list
Contents list Display
File display Second layer
About the folder for Audible contents
About the folder for picture
Recording to a recording folder
Rec Menu Setting Items
Settings relating to Recording
Specifying a keyword before recording
Press the Stop button to stop recording
Press the REC button again
Pause
Resume Recording
Recording will resume at the point of interruption
Connect the earphone to the EAR jack on the recorder
Listening while audio is recorded
Recommended settings by recording condition
Recommended Settings
Recording
Condition
Applicable external microphones
Recording from external microphone or other devices
Recording with external microphone
Recording the sound of other devices with this recorder
Recording the sound of this recorder with other devices
Play Menu Setting Items
Settings relating to playback
Volume can be adjusted within a range from 00 to
This will stop the file being played
While the recorder is during stop mode, press the 0button
Forwarding
While the recorder is during playback mode, press and hold
Rewinding
Playback through earphone
About music file
File Sampling Number of bit Format Frequency Bit rate
MPEG1 Layer3
Bookmark mode
Press the `OK button to start playback
While the recorder is during stop mode, press the 9button
To skip a file Locating the Beginning of the File
It skips to the Playback Position of the next file
It skips to the Playback Position of the previous file
Setting an index mark
Clearing an index mark
Locate the index mark you want to clear
Press the 9or 0button to select the index mark to erase
BPress the `OK button
How to begin segment repeat playback
APress the Stop button
Press the F1 Search button to open the file search display
Opening the file search display from the Recorder folder
File search type
When searching using the Day search
File search display operations of the Recorder folder
When searching using the Keyword search
Opening the file search display from the Music folder
When searching using the Artist search
File search display operations of the Music folder
Selecting from a list of All Music
Files are searched for from a list of All Music
Search by specific album
Search
Playback of the file
Select a playlist
Files cannot be erased during playback
Erasing from the file display
File list display, press the F3 Menu button
Erasing from the file list display
Erasing All Files in a Folder
Select the folder to be erased from the folder list display
Erasing a folder
Press the Fn Erase button again
Partially erase a file
Play the file you want to partial erase
From the Home menu display
Select Preferences, and then
Press the `OK or 9 button to
Open the menu item display
Page
Rec Mode
Set the method for adjusting the recording level Rec Level
Rec Menu
Set the recording rate
About the Zoom Mic function
Zoom Mic
Zoom
Narrow
Adjust the start/stop actuation level
Select On or Off
Select Vcva from the menu on the Rec Menu Select On or Off
Select Low Cut Filter from the menu on the Rec Menu
Select Folder Name from the menu on the Rec Menu
Vcva standby monitor setting
Template list
Select Noise Cancel from the menu on the Play Menu
Play Menu
Select High, Low or Off
Select Voice Filter from the menu on the Play Menu
Performing settings with Fn buttons
Press the Fn RPT button
Press the Fn RDM button
Repeat
Set the playback speed
Select Play Speed from the menu on the Play Menu
Play Speed
Play Scene
LCD/Sound Menu
Select Lighting Time, Dim light Time or Brightness
Select the beep level
Set the Language
Keyword list
File Menu
Select Keyword from the menu on the File Menu
Select Fn. setting from the menu on the System Menu
System Menu
Select the F1 or F2
Fn button list
Auto Power Off
Select the PC, AC or Each
Memory Select
Time & Date
Reset Settings
Menu settings after setting reset initial settings
Select Reset Settings from the menu on the System Menu
Memory Info
System Info
Format
Refer to Formatting the recorder Format P.94
Setting the recording scene Rec Scene
Press the F3 Home button to complete the setting
Template for Setting a Recording scene
Select Rec Scene from the menu on the Rec Menu
Timer recording Timer Rec
Select Timer Rec from the menu on the Rec Menu
Rec Mode setting
Mic Sense setting
Press the F2 GO button to complete the setting
Memory Select setting
Folder setting
Keyword setting
Setting the playback scene Play Scene
Select Play Scene from the menu on the Play Menu
Select Voice Guide from the menu in LCD/Sound Menu
Menu Guide setting
Guidance Voice Guide
File Guide setting
Volume setting
Sets the voice guidance volume
2Press the `OK button to exit Volume selection
Alarm playback function Alarm
Select Alarm from the menu on the Play Menu
Alarm Sound setting
Playback File setting
Plays back a selected file after the alarm
When File Select is selected
File Select
Page
Press the `OK or 9button to move to the respective setting
When you select 1file
Moving/Copying files File Move/Copy
2Press the `OK button to select the file. Proceed to Step
When you select Selected files
When you select All files
Press the F2 GO button Press the `OK button
2Press the `OK button to check the files selected
Select File Divide from the menu on the File Menu
File divide cannot be done when the file list is displayed
Dividing files File Divide
Start, and press the `OK button
Formatting the recorder Format
Select Format from the menu on the System Menu
Sensitive data, such as destroying the media before disposal
Switching the calendar display
Displaying the calendar
Operations at the daily display
Add a schedule
Operations at the weekly display
Repeat setting
Alarm setting
Editing the schedule
Details of scheduled events can be edited
Single scheduled event is deleted
Delete the contents of a scheduled event
Deleting a schedule
Formatting the schedule
Importing images
Jpeg image files located in the Dcim folder can be imported
Display changes to Synchronizing and import starts
MicroSD
Viewing images
Dates on which images were taken are displayed as a list
Erasing a images
Press the 9or 0button to move to the next image file
Select Image folder, and then press the `OK or 9button
Using voice control
Transition to each mode
Using voice commands
Voice commands list
Precautions on using the recorder connected to a PC
Important notice on the explanation Software functions
Operating System
Drive
Browser
Display
Connecting to your PC
Turn the recorder’s power on
Disconnecting from your PC
Click On the task bar
Screen. Click Safely
Located at the lower-right corner
Waveform editing function
One-touch effect function
Send voice files with E-mail
Changing user ID
Splitting files
Import files using Olympus Sonority
Daisy 2.0/2.02 content is supported + P
Select Setup Type
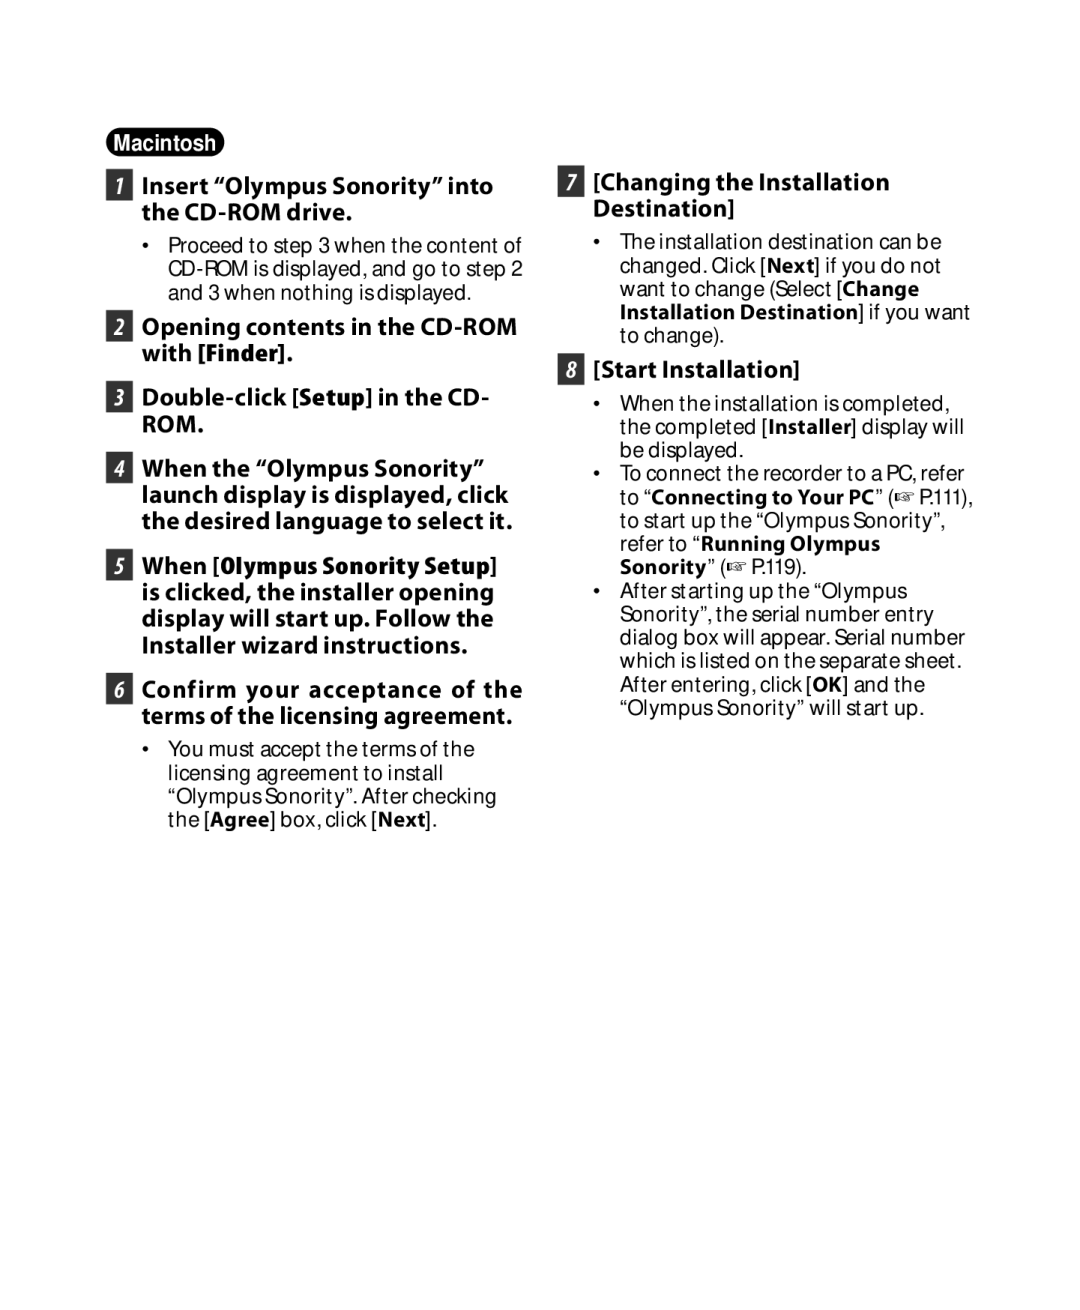
Start Installation
Installation Complete
Insert Olympus Sonority into the CD-ROM drive
Changing the Installation Destination
Files left after uninstallation
Exit Olympus Sonority Select Start from Control Panel menu
Exit Olympus Sonority
Click Add/Remove programs in the control panel window
Double-click
Desired topic heading
Desired topic
Open Online Help and click the Index item
From the menu bar, click System Environment Setting
Turn the automatic start up in the setting check box to OFF
Click the of the Olympus Sonority
Enter the Serial Number
1Menu Bar
2Tool Bar
3Playback Control Bar
4Main Tree View
4Viewing updated information
5Registering the Upgrade Key Number
Upgrade
1Audio File List
Hold either the Command key and select files
Select the folder
Select the voice file
Download Selected Files
Download the voice file
Download complete
From the Device Menu, select
Download Selected Files or click on the Tool Bar
Play the voice file
Select the file to playback from File List Display Area
Select Paste from the Edit Menu
Press the noise reduction Adjustment button
Click on any waveform display part
Select the folder to upload
Upload the voice file
Upload complete
Upload Selected Files or click
Drag and drop the icon to the Podcast registration icon
Register a podcast program
Program registration will complete
Update a program
Download the content
Download will complete
Transfer content to the recorder
Content transfer will start
Transfer will complete
Progress window will appear during transfer
Program guide functions
Click Subscribe to register on the podcast
Click the program you desire from the program list
To register programs
What is multimedia DAISY?
What does Daisy stand for?
How do you play multimedia DAISY?
Detailed information about Daisy
Importing contents
Playing contents
Select the content you want to transfer
Connect the recorder to a PC, and start Olympus Sonority
Device tree is displayed in Device Manager
Select files
Select Upgrade to Olympus Sonority Plus from the Help menu
Start the Olympus Sonority
Or click the button in the Tool Bar
Select Purchase Olympus Sonority Plus in the Help Menu
Recorder menu setting
MP3 editing
Creating music CD
Effect functions
Window names
Windows Media Player
From the Features taskbar, click Rip CD menu
Copying music from CD
Click Start Rip
Put a check mark on the music file that you want to copy
For Windows Media Player 10 Click
Rip Music
Transferring music file to the recorder
Connect the recorder to a PC, and start Windows Media Player
Click Sync menu again to select DVR Advanced Options
Set Up Sync, and set as follows
Click Start sync
If Create folder hierarchy on
From the Features taskbar, click the Burn menu
When Audio CD is selected
When Data CD or DVD is selected
Copying voice file to the CD
When Data CD is selected
If the player is in Now Playing mode
Creating a playlist For DM-5
Connect the recorder to a PC, Start Windows Media Player
Click the Play tab to open the list window
List window, arrange the titles in the order you want to
Windows Media Player
Click Start Sync
1Features taskbar 2Rewind button
Playback, Pause button/ Fast Forward button
Put a check mark on the music files that you want to copy
Import Using
Setting
Connect the recorder to a PC, and start iTunes
Drag & Drop Files here
Recorded
Creating a playlist
Folder First layer
File name
Maximum of 999 songs can be entered into a single play list
Page
Connecting the recorder to your PC P.111
Audiobooks in the menu setting screen
Disconnect the USB cable and select Audio Book from
File is transferred to the recorder
Disconnect the USB cable and select Text Speech from
Connecting the recorder to your PC P.112
Transfer text file to the recorder
Installing AudibleManager
Start up the downloaded
Executable file
United Kingdom
Select Add New Device in the Devices menu
Purchasing Audible content
Adding device to AudibleManager
List of content stored Library displays on the right side
Connect the recorder to a computer
Transfer begins
Select Library in the Audible Folders tree listing
Audible mode
File Display screen in Audible mode
Which
Re-playable Audible files
Section
Playback position and section
Playback position
Operating recorder in Audible mode
Press and hold the 9button while the recorder is stopped
Skip Space P.73 setting is invalid in the Audible mode
File Skip and Section Skip
Windows
Message Meaning Explanation Action
Symptom Probable cause Action
Voice files are not
Recorded in stereo
Cannot find
Recorded Voice File
Telephone pickup TP7
Connecting cord KA333
Lithium ion battery LI-50B
Input power requirement
External dimensions
Weight
Operating temperature
Guide to recording times
27h
34h
45h
Lithium ion battery
Guide to battery life
Linear PCM format
Maximum recording time per file
For customers in Europe
Olympus Imaging America INC