First Time Setup
This section explains the settings that you need to make before using the AV receiver for the very first time.
Automatic Speaker Setup (Audyssey 2EQ)
With the supplied calibrated microphone, Audyssey 2EQ automatically determines the number of speakers con- nected, their size for purposes of bass management, optimum crossover frequencies to the subwoofer (if present), and distances from the primary listening posi- tion. Audyssey 2EQ then removes the distortion caused by room acoustics by capturing room acoustical prob- lems over the listening area in both the frequency and time domain. The result is clear,
Using Audyssey 2EQ
Notes:
•If the AV receiver is muted, it will be unmuted automatically when the automatic speaker setup starts.
•Automatic speaker setup cannot be performed while a pair of headphones is connected.
•It takes about 10 minutes to complete the auto- matic speaker setup for three positions. Total mea- surement time varies depending on the speakers.
•Do not connect or disconnect any speakers during the automatic speaker setup.
Measurement Positions
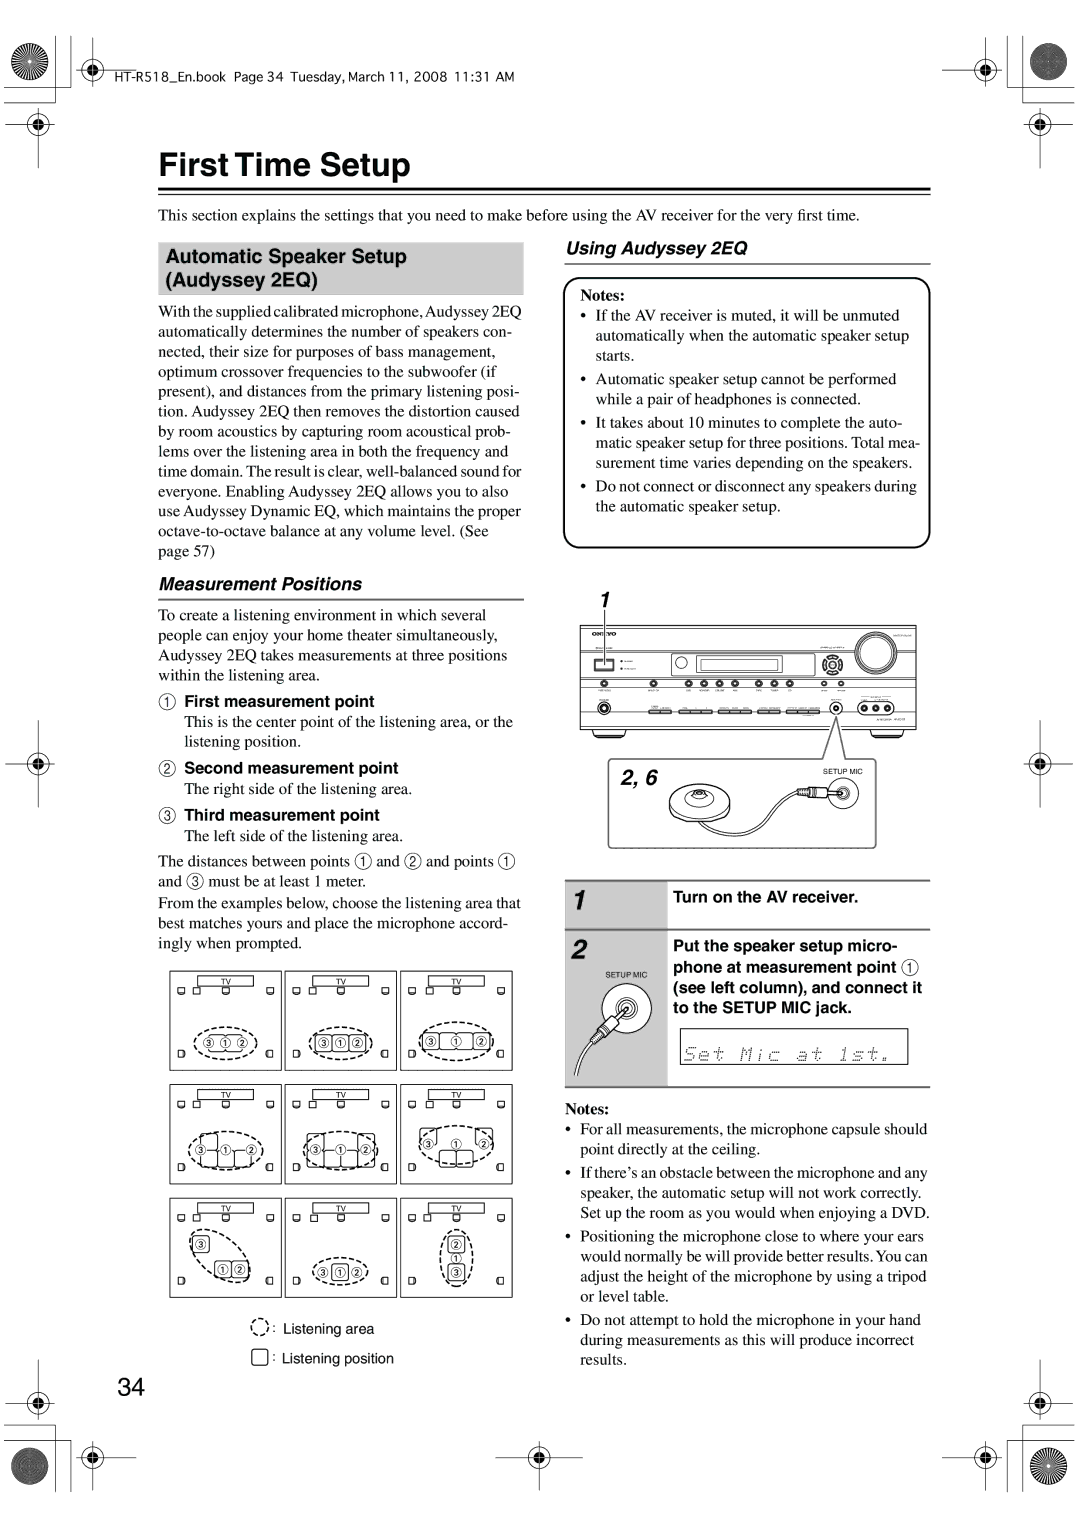
To create a listening environment in which several people can enjoy your home theater simultaneously, Audyssey 2EQ takes measurements at three positions within the listening area.
AFirst measurement point
This is the center point of the listening area, or the listening position.
BSecond measurement point
The right side of the listening area.
CThird measurement point
The left side of the listening area.
The distances between points 1 and 2 and points 1 and 3 must be at least 1 meter.
From the examples below, choose the listening area that best matches yours and place the microphone accord- ingly when prompted.
TV |
| TV |
| TV |
|
|
|
|
|
TV |
| TV |
| TV |
|
|
|
|
|
TV |
| TV |
| TV |
|
|
|
|
|
:Listening area
 : Listening position
34
1
|
|
|
|
|
|
|
|
|
|
|
|
| MASTER VOLUME |
ON/STANDBY |
|
|
|
|
|
|
|
|
| TUNING | PRESET |
|
|
| STANDBY |
|
|
|
|
|
|
|
|
|
|
|
|
| PURE AUDIO |
|
|
|
|
|
|
|
|
|
|
|
|
PURE AUDIO | MULTI CH | DVD | VCR/DVR | CBL/SAT | AUX |
| TAPE | TUNER | CD | SETUP | RETURN |
|
|
|
|
|
|
|
|
|
|
|
|
|
|
| AUX INPUT |
PHONES |
|
|
|
|
|
|
|
|
|
| SETUP MIC | VIDEO | L AUDIO R |
| CINEMA | TONE |
|
|
|
| DISPLAY | DIGITAL INPUT | RT/PTY/TP | MEMORY TUNING MODE |
|
|
|
| FILTER LATE NIGHT |
| MOVIE/TV | MUSIC | GAME |
|
|
|
AV RECEIVER
2, 6 | SETUP MIC |
|
1 | Turn on the AV receiver. |
| |
2 | Put the speaker setup micro- |
| |
| phone at measurement point 1 |
| SETUP MIC |
| (see left column), and connect it |
| to the SETUP MIC jack. |
Notes:
•For all measurements, the microphone capsule should point directly at the ceiling.
•If there’s an obstacle between the microphone and any speaker, the automatic setup will not work correctly. Set up the room as you would when enjoying a DVD.
•Positioning the microphone close to where your ears would normally be will provide better results. You can adjust the height of the microphone by using a tripod or level table.
•Do not attempt to hold the microphone in your hand during measurements as this will produce incorrect results.
