Adjustments in D-Sub Mode
With working in
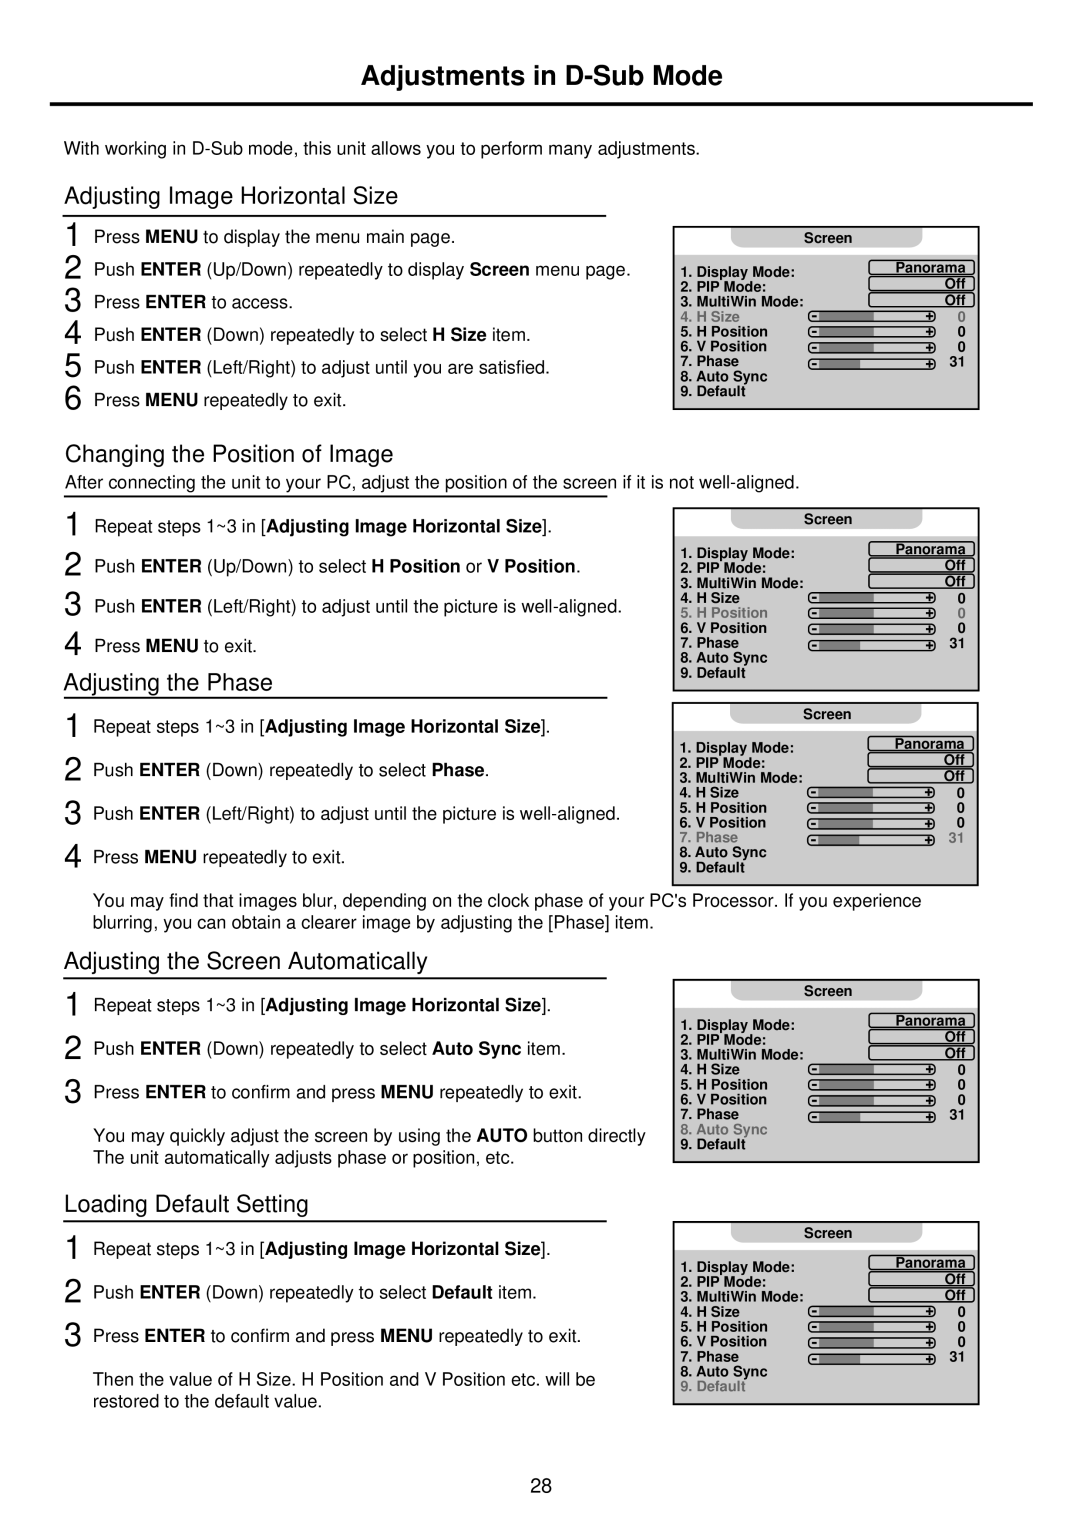
Adjusting Image Horizontal Size
1 Press MENU to display the menu main page.
2 Push ENTER (Up/Down) repeatedly to display Screen menu page. 3 Press ENTER to access.
4 Push ENTER (Down) repeatedly to select H Size item.
5 Push ENTER (Left/Right) to adjust until you are satisfied.
6 Press MENU repeatedly to exit.
|
| Screen |
1. | Display Mode: | Panorama |
2. | PIP Mode: | Off |
3. | MultiWin Mode: | Off |
4. | H Size | 0 |
5. | H Position | 0 |
6. | V Position | 0 |
7. | Phase | 31 |
8.Auto Sync
9.Default
Changing the Position of Image
After connecting the unit to your PC, adjust the position of the screen if it is not
1
2 Push ENTER (Up/Down) to select H Position or V Position.
3 Push ENTER (Left/Right) to adjust until the picture is
Adjusting the Phase
1 Repeat steps 1~3 in [Adjusting Image Horizontal Size].
2 Push ENTER (Down) repeatedly to select Phase.
3 Push ENTER (Left/Right) to adjust until the picture is
|
| Screen |
1. | Display Mode: | Panorama |
2. | PIP Mode: | Off |
3. | MultiWin Mode: | Off |
4. | H Size | 0 |
5. | H Position | 0 |
6. | V Position | 0 |
7. | Phase | 31 |
8.Auto Sync
9.Default
|
| Screen |
1. | Display Mode: | Panorama |
2. | PIP Mode: | Off |
3. | MultiWin Mode: | Off |
4. | H Size | 0 |
5. | H Position | 0 |
6. | V Position | 0 |
7. | Phase | 31 |
8.Auto Sync
9.Default
You may find that images blur, depending on the clock phase of your PC's Processor. If you experience blurring, you can obtain a clearer image by adjusting the [Phase] item.
Adjusting the Screen Automatically
1 Repeat steps 1~3 in [Adjusting Image Horizontal Size].
2 Push ENTER (Down) repeatedly to select Auto Sync item. 3 Press ENTER to confirm and press MENU repeatedly to exit.
You may quickly adjust the screen by using the AUTO button directly The unit automatically adjusts phase or position, etc.
|
| Screen |
1. | Display Mode: | Panorama |
2. | PIP Mode: | Off |
3. | MultiWin Mode: | Off |
4. | H Size | 0 |
5. | H Position | 0 |
6. | V Position | 0 |
7. | Phase | 31 |
8.Auto Sync
9.Default
Loading Default Setting
1 Repeat steps 1~3 in [Adjusting Image Horizontal Size].
2 Push ENTER (Down) repeatedly to select Default item.
3 Press ENTER to confirm and press MENU repeatedly to exit.
Then the value of H Size. H Position and V Position etc. will be restored to the default value.
|
| Screen |
1. | Display Mode: | Panorama |
2. | PIP Mode: | Off |
3. | MultiWin Mode: | Off |
4. | H Size | 0 |
5. | H Position | 0 |
6. | V Position | 0 |
7. | Phase | 31 |
8.Auto Sync
9.Default
28