Setting Picture
Using the Preset Picture Mode
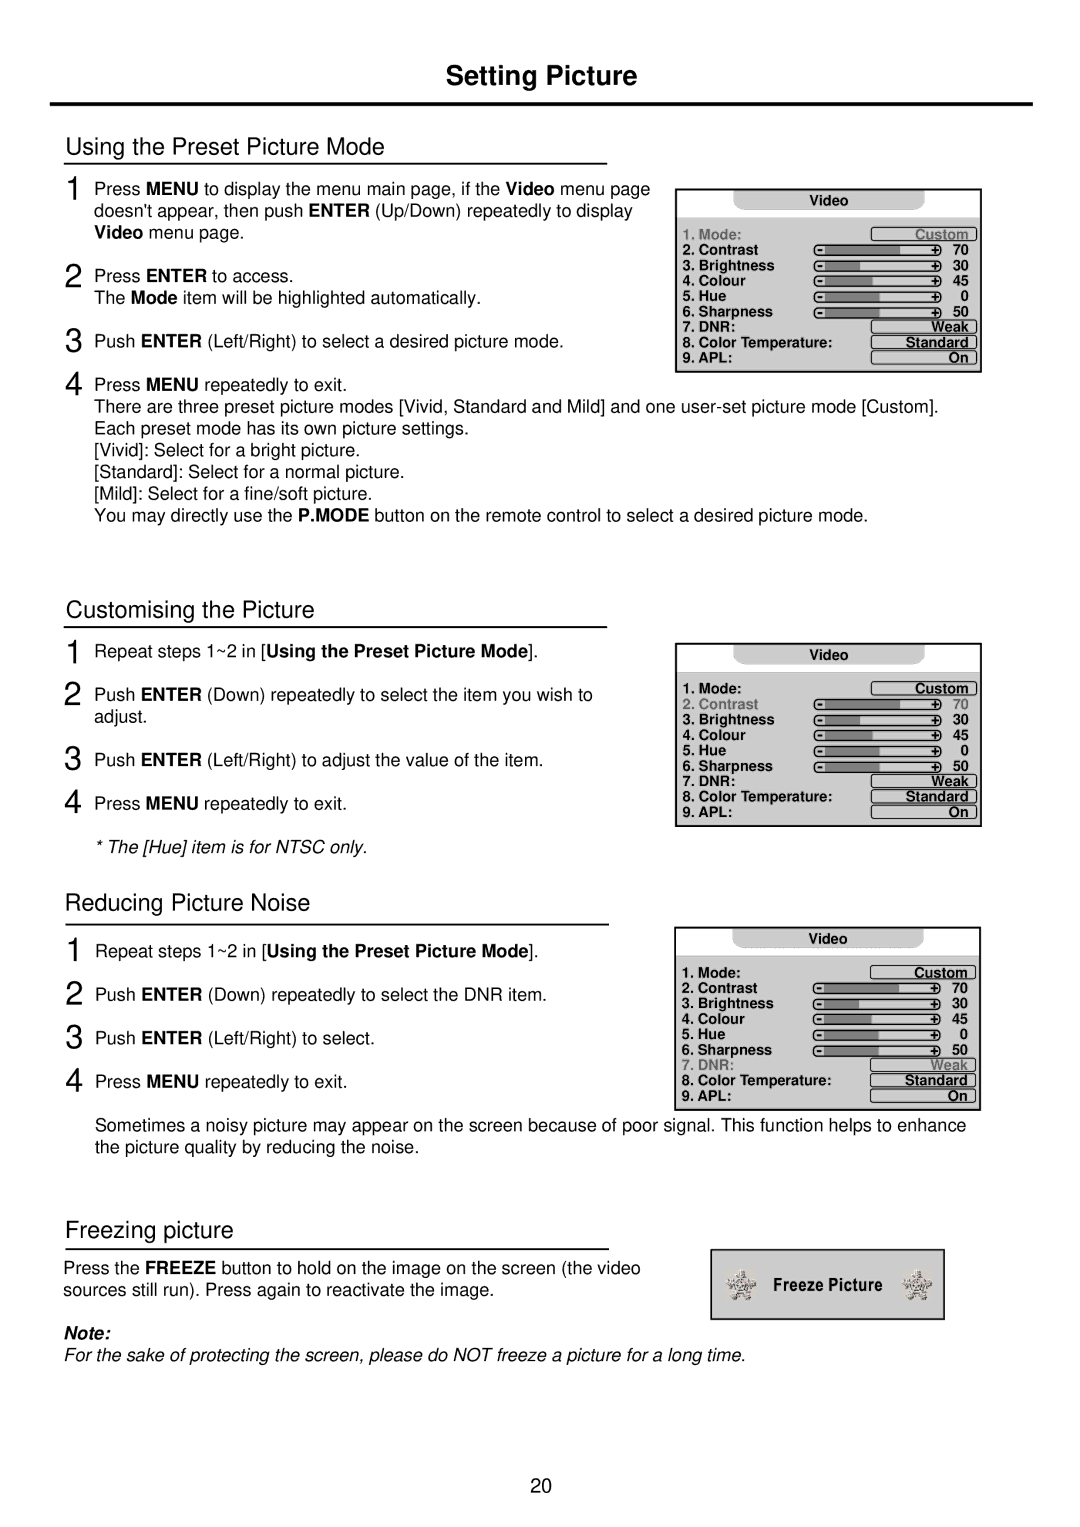
1 Press MENU to display the menu main page, if the Video menu page doesn't appear, then push ENTER (Up/Down) repeatedly to display Video menu page.
2 Press ENTER to access.
The Mode item will be highlighted automatically.
3 Push ENTER (Left/Right) to select a desired picture mode.
4
Customising the Picture
1 Repeat steps 1~2 in [Using the Preset Picture Mode].
2 Push ENTER (Down) repeatedly to select the item you wish to adjust.
3 Push ENTER (Left/Right) to adjust the value of the item.
4 Press MENU repeatedly to exit.
* The [Hue] item is for NTSC only.
| Video |
|
1. Mode: | Custom | |
2. | Contrast | 70 |
3. | Brightness | 30 |
4. | Colour | 45 |
5. | Hue | 0 |
6. | Sharpness | 50 |
7. DNR: | Weak | |
8. | Color Temperature: | Standard |
9. APL: | On | |
| Video |
|
1. Mode: | Custom | |
2. | Contrast | 70 |
3. | Brightness | 30 |
4. | Colour | 45 |
5. | Hue | 0 |
6. | Sharpness | 50 |
7. DNR: | Weak | |
8. | Color Temperature: | Standard |
9. APL: | On | |
Reducing Picture Noise
1
2 Push ENTER (Down) repeatedly to select the DNR item. 3 Push ENTER (Left/Right) to select.
4 Press MENU repeatedly to exit.
| Video |
|
1. Mode: | Custom | |
2. | Contrast | 70 |
3. | Brightness | 30 |
4. | Colour | 45 |
5. | Hue | 0 |
6. | Sharpness | 50 |
7. DNR: | Weak | |
8. | Color Temperature: | Standard |
9. APL: | On | |
Sometimes a noisy picture may appear on the screen because of poor signal. This function helps to enhance the picture quality by reducing the noise.
Freezing picture
Press the FREEZE button to hold on the image on the screen (the video sources still run). Press again to reactivate the image.
Note:
For the sake of protecting the screen, please do NOT freeze a picture for a long time.
20