Operation

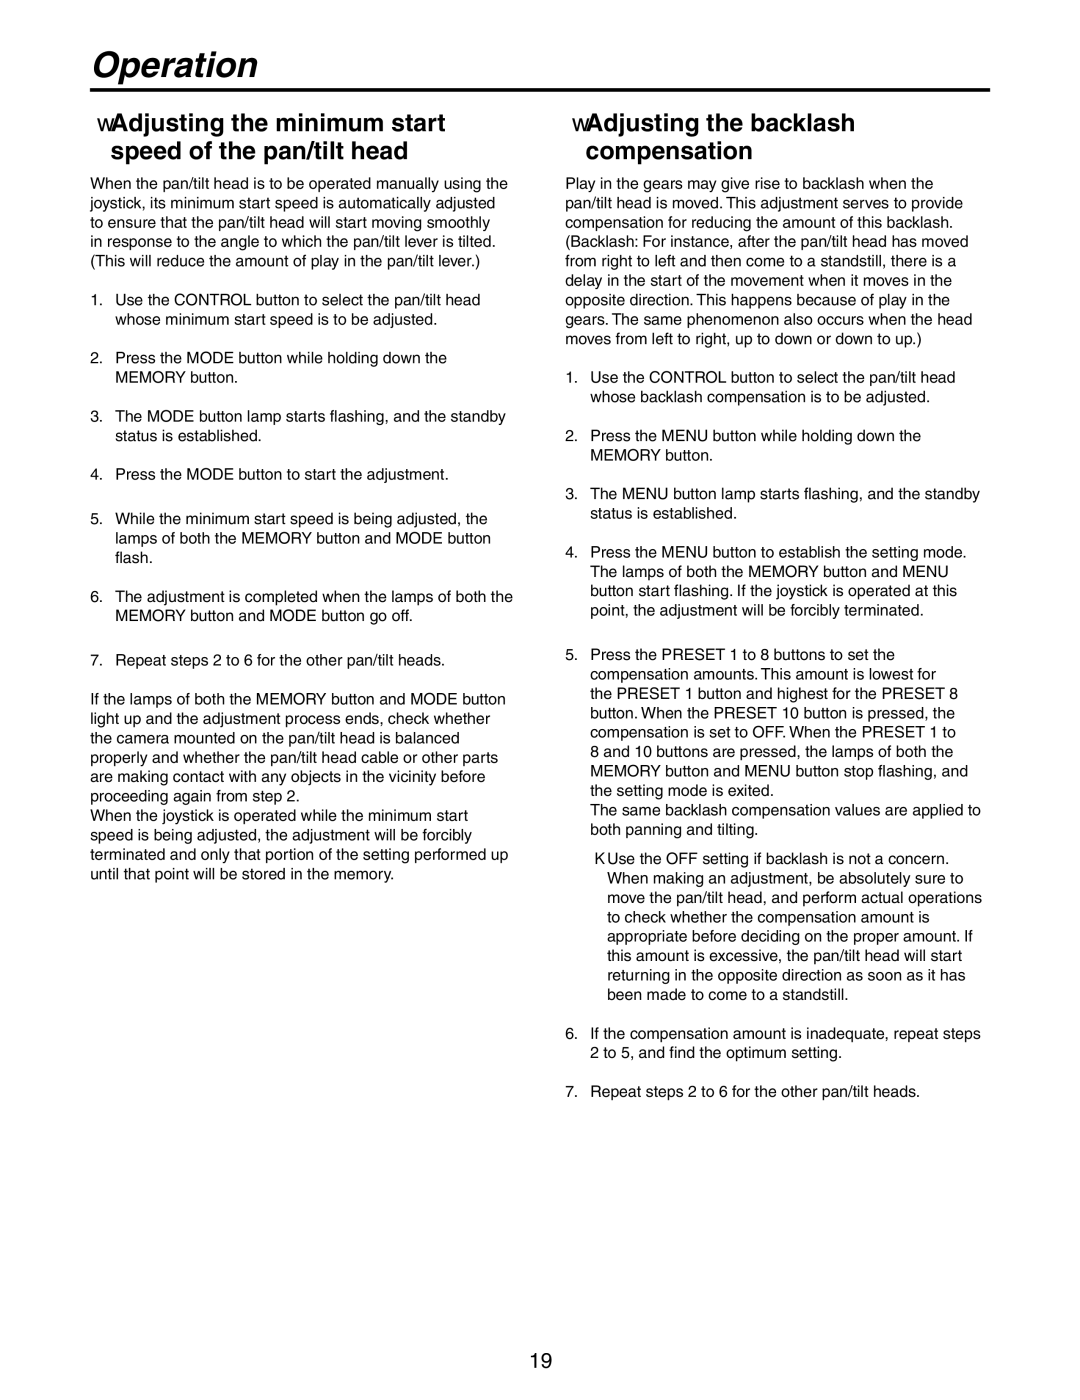
Adjusting the minimum start speed of the pan/tilt head

When the pan/tilt head is to be operated manually using the joystick, its minimum start speed is automatically adjusted to ensure that the pan/tilt head will start moving smoothly in response to the angle to which the pan/tilt lever is tilted. (This will reduce the amount of play in the pan/tilt lever.)

1.Use the CONTROL button to select the pan/tilt head whose minimum start speed is to be adjusted.

2.Press the MODE button while holding down the MEMORY button.

3.The MODE button lamp starts flashing, and the standby status is established.

4.Press the MODE button to start the adjustment.

5.While the minimum start speed is being adjusted, the lamps of both the MEMORY button and MODE button flash.

6.The adjustment is completed when the lamps of both the MEMORY button and MODE button go off.

7.Repeat steps 2 to 6 for the other pan/tilt heads.

If the lamps of both the MEMORY button and MODE button light up and the adjustment process ends, check whether the camera mounted on the pan/tilt head is balanced properly and whether the pan/tilt head cable or other parts are making contact with any objects in the vicinity before proceeding again from step 2.

When the joystick is operated while the minimum start speed is being adjusted, the adjustment will be forcibly terminated and only that portion of the setting performed up until that point will be stored in the memory.

Adjusting the backlash compensation

Play in the gears may give rise to backlash when the pan/tilt head is moved. This adjustment serves to provide compensation for reducing the amount of this backlash. (Backlash: For instance, after the pan/tilt head has moved from right to left and then come to a standstill, there is a delay in the start of the movement when it moves in the opposite direction. This happens because of play in the gears. The same phenomenon also occurs when the head moves from left to right, up to down or down to up.)

1.Use the CONTROL button to select the pan/tilt head whose backlash compensation is to be adjusted.

2.Press the MENU button while holding down the MEMORY button.

3.The MENU button lamp starts flashing, and the standby status is established.

4.Press the MENU button to establish the setting mode. The lamps of both the MEMORY button and MENU button start flashing. If the joystick is operated at this point, the adjustment will be forcibly terminated.

5.Press the PRESET 1 to 8 buttons to set the compensation amounts. This amount is lowest for the PRESET 1 button and highest for the PRESET 8 button. When the PRESET 10 button is pressed, the compensation is set to OFF. When the PRESET 1 to 8 and 10 buttons are pressed, the lamps of both the MEMORY button and MENU button stop flashing, and the setting mode is exited.

The same backlash compensation values are applied to both panning and tilting.

Use the OFF setting if backlash is not a concern. When making an adjustment, be absolutely sure to move the pan/tilt head, and perform actual operations to check whether the compensation amount is appropriate before deciding on the proper amount. If this amount is excessive, the pan/tilt head will start returning in the opposite direction as soon as it has been made to come to a standstill.

6.If the compensation amount is inadequate, repeat steps 2 to 5, and find the optimum setting.

7.Repeat steps 2 to 6 for the other pan/tilt heads.

19

Page 19
Image 19
Panasonic AW-RP555N manual Adjusting the minimum start speed of the pan/tilt head, Adjusting the backlash compensation

AW-RP555N specifications

The Panasonic AW-RP555N is a sophisticated camera controller designed to streamline remote production and broadcasting operations. This advanced controller is equipped with cutting-edge technology, making it a preferred choice among professionals in the media and entertainment industry.

One of the standout features of the AW-RP555N is its support for IP control. The device seamlessly integrates with Panasonic’s line of PTZ (pan-tilt-zoom) cameras, allowing users to operate and manage multiple cameras from a single location. This capability is especially valuable in live event coverage and studio environments, where quick adjustments and precise control are essential.

The AW-RP555N boasts a user-friendly interface that includes an intuitive joystick for easy camera maneuvering. This joystick enables smooth transitions and precise positioning, crucial for capturing dynamic scenes. The device also features programmable presets, allowing operators to save specific camera angles and movements, which can be recalled instantly at the touch of a button. This functionality enhances efficiency and ensures consistency during productions.

Additionally, the AW-RP555N supports various video formats, including 4K quality, ensuring high-resolution output that meets industry standards. The controller is designed for reliability and performance, featuring a robust design that withstands the rigors of daily use in demanding environments.

The integration of advanced networking capabilities in the AW-RP555N uses NDI (Network Device Interface) technology, which enables low-latency, high-quality video transmission over IP networks. This not only simplifies the setup but also reduces the amount of cabling required, providing flexibility in how systems can be configured and expanded.

Furthermore, the device offers multi-camera control, empowering operators to manage up to 100 cameras simultaneously within a network. This feature is particularly advantageous for large productions where multiple angles are needed for comprehensive coverage.

In summary, the Panasonic AW-RP555N is a powerful camera controller that combines user-friendly design with advanced features and networking capabilities. Its ability to handle multiple cameras, along with high-resolution output and IP integration, makes it an essential tool for a wide range of professional video applications. Whether in live broadcasts, corporate events, or studio environments, the AW-RP555N ensures captivating and efficient media production.