Before use, please read these instructions completely
Operating Instructions
Digital Camera
VQT0E58
Information for Your Safety
Dear Customer
Consult the dealer or an experienced radio/TV technician for help
FCC Note U.S. only
Reorient or relocate the receiving antenna
Trade Name
Preparation
Contents
Safety
Recording images basic
Standard Accessories
Others
Front View
Names of the Components
8 9 12131415 1617 19 20 21 22 2324 25
Top View
Right View
33 34
Left View
Bottom View
F2.8
LCD Monitor Display/Viewfinder Display
1/25
F2.8
Recording in Simple mode
In playback
1000 NOV
1 Charge the battery. 1 # 2 P11
Quick Guide
9 12
3 Insert the battery into the camera. P12
3 When the CHARGE indicator B turns off, charging is finished
Charging the Battery
2 Attach the battery to the AC adaptor. 1 #
4 Remove the battery from the AC adaptor
3 Close the Memory Card/battery door
Inserting the Battery
2 Insert the charged battery all the way in, until it is locked
1 Open the Memory Card/battery door
ª Charging environment and charging error
ª Battery indicator
ª Charging time and available recording time
1 Connect the AC cable 2 Open the DC IN terminal door
Using the AC Adaptor
3 Connect the DC cable supplied to the camera
3 Pull the card out 4 Close the Memory Card/battery door
Inserting the Card
1 Open the Memory Card/battery door 2 Press the card to release
2 Insert the card with the label facing the front of the camera
SD Memory Card
ª Access to the card
ª SD Memory Card supplied and MultiMediaCard optional
MultiMediaCard
1 Set the power switch to ON
Turning Power on/off
2 Set the power switch to OFF
Adjusting the Viewfinder Diopter Adjustment
adjustment dial
1 Remove the lens ring 2 Attach the lens hood adaptor supplied
Attaching the Lens Hood
3 Attach the lens hood 2 supplied
1 Remove the lens hood 2 Reverse the lens hood and attach it
ª Temporarily storing the lens hood
3 Attach the lens cap
5 Move the cover in the direction of the arrow, and attach it firmly
Attaching the Strap
3 Pass the metal fitting through the eyelet of the camera
6 Attach the strap to the other side of the camera in the same way
3 Pull in the direction of the arrow
Attaching the Lens Cap
1 Pass the top of the string through the lens cap
5 Attach the lens cap
Using the LCD Monitor/Viewfinder
The Shutter Button Pressing halfway/Pressing fully
The Mode Dial
Sports mode P49
1 Press the MENU button
Operating the Menu
2,3,4
2 Press 3 Press 3/4 to choose the item 4 Press 2/1 to set the item
1 Press the MENU button 2 Press 1 to make the setup menu appear
Setting the Date/Time Clock Set
1,6 2,3,4,5
3 Press 3/4 to select CLOCK SET, and then press
F2.8 1/25
Taking Pictures
6,7 2,5 3,4
1 Set the mode dial to P/A/S. P25 2 Press the MENU button
About jitter
Press the MENU button
Taking Pictures in Simple Mode
Set the mode dial to Simple mode
Press 3/4 to select PICT.MODE
1 After taking a picture, press the 4/ REVIEW/SET button
Checking the Captured Picture Review
2 1,3,4
2 Press the button
1 Set the mode dial to motion image
Recording Motion Images
2,3,4
mode
To make subjects appear further away Wide angle Rotate towards W
Using the Optical Zoom
To make subjects appear closer Tele Rotate towards T
2 Take a picture
1 Press the MENU button 2 Press 3/4 to select D.ZOOM
Using the Digital Zoom
1,4 2,3
3 Press 1 to set to ON 4 Press the MENU button
P A S
Taking Pictures using the Built-in Flash
1 Press OPEN button to open the Flash 2 Press
To close the flash
3 Press in the direction of the arrow until it clicks
Press 2/1 to select ON/OFF
Using the Optical Image Stabilizer
The menu will disappear
3 Press 2/1 to select SHUTTER or
Using the AF Trigger
1 Press the MENU button 2 Press 3/4 to select AF TRIGGER
4 Press the MENU button
1 Press the MENU button 2 Press 3/4 to select CONT.AF
Using the Continuous AF
3 Press 1 to select ON 4 Press the MENU button
Press
Taking Pictures with the Self-timer
2 Press the shutter button fully
1 Press the MENU button 2 Press 3/4 to select AUDIO REC
Taking Pictures with Audio
1,4 2,3
5 Press the shutter button fully and take a picture
3 Press 2/1 to select the picture size
Changing the Picture Size
1 Press the MENU button 2 Press 3/4 to select PICT.SIZE
PICT.SIZE
3 Press 2/1 to select the quality. Data Compression Ratio
Changing the Quality Data Compression Ratio
1 Press the MENU button 2 Press 3/4 to select QUALITY
Standard Standard compression It gives priority to the number of
3 Press 3/4 to select AE MODE 4 Press 2/1 to set to A
Taking Pictures with Aperture-priority AE
2,5 3,4,6,7,8 3,4
6 Press 7 Press 2/1 to set the aperture value
6 Press 7 Press 2/1 to set the shutter speed
Taking Pictures with Shutter-priority AE
3 Press 3/4 to select AE MODE 4 Press 1 to set to S
1/30
Macro mode
Taking Pictures using Macro Mode
5 cm Wide
Normal
Taking Pictures using Portrait Mode
1 Set the mode dial to Portrait mode
Taking Pictures using Sports Mode
Set the mode dial to Sports mode
reduce the time for focusing while shooting a
Taking Pictures using Panning Mode
Using a slower shutter speed when tracking a
1 Set the mode dial to Panning mode
1 Press OPEN button to open the flash
Taking Pictures using Night Portrait Mode
ª When taking picture of only a landscape at night
2 Set the mode dial to Night portrait mode 3 Take a picture
1 Press the MENU button 2 Press 3/4 to select SPOT MODE
Taking Pictures using Spot Mode
5 Center the subject in the spot AF area 6 Take a picture
1 Press 3 until EXPOSURE is selected
Compensating the Exposure
1,2,3
2 Press 2/1 to compensate the exposure
1 Press 3 until AUTO BRACKET is selected
Taking Pictures using Auto Exposure AE Bracket
2 Press 1, then press 2/1 to set the exposure compensation range
Using the AF/AE Lock
1 Press the MENU button 2 Press 3/4 to select COL.EFFECT
Using the Color Effect
3 Press 2/1 to select OFF, COOL, WARM or B/W
1 Press the MENU button 2 Press 3/4 to select PICT.ADJ
Adjusting the Color Tone or the Contrast Picture Adjustment
3 Press 2/1 to select NATURAL, STANDARD or VIVID
1 Press the MENU button 2 Press 3/4 to select W.BALANCE
Setting the White Balance
3 Press 2/1 to select the mode
4 Press
1,6 2,3,4 2,3
3 Press 1 to set to white set
6 Press the MENU button
1 Press 3 until WB ADJUST. is selected
Finely Adjusting the White Balance
2 Adjust the white balance with 2/1
3 Press 2/1 to select the sensitivity
Setting ISO Sensitivity
1 Press the MENU button 2 Press 3/4 to select SENSITIVITY
SENSITIVITY
Taking Pictures using Burst Mode
1 Press
1 Remove the lens ring 2 Attach the lens hood adaptor
Using the MC Protector/ND Filter
3 Install the MC protector 2 or the ND filter
MCu“Multi-coated” and NDu“Neutral Density”
1 Set the mode dial to playback
Playing Back Still Pictures
ª Fast forwarding/Fast rewinding
2 Press 2 to play back the previous picture
SETUP 1
2,6 2,3 3,4,5
3 Press 1 to select the setup menu 4 Press 3/4 to select VOLUME
POWER SAVE
1 During playback, rotate the zoom lever towards
9 Images Multi Playback
1 2 4 5 7 8
2 Press 3/4/2/1 to select images
Using the Playback Zoom
ª To delete a picture during the playback zoom
2 Press the 4/REVIEW/SET button to play back the motion image
Playing Back Motion Images
1 Press 2/1 to select the file with the motion image icon
normal motion image playback
deleted
Deleting Images
1,3,4
Press 2 to select YES
Delete all images
2,3,4
2,3,4,6,7
5 Press 6 When this message is displayed
3 Select SINGLE and then press 4 Press 2/1 to select 1 image
Writing the Print Information to the Card DPOF Setting
2 Press 3/4 to select DPOF PRINT and then press
5 Press 3/4 to select the number of sheets
4 Press 2/1 to select the image
3 Press 3/4 to select MULTI and then press
5 Press 3/4 to select the number of sheets to be printed
4 When this message is displayed
2,3,4,5
3 Press 3/4 to select CANCEL and then press
2,3,4,5
Protecting Images on the Card
1 Press the MENU button 2 Press 3/4 to select PROTECT and then press
4 Press 3/4/2/1 for setting below
Playing Back with Slide Show Automatic Playback
2,3,4,5
2 Press 3/4 to select SLIDE SHOW and then press
In motion image playback, Slide Show is not available
2 Press 3/4 to select AUDIO DUB. and then press
Adding Audio to Recorded Pictures Audio Dubbing
1,6 2,3,4,5
3 Press 2/1 to select the picture
6 When this message is displayed
Resizing Recorded Pictures
1,8 2,3,4,5,6,7
1 Press the MENU button 2 Press 3/4 to select RESIZE and then press
4,5,6
Trimming Recorded Pictures
1,9 2,3,5,7,8
7 When this message is displayed
3 When this message is displayed
Formatting the Card
1 2,3,4
1 Press the MENU button 2 Press 3/4 to select FORMAT and then press
1 Press the MENU button 2 Press 1 to open the setup menu
Adjusting the LCD Monitor/Viewfinder Brightness
1,5 2,3,4
4 Press 2/1 to adjust the brightness 5 Press the MENU button
1,5 2,3,4 3,4
Using the Auto Review
3 Press 3/4 to select AUTO REVIEW 4 Press 2/1 to select 1SEC. or 3SEC
AUTO REVIEW
SETUP 1/2
2MIN
3 Press 3/4 to select POWER SAVE
Setting up the Power Save Mode
4 Press 2/1 to choose the setting time
“RESET FILE NO. IN THE CAMERA?”, press 2 to select YES
Resetting the File Number
3 Press 3/4 to select NO.RESET and then press
5 Press the 4/REVIEW/SET button 6 Press the MENU button
“RESET SETUP PARAMETERS?”, press 2 to select YES
Initializing the settings
3 Press 3/4 to select RESET and then press
7 Press the 4/REVIEW/SET button
1 Connect the A/V cable 1 to the A/V OUT socket of the camera
Playing Back Images with a TV Monitor
ª Viewing images in other countries
3 Turn the television on and select external input
Connecting to a PC
2 Connect the camera to a PC via the supplied USB connection cable
USB DIRECT-PRINT
2 Turn on a printer
USB DIRECT-PRINT Single Picture
4 Press 2 to select YES 5 Press the 4/REVIEW/SET button
2 Press the 4/REVIEW/SET button
USB DIRECT-PRINT DPOF Picture
1 Press 1 to select DPOF PICTURE
3 Press 2 to select YES 4 Press the 4/REVIEW/SET button
2 Eject the card. P15 3 Remove the battery. P12
After Use
1 Turn the power switch to OFF. P17
4 Remove the lens hood 5 Remove the lens hood adaptor
The Menu Items
REC mode menu
Simple mode menu
NO.RESET
Playback mode menu
Cautions for Use
Always keep the terminals of the battery clean
When condensation has taken place
ª Optimal Use of the Battery
Be sure to detach the battery after use
Digital camera
Battery
ª Cautions for Storage
Card
Lens ring
Viewfinder
ª SD Slide Show
ª Folder Composition
Warning Indications
11 When connecting to a PC images cannot be transferred
Troubleshooting
1 The power does not turn on. 1-1 Are the battery and the AC
12 The clock setting is reset
Specifications
Digital Camera
Panasonic DE-928A
Battery Charger/AC Adaptor
Battery Pack lithium-ion
Panasonic CGA-S002A
Accessory#
Digital Camera Accessory System
Description
Digital Camera Accessory Order Form
For USA Customers
Request for Service Notice For USA Only
Request for Service Notice Please include your proof of purchase
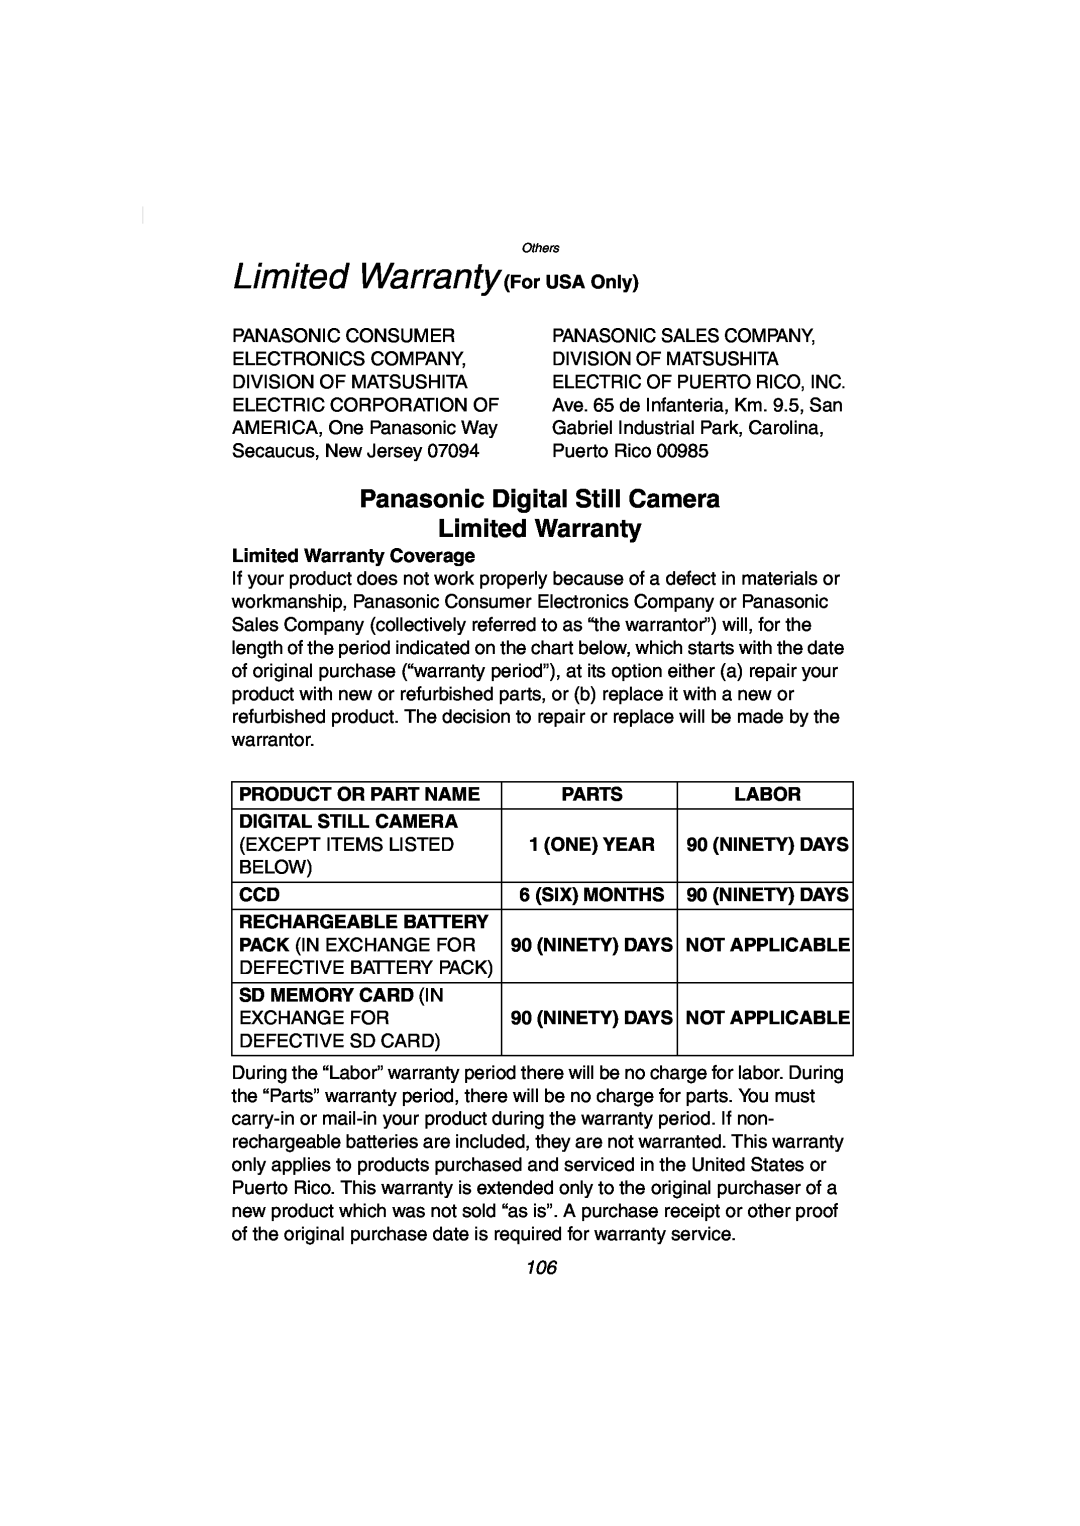
Limited Warranty For USA Only
Panasonic Digital Still Camera Limited Warranty
Carry-In or Mail-In Service
MAIL TO
Customer Services Directory For USA Only
Centralized Factory Servicenter
Service in Puerto Rico
Index
3 Introduzca la batería en la cámara
Spanish Quick Use Guide Guía española para el uso rápido
1 Cargue la batería. 1 #
4 Introduzca la tarjeta en la cámara
Memo
Division of Matsushita Electric Corporation of America
VQT0E58 F1003Sm0 1500 A
Panasonic Consumer Electronics Company
Panasonic Sales Company PSC