Printing
You can connect directly to a PictBridge- compatible printer for printing.
Getting Ready:
•Charge the battery sufficiently. Or, connect the AC adaptor (optional) and DC coupler (optional).
•When printing pictures from the
•Adjust the print quality or other settings on your printer, as needed.
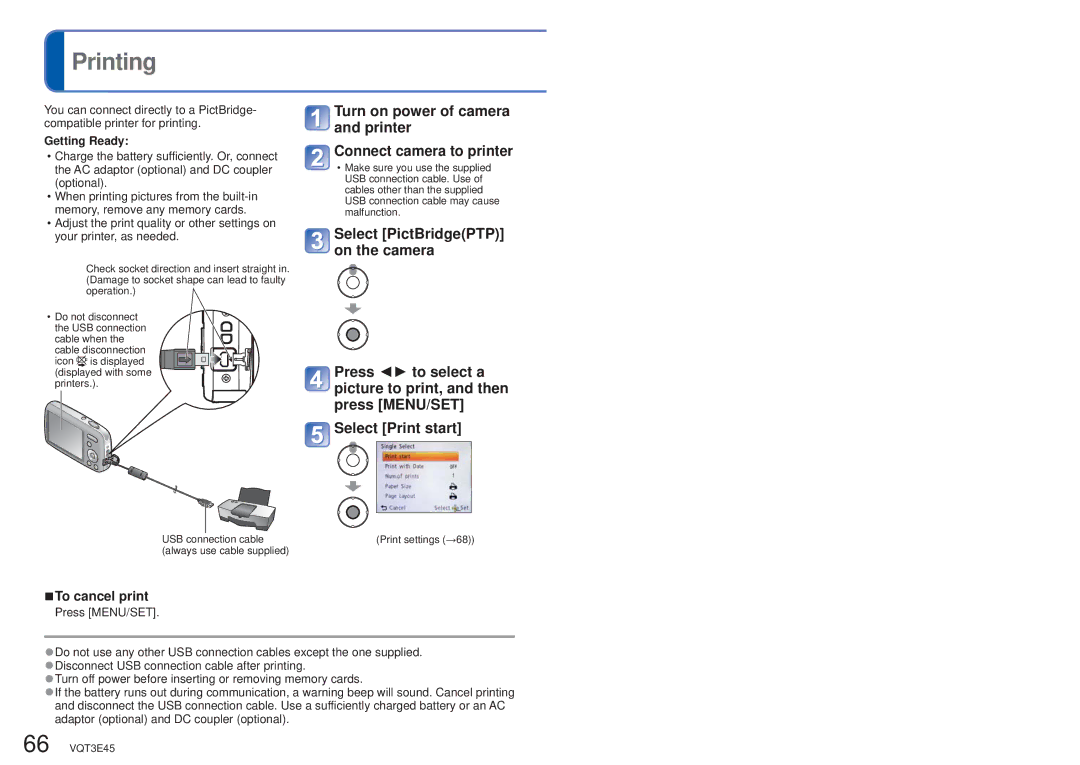
Check socket direction and insert straight in. (Damage to socket shape can lead to faulty operation.)
• Do not disconnect the USB connection cable when the cable disconnection icon ![]()
![]() is displayed (displayed with some printers.).
is displayed (displayed with some printers.).
USB connection cable (always use cable supplied)
![]() Turn on power of camera and printer
Turn on power of camera and printer
![]() Connect camera to printer
Connect camera to printer
•Make sure you use the supplied USB connection cable. Use of cables other than the supplied USB connection cable may cause malfunction.
![]() Select [PictBridge(PTP)] on the camera
Select [PictBridge(PTP)] on the camera
![]() Press ◄► to select a picture to print, and then press [MENU/SET]
Press ◄► to select a picture to print, and then press [MENU/SET]
![]() Select [Print start]
Select [Print start]
(Print settings (→68))
■To cancel print
Press [MENU/SET].
●Do not use any other USB connection cables except the one supplied. ●Disconnect USB connection cable after printing.
●Turn off power before inserting or removing memory cards.
●If the battery runs out during communication, a warning beep will sound. Cancel printing and disconnect the USB connection cable. Use a sufficiently charged battery or an AC adaptor (optional) and DC coupler (optional).
66 VQT3E45