If you have any questions contact
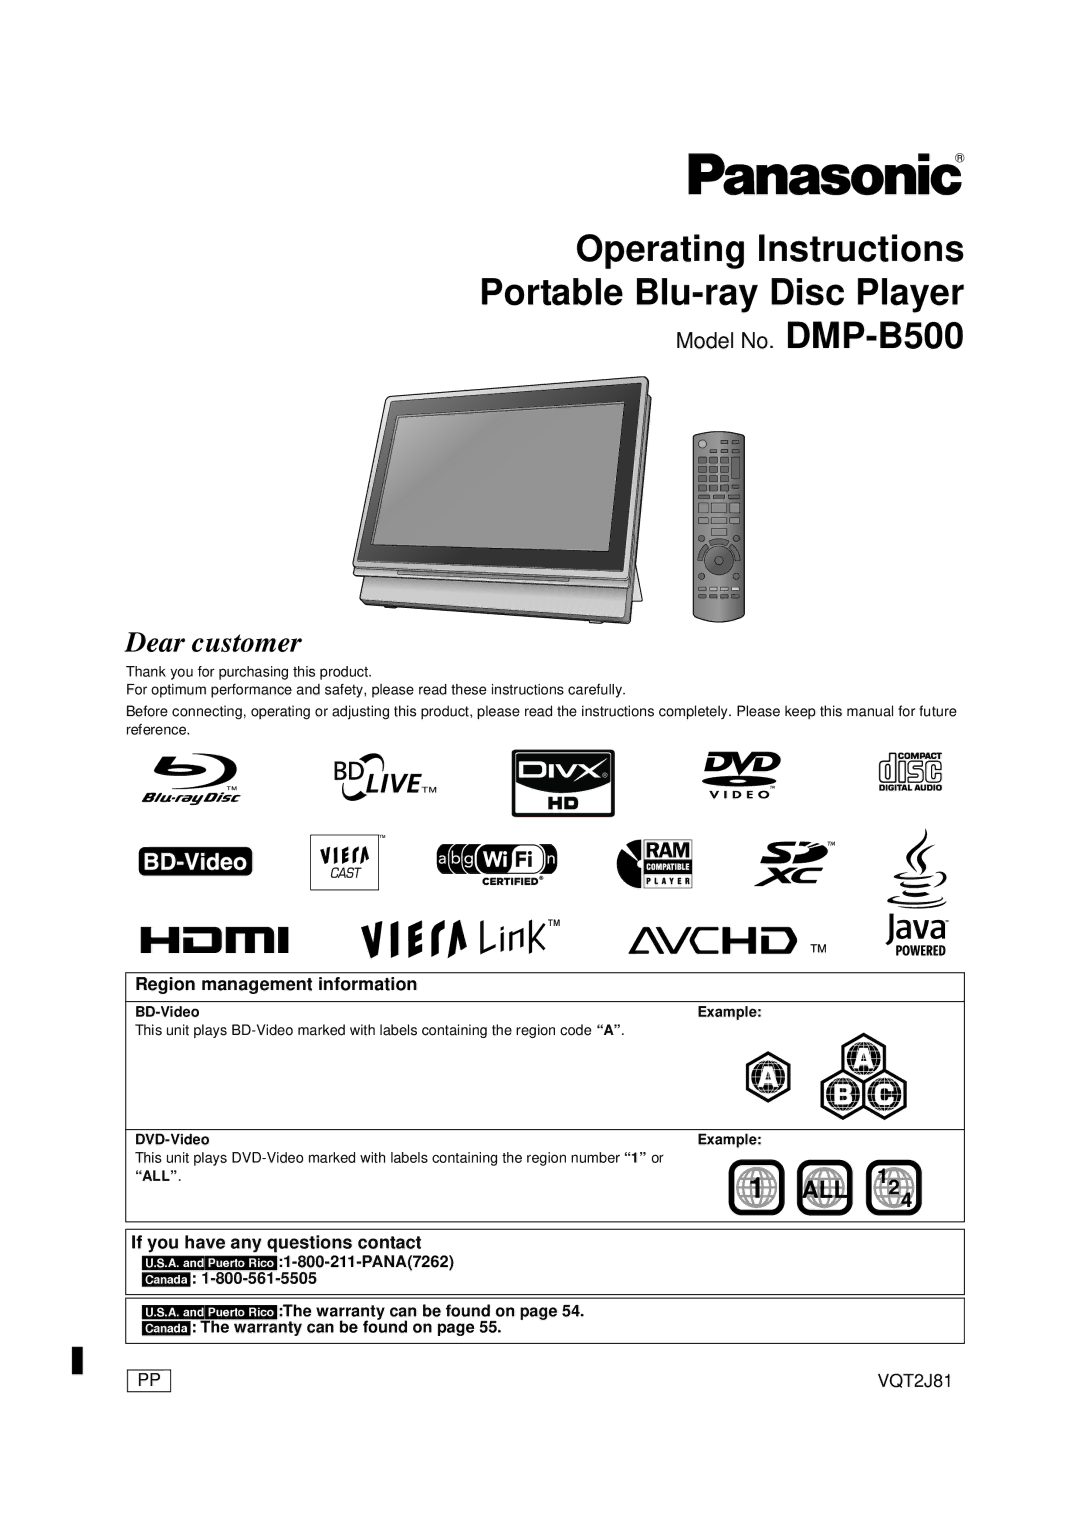
Region management information
BD-Video Example
DVD-Video
Inside of product
Important Safety Instructions
Batteries
Battery pack Lithium ion battery pack
Table of contents
Maintenance
Accessories
Unit and media care
Disc and card handling
Commercially sold discs
Media Disc, card and USB device information
User recorded media
RR/rRW/rR DL
USB devices
SD cards
Discs that cannot be played in this unit
Unit
Overview
Remote control transmitter
Remote control
Insert the batteries included
Range of use
Preparing the Power Supply
Installation of the unit
Using the unit connected to the AC adaptor
Using the battery pack
Turning on/off the unit
Easy Setting
Turn the unit off automatically
Showing the Function Menu
Adjusting the pictures on the LCD screen
Disc
Loading the disc, SD card or USB device
USB device
SD card
Basic play Playing video contents
To switch from other menus to shooting date
To switch from other menus to Avchd or MPEG2 menu
Changing the slideshow settings
Select the date with 3, 4, 2, 1, and then press OK
Other operations during play
Chapter playback
Status messages
Direct Play
Frame-by-frame
Screen Aspect
Enjoying BD-Live discs with Internet
Enjoying BD-Live or Bonusview in BD-Video
Playing music
To switch from other menus to MP3 menu
Insert a disc or USB device
Press 3, 4 to select the track and press OK
Switching the display design
Switching the display mode
Changing the Photo Frame Timer Settings
Changing the setting of Photo Frame
Useful functions during still picture play
Playing still pictures
Zoom out
Press 3, 4, 2, 1 to select Set and press OK Rotate
Press SUB Menu Press 3, 4 to select Zoom out and press OK
To select the still pictures in another folder
Playing DivX videos
Regarding DivX VOD content
Displaying subtitles text
On-screen menu operations
Changing settings with the on-screen menu
What you can change with the on-screen menu
Press Display
Video
Play
Audio
Start playback on this unit
Using this unit with other equipment
Preparation
Hdmi cable Not included
Automatic input switching
Setting Viera Link Hdavi Control
Power on link
Power off link
Using the Function Menu to operate this unit
Easy control only with Viera remote control
Using the sub menu to operate this unit
Press SUB Menu
Using LAN ethernet cable
Connecting to a broadband network
Using Wireless LAN Adaptor
Precautions of Wireless LAN Adaptor
Network Easy Setting
Setting for when this unit is used connected to a network
For wireless LAN connection
When you experience problems with settings
Enjoying Viera Cast
Firmware updates
Automatically check the firmware
Manually updating the firmware
Setup menu operations
Changing the unit’s settings
Summary of settings
Press 3, 4, 2, 1 to select the option and press OK
Still Mode paused video
BD-Live Internet Access
DivX Subtitle Text
Seamless Play
Display
TV Aspect / Hdmi Function Settings
Network
Others
About audio output
Enjoying High Bit rate Audio and Video
Enjoying High Bit rate Audio of BD-Video
≥ Hdmi AV OUT terminal
DivX
About MP3/JPEG/DivX/ AVCHD/MPEG2 files
Subtitles text file of DivX
Structure of folders that can be played in this unit
Indicators
Indicators and screen messages
Screen messages
Reference
To reset this unit
Troubleshooting guide
Power
Visit our website to find a service center
Operation
Connection
Sound
Card
Photo Frame
Other difficulties with playback
Network
Specifications
Particular Purpose
Licenses
Member of the public via our website below
Glossary
LAN Local Area Network
Jpeg Joint Photographic Experts Group
Local storage
Lpcm Linear PCM
As of November
Product or Part Name Parts Labor
User memo
Date of Purchase
Panasonic Product Limited Warranty
Limited Warranty Only for Canada
Index