With other products
With a printer (PictBridge)
To print pictures by directly connecting this unit to the printer, use a printer compatible with PictBridge. (Read the operating instructions for the printer.)
≥Use the AC adaptor to free you from worrying about the battery running down.
¬Insert an SD card with recorded images in this unit and then set the
mode dial to ![]() to turn on the power.
to turn on the power.
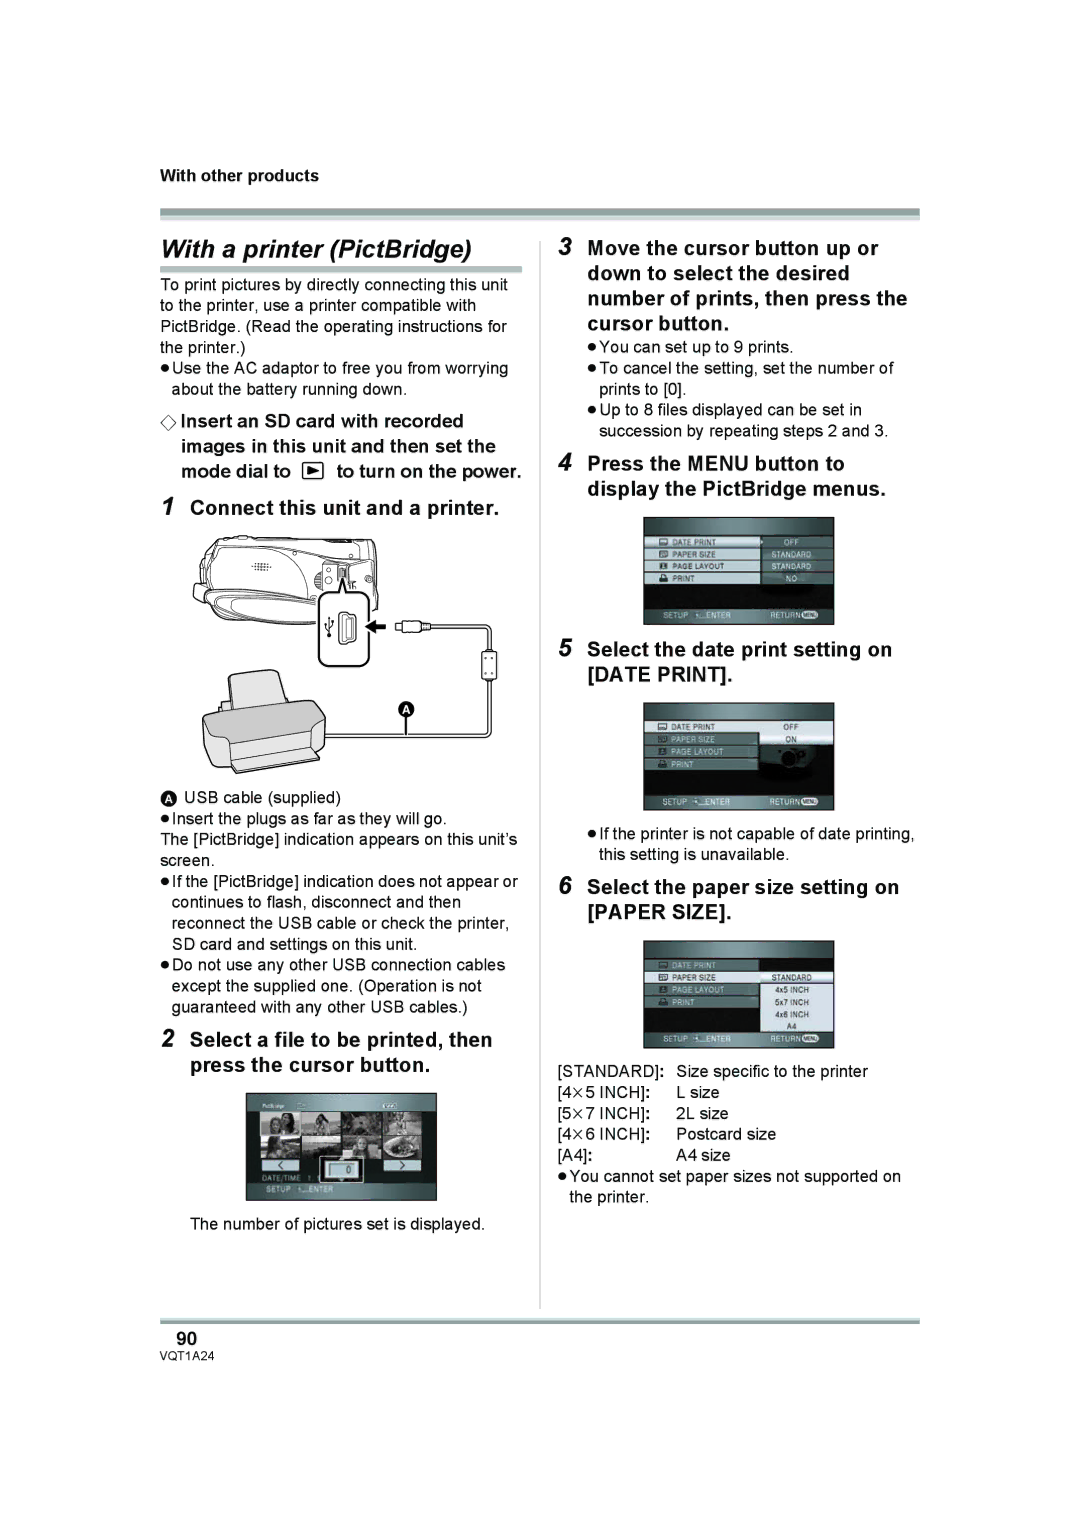
1Connect this unit and a printer.
A
AUSB cable (supplied)
≥Insert the plugs as far as they will go.
The [PictBridge] indication appears on this unit’s screen.
≥If the [PictBridge] indication does not appear or continues to flash, disconnect and then reconnect the USB cable or check the printer,
SD card and settings on this unit.
≥Do not use any other USB connection cables except the supplied one. (Operation is not guaranteed with any other USB cables.)
2Select a file to be printed, then press the cursor button.
The number of pictures set is displayed.
3Move the cursor button up or down to select the desired number of prints, then press the
cursor button.
≥You can set up to 9 prints.
≥To cancel the setting, set the number of prints to [0].
≥Up to 8 files displayed can be set in succession by repeating steps 2 and 3.
4Press the MENU button to display the PictBridge menus.
5Select the date print setting on [DATE PRINT].
≥If the printer is not capable of date printing, this setting is unavailable.
6Select the paper size setting on [PAPER SIZE].
[STANDARD]: Size specific to the printer
[4k5 INCH]: | L size |
[5k7 INCH]: | 2L size |
[4k6 INCH]: | Postcard size |
[A4]: | A4 size |
≥You cannot set paper sizes not supported on the printer.
90