Setup
3Open the LCD monitor.
A
The status indicator A lights red and the unit is put into recording pause approx.
1.7 seconds after it is turned on.
ªTo cancel Quick start
Press the MENU button, then select [SETUP]
#[QUICK START] # [OFF] and press the cursor button.
≥The status indicator goes off, the lens cover closes and the power turns off if the mode dial is set to OFF while the unit is in quick start standby mode.
≥The status indicator goes off and the power turns off if quick start standby mode continues for approx. 5 minutes.
≥Quick start standby mode is canceled, the status indicator goes off and the power turns off in the following cases.
–the mode dial is switched
–the battery is removed
≥When this unit is
≥When this unit is
≥If [POWER SAVE] (l 107) is set to
[5 MINUTES] and the unit automatically goes into quick start standby mode, close the LCD monitor and then open it again.
Inserting/removing an SD card
Be sure to set the mode dial to OFF before inserting/removing an SD card.
If the SD card is inserted or removed while the power is on, this unit may malfunction or the data recorded on the SD card may be lost.
1Set the mode dial to OFF.
≥Check that the status indicator has gone off.
2Open the LCD monitor and then open the card slot cover.
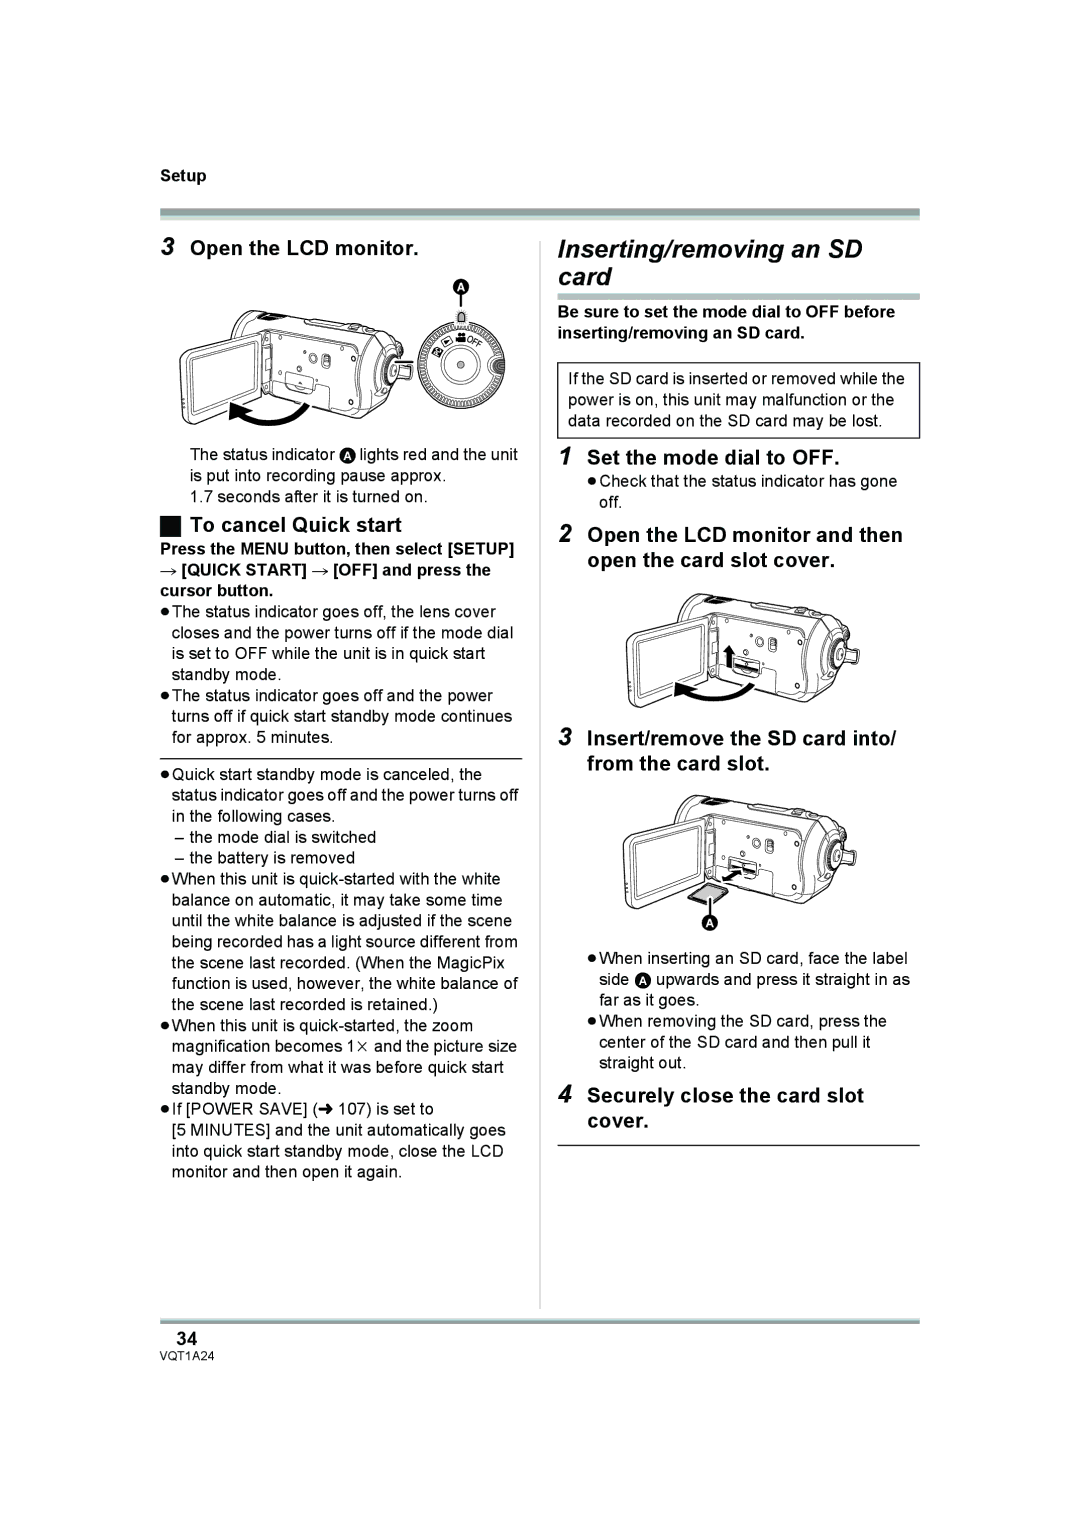
3Insert/remove the SD card into/ from the card slot.
A
≥When inserting an SD card, face the label side A upwards and press it straight in as far as it goes.
≥When removing the SD card, press the center of the SD card and then pull it straight out.
4Securely close the card slot cover.
34