HX-WA3 HX-WA03
Read this first
Indemnity about recorded content
About recording formats and compatibility of the unit
Handling of built-in memory
SD Memory Card, Sdhc Memory Card and Sdxc Memory Card
Cards that you can use with this unit
Contents
Recording Menu
Double range zoom HX-WA3 / HX-WA03
Record with color balance and audio that are suitable for
121
115
127
133
Use as a card reader 202 Using the unit as a web camera 205
What you can do with the Wi-Fi function
160
162
Preparation
Handling this unit
Page
What to do when inner side of the lens is fogged
When inner side of the lens is fogged condensation
Open the rear door
Check before using underwater
Close the rear door securely
Caring for this unit after using it underwater
Using this unit underwater
Rinse with water with the rear door closed
≥ Dry this unit by standing it on a dry cloth
Draining water from the unit
Wiping moisture from the unit
About the water draining design
When using in a cold climate or at low temperatures
Wi-Fi button Wi-Fi l 166, 176, 182, 185
Power button l REC/ button REC/ l Intelligent auto button l
Names and Functions of Main Parts
LCD monitor l
Photoshot button l SET button SET l 56, 60, 111
Slow Motion Mode button l
Zoom range button
Speaker Internal stereo microphones
Wi-Fi Transmitter l Tripod receptacle
Lens Built-in flash l Hand strap fixture
Inserting/removing the battery
Power supply
≥ Press the power button to turn off the unit. l
About batteries that you can use with this unit
Push the lever B toward
Direction of arrow, and pull Battery straight out
Close the rear door
Charging the battery
Page
Charging/Recording time
Charging and recording time
Battery capacity indication
By Cipa standard
Number
Approx 255 min
Approx pictures By Cipa standard
Cards that you can use with this unit
Recording to a card
Page
Inserting/removing an SD card
Status indicator a
Check that the status indicator has gone off
Insert remove the SD card into from the card slot
Page
To turn off the unit
Turning the unit on/off
About Standby Mode
High temperature
About the high temperature warning icon
Press the REC/ button
Selecting a mode
Menu 1 # Clock SET
Setting date and time
Select the menu. l
Configure the Wi-Fi settings. l
≥ At the time of purchase, the Clock SET is not set
Basic motion picture recording
Before recording
Basic camera positioning
If the surface of the unit gets hot
Recording motion pictures
Recording time elapsed
During recording
About the compatibility of the recorded motion pictures
Open the LCD monitor
Recording still pictures
Press the button halfway
Press the button fully
3000
About the recording standby screen display
About the screen indications in the still picture recording
PT Autofocus
About the focusing area
640k480
About picture size
Open the LCD monitor. Select the menu. l
Menu 1 # REC Mode # Voice Record
Recording audio
During audio recording
Audio operation indicator l
About the screen display for audio recording
Press the button to switch to Intelligent Auto Mode
Intelligent Auto Mode
Scenery
Portrait
Spotlight
Low Light
Auto Focus
Intelligent Auto Mode
Automatic White Balance
Thumbnail display
Motion picture/Still picture/Audio playback
Motion picture/audio playback
Play back using the SET button
Operation icon
Still picture playback
Towards Decreases the volume
Speaker volume adjustment
Change the thumbnail display
Towards
Audio compatibility
Motion picture compatibility
Still picture compatibility
Using the menu screen
To get back to the previous screen
Using the Simple Menu
Menu 1 , 2 or 3 # desired setting
Using the Option Menu
Select the menu
Clock SET
Open the LCD monitor
Alert Sound
Brightness
Display
Economy
Initial SET
Language
TV Output
Delete Data
Format
Format
REC Folder
When creating a folder
File NO. CONT’D
Playback Folder
Page
Firmware Version
Firmware Upgrade
Zoom button
Using the zoom
About the zoom bar
Side
≥ HX-WA30
Press the zoom range button
Double range zoom HX-WA3 / HX-WA03
About the maximum zoom magnification
Zoom Mode
84 k
60 k
102 k
10 k 120 k 90 k
OFF Cancel the setting
Menu 3 # E.I.S.VIDEO # desired setting
Image Stabilizer
Image Stabilizer for motion pictures Select the menu
Menu 3 # E.I.S.PICTURE # on
Image Stabilizer for still pictures Select the menu
Press the button to switch the recording mode
Recording in Slow Motion Mode HX-WA30
Slow Motion Mode
Slow Motion Continuous Mode
≥ When Slow Motion Continuous Mode is selected
Menu 1 # Slow Motion Mode # desired setting
Face Framing
Recording with a filter effect
Skin Soft Skin Skin
Hdrp HDR Paint Hdrp *3
Monochrome B/W
Sepia Sepia Sepia
≥ One Point Color 1CLR
≥ Miniature Effect Mini jAudio is not recorded
≥ Old Movie OLD
≥ Time Lapse Rec Intv jAudio is not recorded
≥ HDR Paint Hdrp
≥ Ghost Effect Ghost
≥ Fish-eye Effect Fish
Burst recording
Menu 2 # Burst # desired setting 16M Burst
3M Burst
16M Reverse Burst
HX-WA30
Burst setting
Maximum number of pictures in the burst
Press the button to start the recording
Recording panorama still pictures
Pan the unit horizontally or vertically
Menu 2 # Panorama # Panorama or
About size of still pictures
Recording technique
360e Panorama
180e Panorama
Self Timer
Page
Recording underwater
Menu 1 # Scene Mode # Under Water
REC Mode
Recommended REC Mode settings
REC Mode
Recording functions of menus
Recommended for Mac users
Picture Size
Slow Motion Mode
Creative Control
Menu
Scene Mode
LOW Light
Under Water
≥ SUNSET/FIREWORKS/LANDSCAPE/NIGHT SCENERY/NIGHT Portrait
≥ Fireworks
Setting Limitations
Limitations of Scene Mode settings
Sunset
Landscape
Shot
100
Handheld Night
Comp
Setting Limitations HDR Backlight
101
102
Zoom Mode
Burst
Panorama
Menu 2 # Self Timer # desired setting OFF
Self Timer
When Ø2 2 sec is selected
When Ø10 10 sec is selected
Photo View
Menu 2 # Photo View # desired setting
104
Auto Review
105
S.VIDEO
S.PICTURE
ISO
106
Exposure
Auto
Menu 3 # EXP Compensation
107
EXP Compensation
Menu 4 # Focus Mode # desired setting
Focus Mode
108
Focus
109
Metering Mode
Face Framing
Multi
110
About prioritized face framing
111
Recommended Settings
Wind CUT
Shortcuts
112
113
AF lock
114
AE lock
White Balance
Manual recording
115
Menu 3 # White Balance
116
To set the White Balance manually
117
Manual shutter speed/iris adjustment HX-WA30
Tilt the SET button left or right to set
250 Shutter speed Seconds to 1/1000 1/1000 second
118
F2.8 Iris value F2.8 ... !# ... F8.0
119
Manual shutter speed adjustment
Manual iris adjustment
Using Manual Focus
Setting the focus and recording
Menu 4 # Focus # desired setting
120
121
Playback using operation icon
Playback Operations
122
123
Creating still picture from motion picture
124
Cutting out a section of a panorama still picture
125
Zooming in on a still picture during playback Playback zoom
Operate the zoom button to side
Press the button while zoomed
Saving the zoomed still picture
126
127
Various playback functions
Short
128
Normal
Long
Volume button Volume adjustment l
Select Start using the SET button and press
Button Creative Control settings l
About button operations during slideshow playback
130
OFF Cancel the setting 1CLR One Point Color 1CLR
Playing back with a filter effect
131
Displaying file information
132
133
Using the playback menu
Resize
134
Rotate
RED-EYE Correct
135
# RED-EYE CORRECT. # Correction
Select the saving method and press the SET button
Edit Video
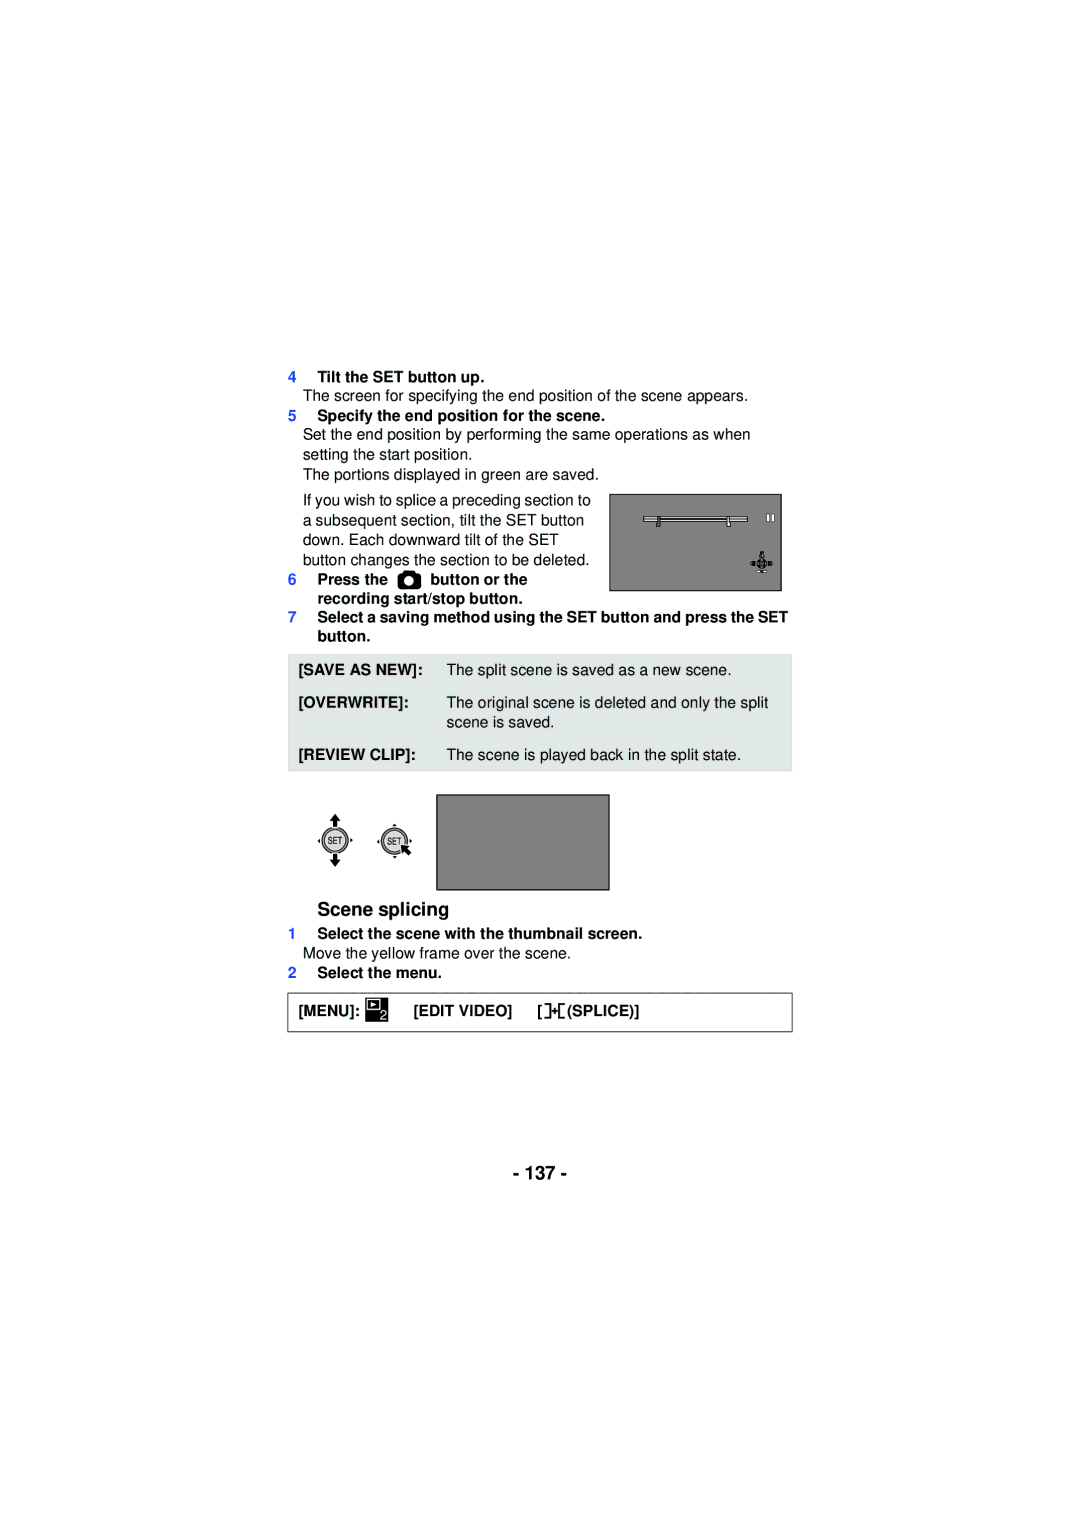
Splitting a scene
136
137
Scene splicing
138
Copy
139
Deleting displayed file
Deleting scenes/still pictures/ audio files
Menu # Delete
Deleting files using the playback menu
Deleting selected files
Select YES using the SET button and press the SET Button
Press the button or the recording start/stop Button
Deleting all files
Protecting a file
Press the Menu button to complete the settings
143
# Protect
≥ Always use the supplied AV cable
Watching Video/Pictures on your TV
Connect this unit to a TV 144
Select the video input on the TV
About the status indicator of the unit
145
Picture quality
146
Play back from the unit
147
TV format setting
Connecting with an Hdmi micro cable
148
Menu # TV Output # Hdmi # AUTO/720p/1080i/480p
What is the Viera Link Hdavi Control?
Playback using Viera Link
149
Menu # TV Output # Viera Link # on
150
Operate with the remote control for the TV
Other linked operations
Set to Playback Mode. l
Copying from Built-in Memory to SD card
Select Copy ALL to begin copying to the SD card 151
Copy Selected
152
Press the recording start/stop button or the button
153
Dubbing images onto other video devices
154
Start recording on the connected device
155
Using the Eye-Ficard
Menu # Eye-Fi # Transfer # desired setting
Select
156
ALL
157
158
Using Direct Mode
Menu # Eye-Fi # Start Direct Mode
159
160
Use this unit as a wireless LAN device
161
Before use
Image App
162
When connecting to a wireless access point
When connecting to a smartphone
163
DLNA-compatible TV
About the Image App
Install the Image App
164
When directly connected
Connecting to Wi-Fi HX-WA30
165
Lit green
166
Connecting to a wireless access point
167
Press the SET button to finish the setup
168
169
Search for
Manual Connection
170
171
172
173
174
Select Next using the SET button and then press
Confirming that the Wi-Fi connection is complete
175
176
Connecting to the smartphone
177
178
If the Wi-Fi connection cannot be established
179
180
181
Recording/playing back with remote operations HX-WA30
182
Using with a direct connection
Start up the smartphone application Image App
183
Screen display during remote operations
184
When Playback Mode
Select this unit Ssid by the TV side 185
Dlna playback HX-WA30
186
Perform playback Operations with the TV Remote control
187
How to Use the Wi-Fi Setup Menu HX-WA30
188
Direct Connection
189
Menu Password
Reset Wi-Fi Settings
190
IP Address/DNS Settings
Device Name
HD Writer VE
What you can do with a PC
Smart wizard
191
192
Important Notice
≥ Data cannot be written to the unit from a PC
193
194
End User License Agreement
195
Operating environment for HD Writer VE
Operating environment
196
CPU
RAM
197
198
To use the HD Writer VE
199
Uninstalling HD Writer VE
Installation
Insert the CD-ROM into the PC
Click Yes. Click Next
Turn on the unit
Connecting to a PC
Connect this unit to a PC
201
202
Use as a card reader
To disconnect USB cable safely
Example folder structure in built-in memory/SD card
About the PC display
203
Copying your still pictures to your PC
Charging the battery by connecting it to different devices
204
Card reader function mass storage
205
Using the unit as a web camera
Necessary
Software
206
Start Windows Live Messenger or Messages
Starting HD Writer VE
208
If using Mac
Operating environment
209
Double click on the Camsd or Cammem Displayed on the desktop
Recording indications
LCD Display Indications
210
ßA/ß
Gray
211
ISO64/ISO100/ISO200/ISO400/ISO800/ISO1600/ISO3200*3
212
Wi-Fi connection display
White
Ø10/Ø2
213
Playback indications
Confirmatory indications
214
Messages
Check Card
Card Full
215
Troubleshooting
Zoom button, rear door, etc. cannot be moved
216
217
218
219
220
221
222
Playback
223
Cell
Password for
Problem Check points Have forgotten
Wi-Fi
224
Do not extend the cords and the cables
About this unit
225
226
When carrying the unit, do not drop or bump it
Cleaning
227
When you are not going to use the unit for an extended time
When disposing of or giving away this unit, note that
228
About the battery
Be sure to detach the battery after use
Do not throw old battery into fire
Prepare spare batteries when going out for recording
About the AC adaptor
229
230
About status indicator during charging
About the SD card
When disposing of or giving away the SD card, note that
LCD monitor
231
Carefully observe copyright laws
About copyright
Licenses
232
233
SD card
234
Built-in Approx
Memory
1280 k720 640 k360 320 k180
235
Aspect ratio
Approximate number of recordable pictures
236
Card
237
4352 k2448 3744 k2106 2560 k1440 1920 k1080
238
Panasonic Corporation