
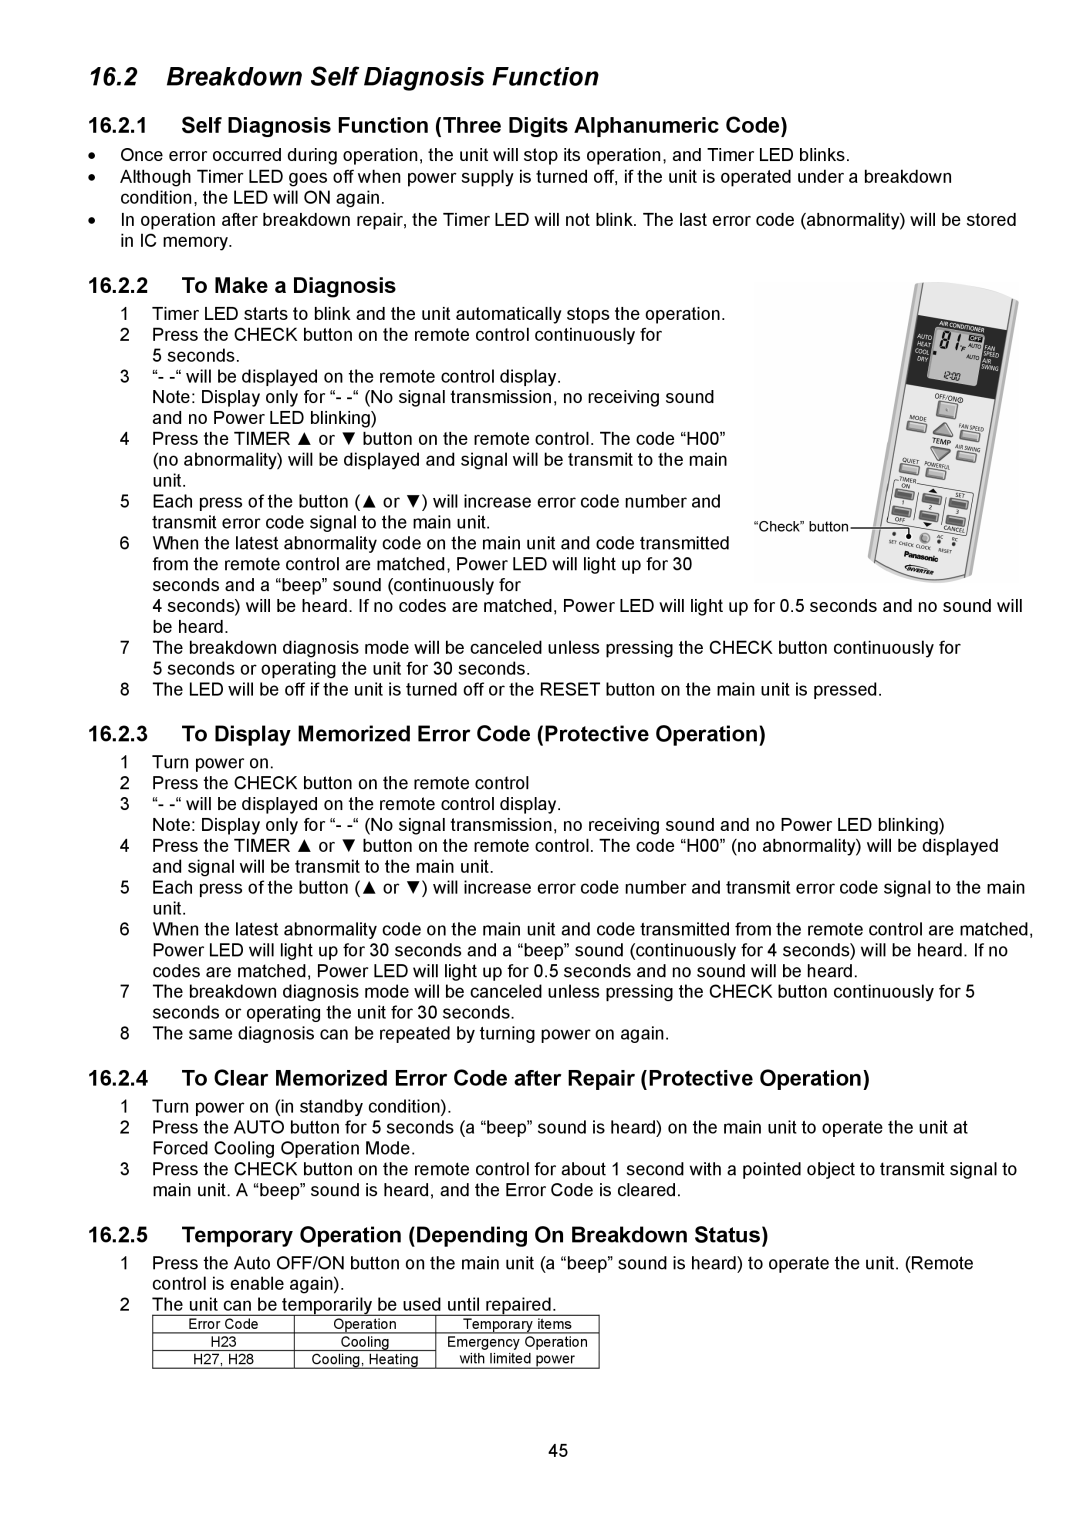
Indoor Unit Outdoor Unit CS-E9NKUAW CS-E12NKUAW CU-E9NKUA CU-E12NKUA specifications
Panasonic has been a pioneer in the heating and cooling industry, and its range of air conditioners, particularly the CS-E9NKUAW and CS-E12NKUAW indoor units, paired with the CU-E9NKUA and CU-E12NKUA outdoor units, exemplify the brand's commitment to energy efficiency, advanced technologies, and user-friendly features.These models deliver exceptional cooling and heating performance, making them suitable for various climates. One of the prominent features of these units is their Inverter technology, which ensures that the compressor can adjust its speed according to the desired temperature. This not only provides accurate temperature control but also results in lower energy consumption compared to non-inverter systems. Users can enjoy a consistent and comfortable indoor environment while keeping their electricity bills in check.
A key characteristic of the CS-E9NKUAW and CS-E12NKUAW units is their whisper-quiet operation. The low noise levels make them ideal for bedrooms, living rooms, or office spaces, providing comfort without disturbance. With a decorative design, these indoor units seamlessly blend into any interior, enhancing the aesthetic appeal of the space.
These Panasonic models are also equipped with advanced air purification systems. Utilizing a combination of nanoe™ technology, the air conditioners effectively reduce airborne bacteria, viruses, and allergens, ensuring cleaner and healthier indoor air quality. The air purification feature is complemented by a powerful filter system that captures dust and particulate matter, further enhancing the overall air quality.
The remote control feature allows users to operate the units with ease. With programmable timers and personalized settings, optimal comfort and convenience are just a click away. Additionally, the units are designed to be eco-friendly, adhering to strict environmental regulations and standards, thus promoting sustainability.
For installation, the outdoor units CU-E9NKUA and CU-E12NKUA are engineered to operate efficiently and quietly, accommodating various mounting options for flexible installation. The robust design enhances durability while minimizing maintenance needs, ensuring long-term reliability.
In summary, the Panasonic CS-E9NKUAW, CS-E12NKUAW indoor units, along with their CU-E9NKUA and CU-E12NKUA outdoor counterparts, embody a perfect blend of cutting-edge technology, user-centric features, and energy efficiency. They represent an excellent choice for consumers seeking comfort, convenience, and quality in their heating and cooling solutions.