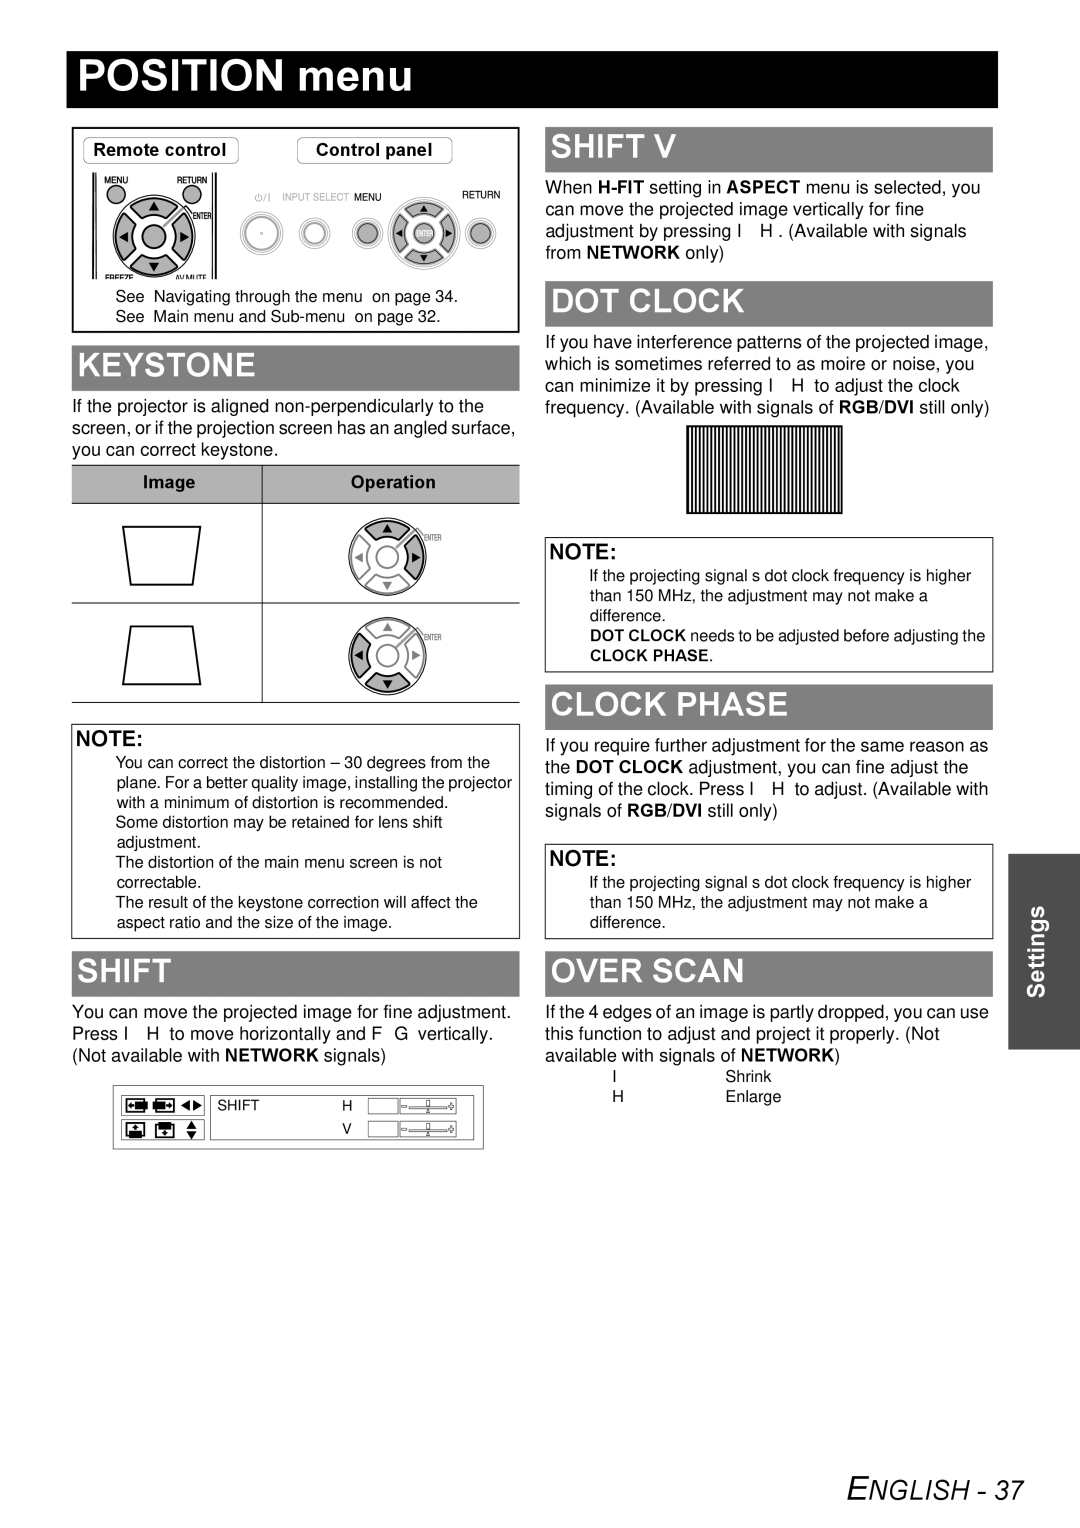
POSITION menu
Remote control | Control panel |
See “Navigating through the menu” on page 34. See “Main menu and
KEYSTONE
If the projector is aligned
Image | Operation | ||
|
|
|
|
|
|
|
|
|
|
|
|
|
|
|
|
|
|
|
|
|
|
|
|
|
|
|
|
NOTE:
•You can correct the distortion ± 30 degrees from the plane. For a better quality image, installing the projector with a minimum of distortion is recommended.
•Some distortion may be retained for lens shift adjustment.
•The distortion of the main menu screen is not correctable.
•The result of the keystone correction will affect the aspect ratio and the size of the image.
SHIFT V
When
DOT CLOCK
If you have interference patterns of the projected image, which is sometimes referred to as moire or noise, you can minimize it by pressing I H to adjust the clock frequency. (Available with signals of RGB/DVI still only)
NOTE:
•If the projecting signal’s dot clock frequency is higher than 150 MHz, the adjustment may not make a difference.
•DOT CLOCK needs to be adjusted before adjusting the
CLOCK PHASE.
CLOCK PHASE
If you require further adjustment for the same reason as the DOT CLOCK adjustment, you can fine adjust the timing of the clock. Press I H to adjust. (Available with signals of RGB/DVI still only)
NOTE:
•If the projecting signal’s dot clock frequency is higher than 150 MHz, the adjustment may not make a difference.
Settings
SHIFT
You can move the projected image for fine adjustment. Press I H to move horizontally and F G vertically. (Not available with NETWORK signals)
SHIFT | H |
| V |
OVER SCAN
If the 4 edges of an image is partly dropped, you can use this function to adjust and project it properly. (Not available with signals of NETWORK)
IShrink
H Enlarge
